The modern home improvement landscape continues to see a significant surge in weekend remodeling projects, with kitchen wall upgrades capturing the attention of homeowners looking to revitalize their living environments. Among the most popular interior updates is the installation of new kitchen wall tiles, a process that bridges aesthetic ambition with practical home maintenance. Industry observers note that updating a cooking space no longer requires a complete, costly kitchen overhaul; instead, focusing on targeted wall improvements—such as a dynamic backsplash—can dramatically elevate the atmosphere and perceived value of an entire residence.
For many residents staring down at drab, outdated walls, the prospect of undertaking a tiling project can initially appear daunting. However, interior design experts emphasize that with careful preparation, proper material selection, and attention to detail during installation, achieving a professional finish is well within reach for dedicated do-it-yourselfers. The fundamental journey of any successful wall tiling project begins long before the first tile is ever pressed into adhesive; it starts with understanding the diverse array of materials available on the market and recognizing how each option interacts with a home’s specific lighting, spatial dimensions, and daily cleaning routines.
When surveying the landscape of kitchen wall coverings, homeowners generally encounter four primary categories of tiles: ceramic, porcelain, glass, and natural stone. Each material brings distinct characteristics to the culinary workspace, influencing both the visual identity of the room and the long-term upkeep required by the resident.

Ceramic tiles remain the undisputed favorite for kitchen walls across residential properties. Fabricated from natural clay and subjected to high-temperature firing processes, ceramic tiles offer a remarkable blend of durability and design versatility. Available in an extensive spectrum of colors, patterns, and dimensions, they allow homeowners to tailor their kitchen backsplashes to match virtually any interior design scheme, ranging from traditional country kitchens to contemporary minimalist spaces.
Porcelain tiles share a similar clay origin with their ceramic counterparts but undergo manufacturing processes involving significantly higher firing temperatures. This intense heat exposure renders porcelain exceptionally dense, highly durable, and notably less porous than standard ceramic. Because of these resilient properties, porcelain tiles frequently find their place in high-traffic kitchen zones that demand heightened resistance to moisture, heat, and daily wear. Available in finishes that span from high-gloss lusters to understated mattes, porcelain provides a sophisticated yet rugged surface for active cooking areas.
For those pursuing a sleek, modern, and light-filled aesthetic, glass tiles have emerged as a premier choice in contemporary kitchen renovations. Beyond their clean lines and contemporary appeal, glass tiles offer significant functional advantages. Their non-porous surfaces make them exceptionally easy to clean and maintain, resisting the splatters of grease and sauce common in busy culinary environments. Furthermore, the inherent reflective qualities of glass tiles serve a practical architectural purpose in smaller kitchens, bouncing natural and artificial light around the room to create an illusion of greater space and openness.
In contrast, natural stone tiles—including varieties such as marble, granite, and slate—introduce an organic, rustic texture that imbues a kitchen with character and timeless elegance. Each piece of stone carries unique veining and color variations, ensuring that no two installations look identical. While stone tiles undeniably elevate the luxury quotient of a home, they also demand a higher level of maintenance compared to manufactured alternatives, requiring careful sealing and gentle cleaning agents to preserve their natural beauty over time.
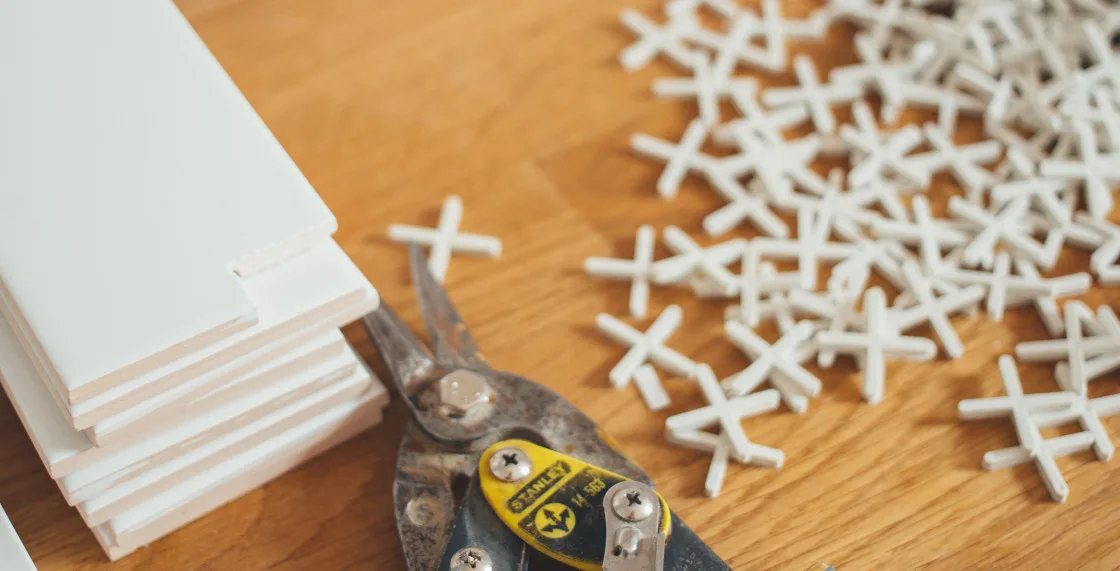
Transitioning from material selection to the actual execution of a tiling project requires the assembly of proper tools and high-quality materials. Professionals in the home improvement sector continually stress that investing in reliable equipment—such as accurate measuring devices, notched trowels, wet saws or tile cutters, levels, and rubber grout floats—prevents frustration and ensures structural integrity. Skimping on foundational materials, such as adhesives and grouts, can compromise the longevity of the installation, making the initial investment in quality supplies a critical component of any successful renovation.
Before any adhesive is applied, the preparation of the wall surface serves as a crucial determinant of the project’s ultimate success. Industry standards dictate that walls must be thoroughly cleansed of any accumulated dust, dirt, or cooking grease using a damp cloth, followed by adequate drying time. Once the surface is pristine, meticulous measuring and marking establish the layout of the installation. Installers typically begin near the center of the wall and work outward, utilizing tile spacers to maintain uniform gaps between individual pieces. Additionally, when tiling over previously painted or wallpapered surfaces, the application of a compatible primer is strongly recommended to enhance the bonding strength of the adhesive.
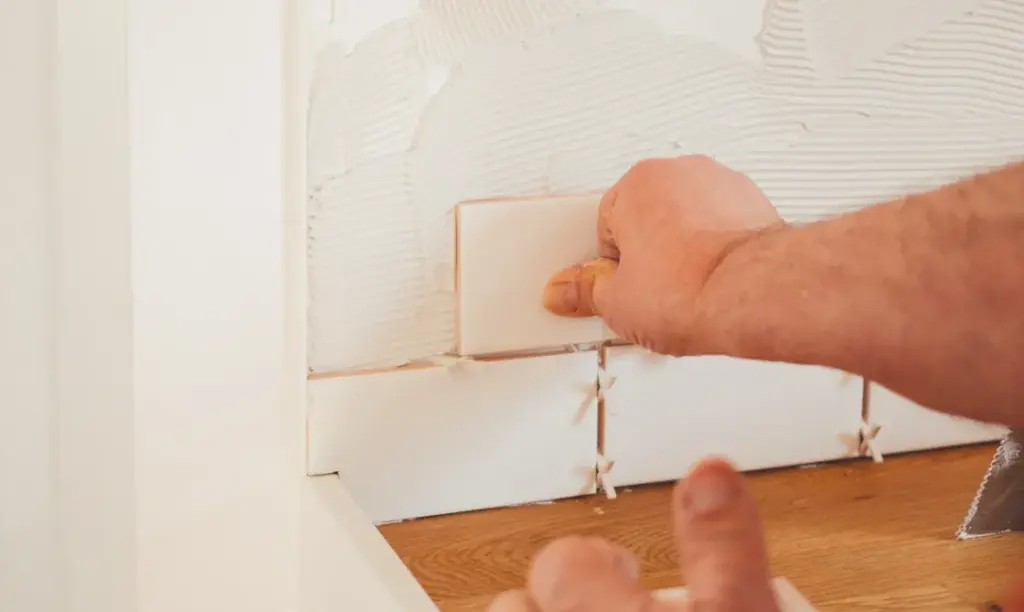
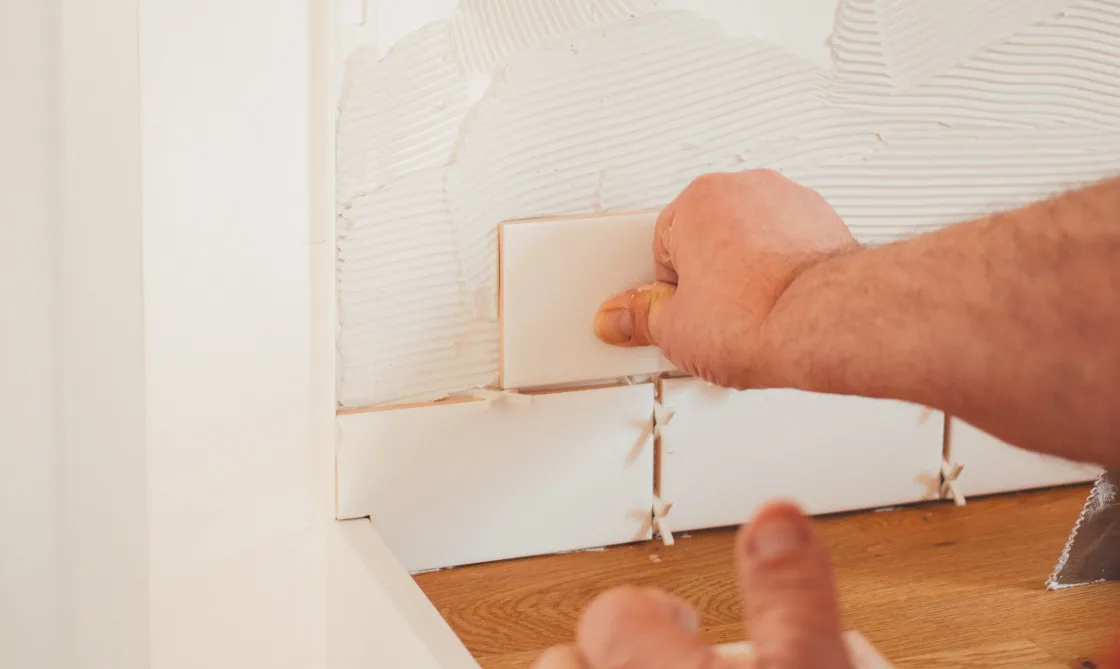
As the installation phase commences, adherence to proven techniques separates amateur attempts from professional-grade results. Adhesive must be spread evenly across the wall using the notched side of a trowel, creating consistent ridges that maximize the grip of the tiles. Pressing each piece firmly into place while continually checking with a level ensures that the finished wall remains flush and uniform. Around architectural obstacles such as electrical outlets, cabinetry edges, and window frames, precise cuts made with a tile cutter or wet saw ensure a seamless fit. Once all tiles are secured, allowing the adhesive sufficient time to cure—typically between 24 and 48 hours depending on the specific product formulation—is vital before proceeding to the next stage.
The final major phases of the project involve grouting and sealing, processes that seal the installation against moisture and impart a polished, finished appearance. Grout, a cement-based compound, is worked into the gaps between the tiles using a rubber float, with excess material promptly wiped away using a clean, damp sponge to prevent a hazy film from drying onto the decorative surfaces. For installations utilizing natural stone, applying a specialized sealer to the grout lines is essential to protect against stains and moisture infiltration over the lifespan of the kitchen.
Throughout the renovation process, avoiding common pitfalls ensures that the final result enhances rather than detracts from a home’s interior appeal. Inconsistent spacing between tiles, improper adhesive coverage that leads to hollow spots under the surface, and failing to keep individual tiles level can all result in an unpolished appearance and potential structural weaknesses down the line. By maintaining disciplined techniques, utilizing proper spacing tools, and respecting the curing times of various installation products, homeowners can successfully navigate the complexities of kitchen wall tiling. Ultimately, this hands-on approach empowers residents to take control of their living spaces, transforming an ordinary cooking area into a stunning, personalized focal point that rejuvenates the entire home.