For many homeowners, the kitchen remains the beating heart of the household, yet it is also one of the spaces most susceptible to visual fatigue. Staring at the same old, drab walls day after day has driven a growing wave of home improvement enthusiasm, with residents increasingly turning their attention toward upgrading their cooking spaces. Among the most impactful updates gaining traction is the installation of a stunning new tile backsplash, a project capable of elevating the aesthetic of an entire home without requiring a full-scale architectural renovation.
While the prospect of tiling a kitchen wall may initially appear daunting to novices, industry experts emphasize that achieving a professional, flawless finish is entirely attainable with the proper guidance, careful preparation, and the right set of tools. Transforming a kitchen vertical surface from mundane to magnificent involves a systematic approach, starting with material selection and surface preparation, and culminating in the finer arts of precise cutting, grouting, and sealing.
Selecting the Ideal Tile for Your Cooking Space
The foundation of any successful kitchen wall makeover begins with choosing the appropriate type of tile. The market offers a diverse array of materials, each bringing distinct aesthetic qualities and specific maintenance requirements to the culinary environment.
Ceramic tiles remain the most popular choice for kitchen walls. Manufactured from natural clay heated at high temperatures, these tiles offer exceptional durability and longevity. Because they are available in an extensive spectrum of colors, patterns, and dimensions, ceramic tiles provide homeowners with immense design versatility, allowing them to complement virtually any interior design scheme.
For those seeking an even higher level of resilience, porcelain tiles present a compelling alternative. While also crafted from clay, porcelain variations are fired at significantly higher temperatures. This intensive manufacturing process renders them denser, highly durable, and notably less porous than their ceramic counterparts. Available in finishes ranging from high gloss to understated matte, porcelain stands out as an exceptional option for high-traffic zones within a busy kitchen.

Homeowners aiming for a sleek, contemporary aesthetic frequently gravitate toward glass tiles. Beyond their modern visual appeal, glass surfaces are exceptionally easy to clean and maintain. Furthermore, their inherent reflective qualities can bounce natural and artificial light around the room, creating an optical illusion that makes smaller kitchens feel noticeably more spacious and airy.
For a more organic, grounded atmosphere, natural stone tiles—including marble, granite, and slate—introduce rustic character and unique textures. While these materials demand a higher level of ongoing maintenance compared to manufactured alternatives, their one-of-a-kind natural patterns infuse a kitchen with unmatched warmth and individual personality.
Essential Preparation: Cleaning, Measuring, and Marking
Before a single tile is pressed against the wall, meticulous preparation of the work surface is critical. Professionals stress that rushing through the foundational phases often leads to compromised results down the line. The preparation sequence generally encompasses thorough surface cleaning, precise measuring and marking, and the application of a primer when necessary.
Cleaning the wall surface is an absolute prerequisite. Kitchen walls frequently accumulate microscopic layers of grease, cooking residue, and dust over years of meal preparation. Eliminating these contaminants requires wiping down the entire work area with a damp cloth and allowing the substrate to dry completely to ensure optimal bonding conditions.
Once the walls are pristine, accurate measurement and layout planning take center stage. Installers typically employ a measuring tape, a reliable level, and a chalk line to map out the exact boundaries of the tiling zone. Best practices dictate starting the layout near the center of the wall and working outward toward the edges, incorporating tile spacers to guarantee uniform gaps between individual pieces.
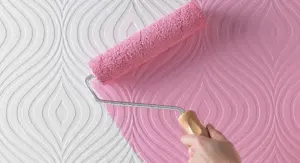
In scenarios where homeowners are tiling over previously painted surfaces or wallpaper, applying a specialized primer is strongly recommended. This preliminary coat improves the bonding capacity of the wall adhesive, securing a stable foundation for the heavy materials to come.
Mastering the Craft: Execution and Flawless Installation
Executing the physical installation requires patience, steady hands, and adherence to established techniques designed to prevent common structural pitfalls.
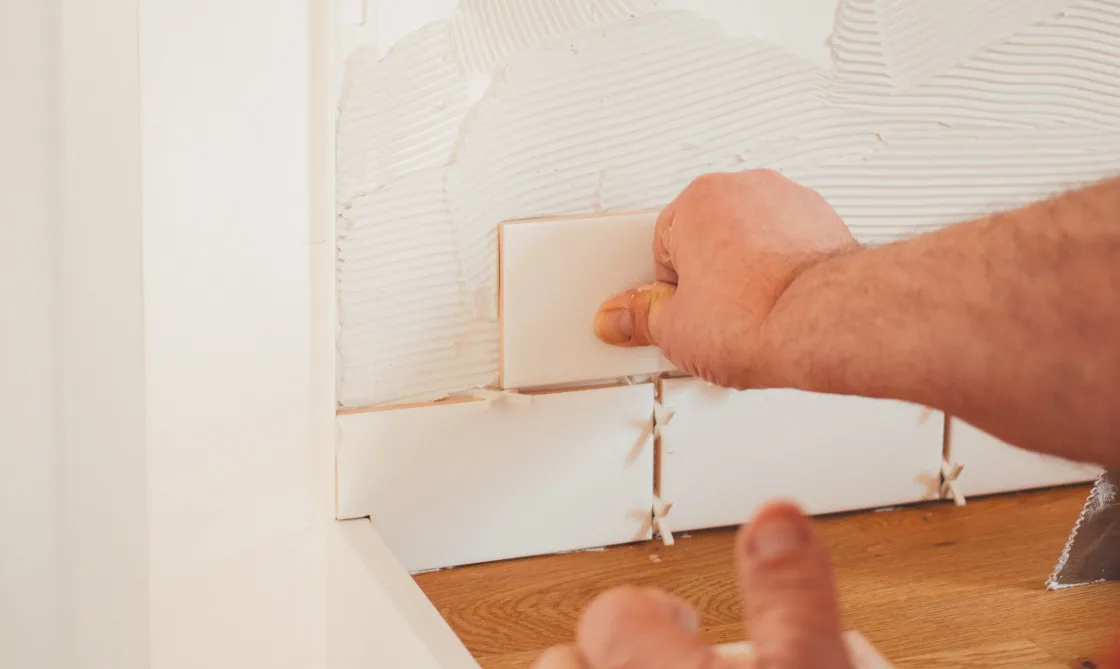
The process begins with the even distribution of tile adhesive across the wall using a trowel. Installers utilize the notched side of the trowel to comb parallel ridges into the adhesive bed. These ridges play a crucial mechanical role, collapsing under the pressure of the tile to create maximum surface contact and secure adhesion.
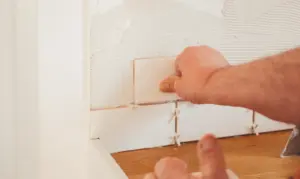
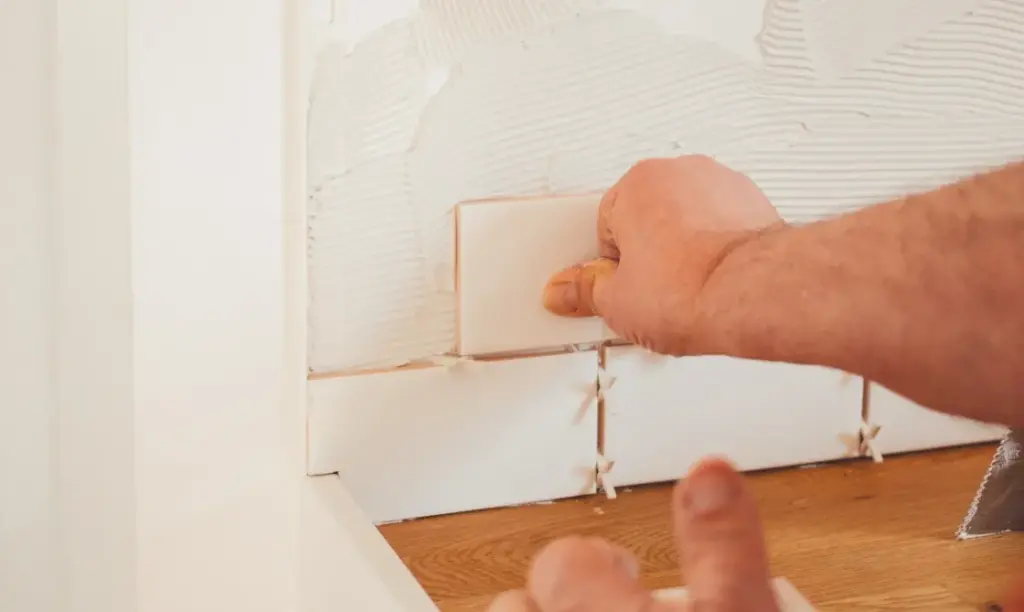
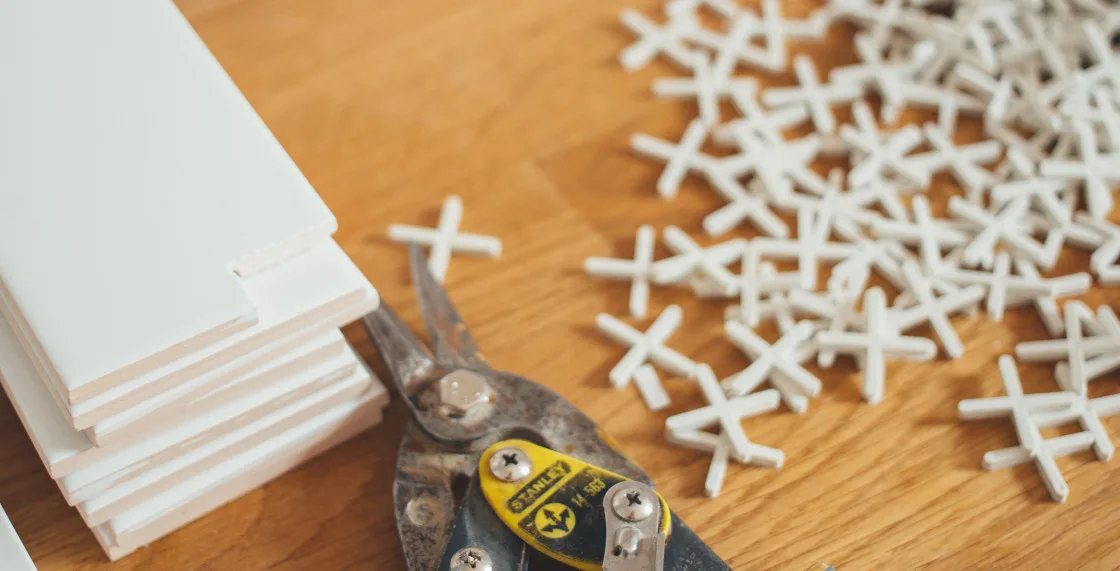
Placing the tiles proceeds systematically from the center outward. Each tile is pressed firmly into the adhesive bed, checked frequently with a level, and adjusted to ensure it remains flush with adjacent pieces. Spacers placed between the tiles maintain consistent grout lines, preventing the visual irregularities that can undermine an otherwise careful installation.
Encountering obstacles such as electrical outlets, cabinetry edges, and window frames is inevitable in any kitchen layout. To navigate these areas, installers rely on specialized tile-cutting tools, including manual tile cutters or wet saws. Taking precise measurements and making careful, incremental cuts ensures that the tiles fit snugly and neatly around architectural features without unsightly gaps.
Once all tiles are securely positioned, the installation must remain undisturbed to allow the adhesive to cure completely. Depending on the specific adhesive product used, this curing window typically spans twenty-four to forty-eight hours before any grouting work can commence.
Grouting, Sealing, and Protecting the Investment
With the adhesive fully cured, the project transitions to grouting, a crucial phase that fills the interstitial gaps, unifies the visual appearance of the wall, and protects tile edges from chipping and moisture intrusion.
Grout, a cement-based compound, is mixed according to the manufacturer’s exact specifications and applied across the tile surface using a rubber grout float. Working in manageable sections ensures the material can be worked deep into the joints before it begins to set. Excess grout is subsequently wiped away using a clean, damp sponge, with frequent rinsing required to prevent haze formation on the tile faces.
For installations featuring natural stone, an additional sealing step is necessary. Applying a compatible sealer protects both the stone and the grout lines from staining, moisture absorption, and chemical damage over years of daily kitchen use.
By avoiding common pitfalls—such as inconsistent spacing, uneven tile placement, and improper adhesive coverage—homeowners can successfully execute a transformative kitchen wall upgrade that enhances both the functionality and aesthetic value of their living space for years to come.