When property owners and builders look for a fast, efficient, and cost-effective way to line a masonry wall, the dot and dab method frequently emerges as the leading solution. Also widely referred to as dry lining or direct bonding, this technique remains one of the most reliable approaches for affixing plasterboard directly to bare block or brick walls without the time-consuming and labor-intensive requirements of traditional framing. By understanding the foundational principles, advantages, limitations, and execution of this process, both DIY enthusiasts and professional tradespeople can achieve professional-grade interior wall finishes.
At its core, dry lining through direct bonding involves applying specific adhesive dabs onto a masonry background and firmly pressing plasterboard sheets onto them. This establishes a strong, secure mechanical and chemical bond between the structural wall and the smooth internal surface. Because it eliminates the need to construct a secondary timber or metal stud framework, the process is remarkably quick. The finished surface often feels more solid and rigid compared to plasterboard mounted over an empty cavity frame, reducing hollow sounds and adding structural stability to the interior partition or perimeter wall.
However, like any construction or renovation technique, dot and dab comes with its own set of distinct advantages and disadvantages that must be carefully weighed before starting a project. On the positive side, the speed and affordability of the method make it exceptionally attractive for those working under strict schedules and tight budgets. Builders can bypass the complexities of framing entirely, moving swiftly from bare brickwork to a surface ready for decoration.

Conversely, achieving a perfectly flat finish requires a high degree of care and precision. Because the plasterboard is bedded onto individual adhesive dots and dabs rather than a continuous plane, improper leveling can create subtle undulations or bumps across the wall. Furthermore, if the adhesive is applied incorrectly—such as leaving gaps that allow airflow behind the boards—it can inadvertently create cold spots, leading to long-term issues with condensation, dampness, and mold growth. Another critical limitation to keep in mind is material compatibility. The dot and dab method cannot be used safely with foil-backed plasterboard. The adhesive bond simply fails to grip the metallic foil layer securely, creating a severe risk that the heavy plasterboard panels could eventually pull away from the wall under their own weight.
Before embarking on a direct bonding installation, preparation is key, and gathering all necessary materials beforehand ensures a smooth workflow. Installers need high-quality drywall adhesive, appropriate plasterboard sheets, a mixing bucket, a clean water source, a plastering trowel or hawk, a notched trowel, a spirit level for accuracy, and a trusty measuring tape. If the masonry wall in question is particularly uneven or weathered, incorporating a long straight edge into the toolkit becomes invaluable for checking alignment and ensuring the plasterboard panels sit completely flush and even across the entire surface.
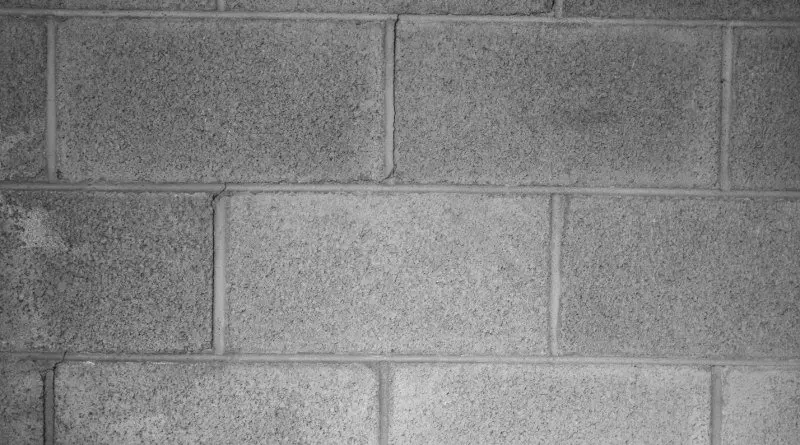
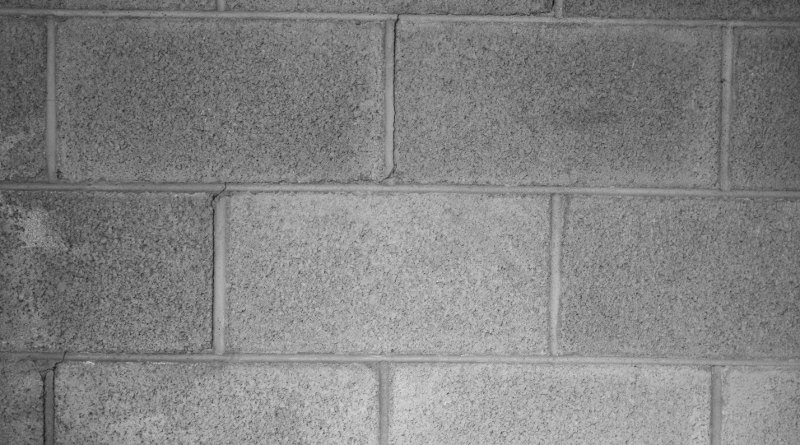
The installation process itself begins with thorough surface preparation. Masonry walls must be structurally sound, clean, and entirely free of dust, loose mortar, grease, or flaking paint that could compromise the adhesive bond. Many experienced tradespeople recommend treating the masonry surface before applying the adhesive. Specifically, lightly wetting the bare bricks or blocks prevents them from prematurely sucking the vital moisture out of the wet drywall adhesive. Alternatively, brushing on a diluted PVA and water mixture can serve as a more forgiving primer, sealing the porous masonry and slowing down the drying process of the bonding compound to give installers adequate working time.
Once the wall is properly prepared and primed, the adhesive is mixed to a smooth, workable consistency. Rather than covering the entire back of the board, the drywall adhesive is applied in evenly spaced vertical and horizontal ribbons, accompanied by distinct dabs around the perimeter and where joints will fall. This pattern ensures structural integrity while allowing enough clearance to level the board. The plasterboard is then hoisted into position against the masonry. Installers use a long straight edge and a spirit level, gently tapping the face of the board with a rubber mallet or the palm of their hand to press it firmly into the adhesive dabs until it aligns perfectly with adjacent panels and reaches the desired plumb line.
After the adhesive has cured and the plasterboard is securely anchored to the wall, attention turns to the finishing stages. The joints between individual plasterboard panels must be carefully taped and filled with a specialized joint compound to prevent cracking. Once the joints are flush and dry, workers can choose to apply a thin coat of finishing plaster, known as skimming, across the entire wall surface, or they can opt to decorate directly onto the bare plasterboard after a suitable primer is applied.
While the fundamental process of direct bonding is straightforward, adhering to a few professional tips can significantly elevate the quality of the final result. Maintaining consistent pressure across each board, ensuring adequate ventilation during the drying phase, and carefully monitoring room temperatures will prevent the adhesive from setting too quickly or unevenly.
When comparing direct bonding to traditional wet plastering, several practical differences emerge for those undertaking renovation projects. Plastering a bare masonry wall traditionally requires a high level of skill and manual dexterity that can challenge inexperienced DIYers, making dry lining a much more accessible alternative. That said, traditional plastering on solid brickwork typically yields a heavier, completely solid surface and avoids creating awkward, partially hollow cavities. These cavities can sometimes complicate the process of hanging heavy fixtures or cabinets on the wall in the future, requiring specialized fixings to bridge the gap between the plasterboard and the solid brick behind it.
Ultimately, whether used in a new partition build or a room refurbishment, the dot and dab method remains a cornerstone of modern interior construction. By understanding its mechanical requirements, respecting its material limitations, and executing each phase with patience and precision, renovators can harness the speed and efficiency of dry lining to achieve durable, professional-quality results on masonry walls.