The kitchen continues to hold its place as the heart of the modern home, prompting a surge in homeowners looking to revitalize drab cooking spaces with fresh wall tiles and striking backslashes. While upgrading a kitchen wall can initially appear to be an intimidating undertaking, industry experts and interior renovation specialists emphasize that achieving a professional-grade finish is entirely within reach for dedicated do-it-yourselfers who utilize the correct guidance, preparation, and specialized tools.
Transforming a kitchen through tiling involves far more than simply selecting an appealing design; it requires a systematic approach that spans material selection, rigorous surface preparation, precise adhesive application, and meticulous grouting. For households seeking to elevate their interior aesthetic without committing to a full-scale kitchen remodel, updating the backsplash or accent walls has emerged as a premier home improvement strategy.
Selecting the Right Tile Material for Your Space
The foundational step in any kitchen wall tiling project is determining the ideal tile material, as each option offers a distinct visual aesthetic, durability profile, and maintenance requirement.
Ceramic tiles remain the most popular choice for kitchen walls. Manufactured from natural clay fired at high temperatures, ceramic options offer exceptional durability and longevity. Furthermore, their vast availability in an expansive spectrum of colors, patterns, and dimensions makes them a remarkably versatile solution capable of complementing virtually any interior design scheme.

For spaces subject to heavier wear and tear, porcelain tiles present a robust alternative. While also clay-based, porcelain is fired at significantly higher temperatures than ceramic, rendering the finished product much denser, highly durable, and notably less porous. Available in finishes ranging from high-gloss sheens to understated matte textures, porcelain serves as an exceptionally resilient choice for high-traffic zones within the busy kitchen environment.
Homeowners striving for a sleek, contemporary aesthetic frequently gravitate toward glass tiles. Beyond offering a clean and modern visual appeal, glass surfaces are celebrated for their ease of cleaning and maintenance. Additionally, the natural reflective properties of glass tiles can work to visually expand smaller kitchens, making confined cooking areas feel brighter and more spacious.
Conversely, individuals seeking a more natural and rustic atmosphere often turn to stone tiles, including varieties such as marble, granite, and slate. While natural stone demands a higher level of maintenance and regular sealing compared to manufactured alternatives, the unique organic patterns and rich textures introduce substantial character and luxury to the culinary space.
Comprehensive Preparation: Cleaning, Measuring, and Marking
Industry professionals consistently stress that the ultimate success of a tiling project depends heavily on the quality of the surface preparation performed before a single tile is laid. Before applying any adhesive, the designated wall area must undergo thorough cleaning to eliminate accumulated dust, dirt, and kitchen grease. Wiping down the surfaces with a damp cloth and allowing complete drying time ensures a clean canvas for the installation process.
Once the walls are pristine, precise measuring and marking become critical. Installers typically utilize measuring tools, spirit levels, and chalk lines to map out the exact grid for the installation. Best practices dictate starting the layout from the precise center of the wall and working outward toward the edges, incorporating tile spacers to maintain uniform and consistent gaps between individual pieces.
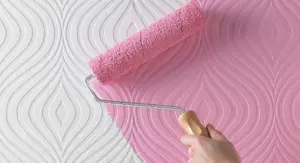
Surface composition also dictates additional preparatory steps. When tiling over previously painted or wallpapered walls, applying a dedicated primer is strongly recommended. Priming promotes superior adhesion between the wall substrate and the bonding mortar, ensuring the long-term stability of the installation in accordance with manufacturer specifications.
Mastering Installation Techniques and Overcoming Obstacles
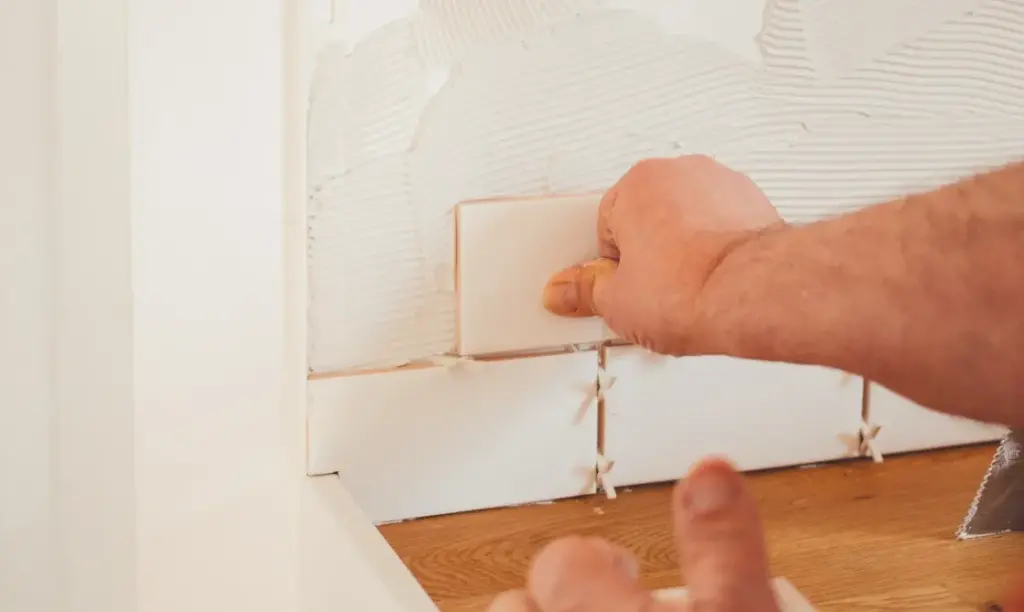
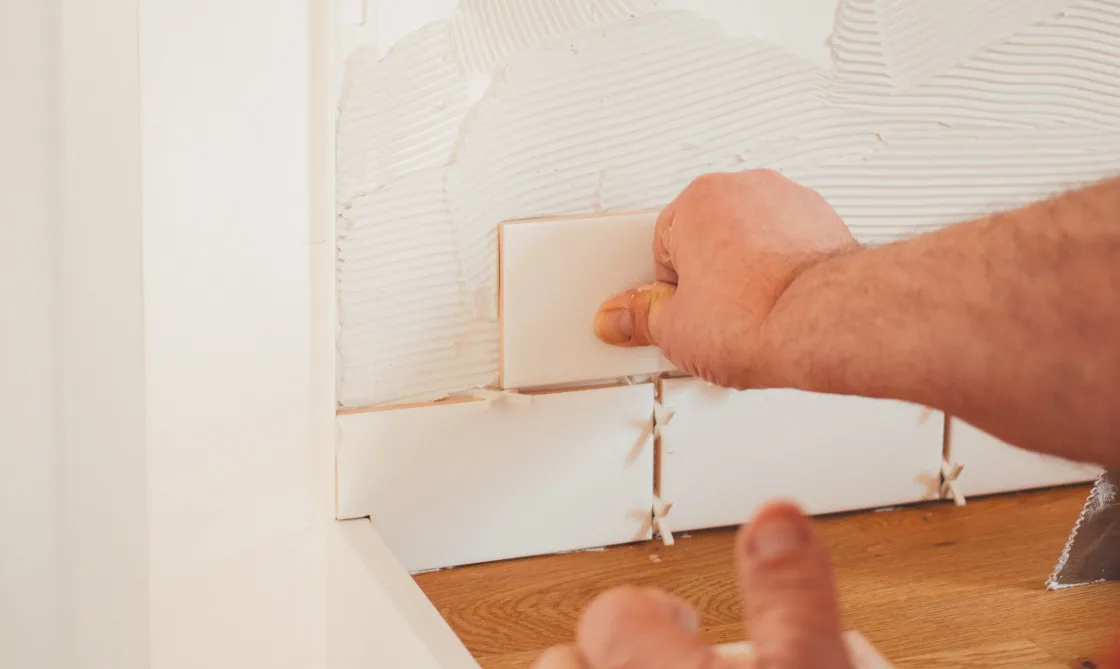
Executing a flawless tile installation requires careful attention to adhesive application and tile placement. Professionals utilize a notched trowel to spread the bonding agent evenly across the wall substrate, creating consistent ridges that maximize the grip and secure placement of each tile.
Working outward from the central reference point, installers press every tile firmly into the adhesive bed, continually verifying alignment with a level to guarantee that each piece remains flush with its neighbors. Intermittent challenges, such as navigating around electrical outlets, cabinetry, and window frames, require precise cutting using manual tile cutters or wet saws to achieve accurate, tailored fits.
Following placement, the adhesive must be granted adequate time to cure fully. Depending on the specific formulation used, this drying phase typically spans between 24 and 48 hours, during which time the wall must remain undisturbed prior to the grouting phase.
Grouting, Sealing, and Avoiding Common Pitfalls
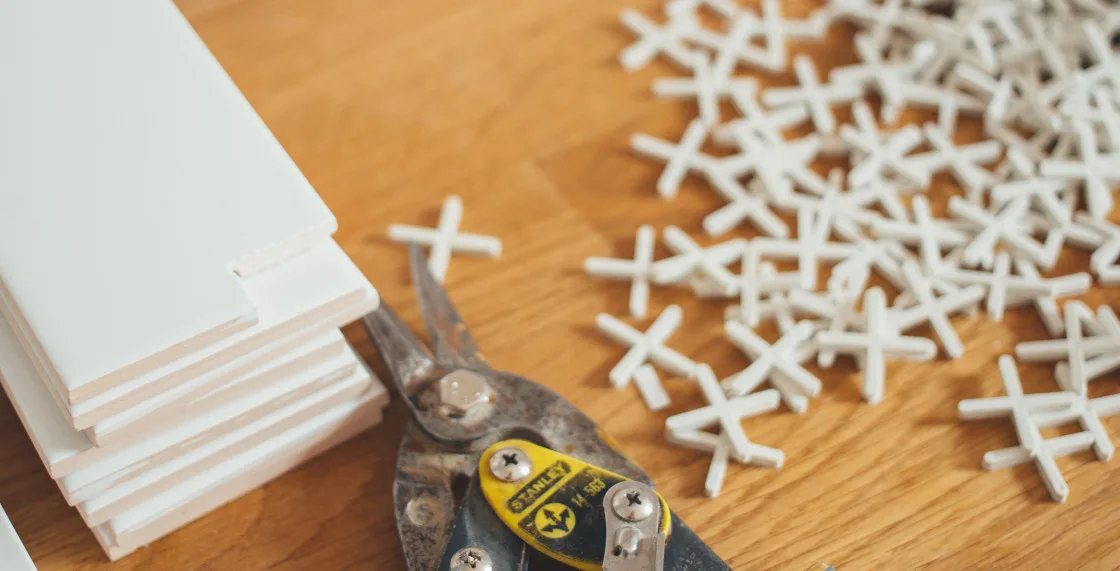
Once the adhesive has cured completely, the application of grout provides the finishing structural and aesthetic layer. Grout fills the expansion gaps between tiles, locking the layout into place and protecting vulnerable tile edges from chipping during daily kitchen activities. Using a rubber grout float, installers work the cement-based mixture into the joints in manageable sections before wiping away excess material with a damp sponge, taking care to frequently rinse the sponge to maintain clean lines.
For installations featuring natural stone, applying a specialized sealer to the cured grout is an essential final step to guard against moisture penetration and stubborn staining from kitchen oils and food splatters.
Throughout the process, avoiding common execution errors remains paramount. Professionals warn against inconsistent spacing, which instantly degrades the visual quality of the finished wall, and improper adhesive coverage, which can cause loose tiles over time. By maintaining rigorous attention to leveling, spacing, and adhesive consistency, homeowners can achieve a professional-quality renovation that transforms the character of the entire home.