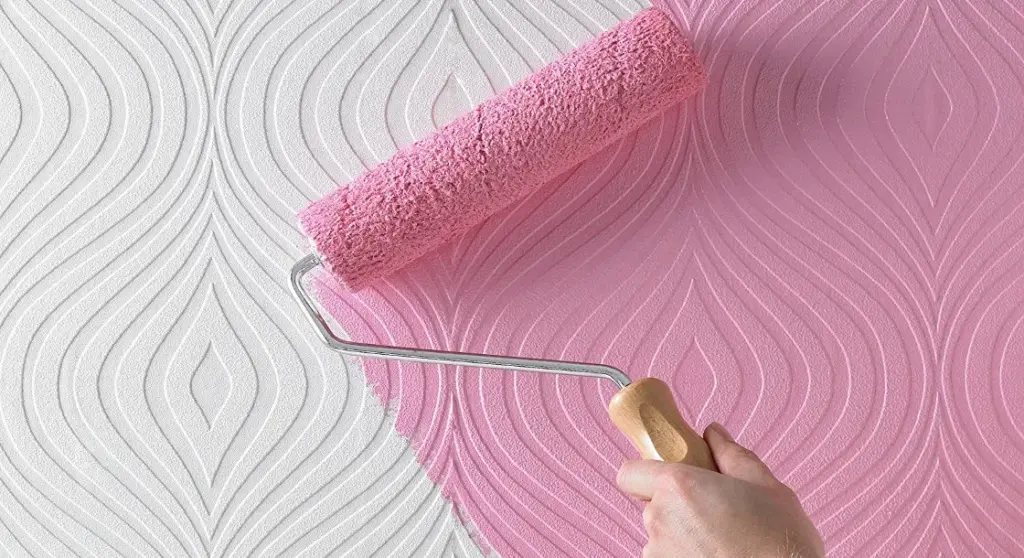
Homeowners looking for a faster, more efficient way to revamp an interior space often consider painting directly over existing wallpaper rather than going through the laborious process of stripping the paper, preparing the bare plaster, and painting from scratch. While this shortcut can save significant time and effort, industry experts and DIY professionals warn that taking the easy route requires careful evaluation, as several critical pitfalls can ruin a room makeover if ignored.
The decision to pick up a roller and apply paint straight onto wallpaper hinges almost entirely on the current state of the wall covering. Before any investment is made in paint or primers, homeowners must thoroughly inspect the room to ensure the wallpaper is securely adhered, free from major damage, and structurally sound. If the existing paper is in poor condition, featuring widespread tears, holes, or heavy wear, attempting to paint over it is rarely a viable solution. In such cases, stripping the compromised material and addressing the bare wall beneath remains the recommended course of action.
A particularly telling warning sign is wallpaper that is peeling in multiple areas across the room. Even if the paper is not physically ripped, widespread peeling indicates that the underlying adhesive paste is failing. This failure can stem from the use of low-quality paste during the original installation or, more commonly, from moisture and dampness issues within the room that have broken down the adhesive bond over time. Painting over peeling wallpaper only traps the underlying issues, leading to further bubbling, detachment, and an unsightly finish shortly after the job is completed.
However, minor issues do not automatically rule out the technique. If peeling is strictly localized to a single, isolated area, it is often possible to carefully re-secure the loose section using dedicated wallpaper paste. Homeowners must execute this repair meticulously, smoothing out any trapped air bubbles and allowing the paste to dry completely before taking any further steps toward painting.
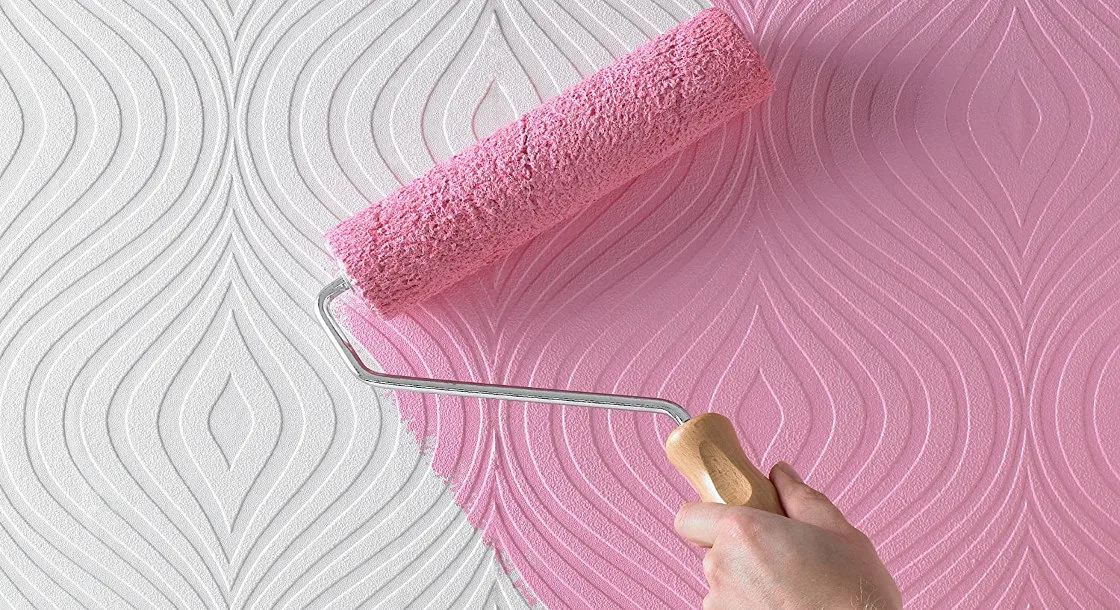
When it comes to the type of wallpaper best suited for this method, plain and flat surfaces offer the most straightforward results. Textured and heavily patterned wallpapers can also be painted over, provided the homeowner is comfortable with the underlying relief and design remaining visible beneath the fresh coats of paint.
Assuming the initial inspection confirms the wallpaper is stable and undamaged, the preparation phase is relatively straightforward compared to traditional wall stripping. Protecting trim, skirting boards, and fixtures with painter’s tape helps ensure clean lines, setting the stage for the crucial priming process.
Even when dealing with light-coloured or unpatterned wallpaper, applying at least one coat of primer is strongly advised by professionals. Primer creates a uniform base, helps achieve a clean and professional finish once the topcoat is applied, and makes the underlying paper much easier to cover fully with fewer coats of paint.
A critical technical consideration during this phase involves the choice of primer. Water-based primers can easily soak directly into the wallpaper, potentially re-wetting the old paste and compromising the adhesion of the paper to the wall. To avoid this hazard, professionals recommend utilizing an oil-based primer or a specialized all-in-one primer and sealer, which effectively seals the surface without threatening the integrity of the underlying wallpaper paste. Applying one to two coats and allowing adequate drying time ensures the surface is properly stabilized before the final colour is introduced.

Once the primer has cured completely, homeowners can select their preferred topcoat paint colour and begin transforming the space. Yet, even with meticulous planning and preparation, minor challenges can occasionally arise during the painting process.
One common issue involves the appearance of gaps between individual strips of wallpaper. While a correctly hung room should not feature noticeable seams, wallpaper naturally shrinks slightly as it dries after being pasted, occasionally leaving thin gaps between the sheets. While this shrinkage does not completely derail a painting project, it requires targeted intervention before the final aesthetic is achieved.
Assuming the wallpaper is otherwise firmly affixed and structurally sound, these gaps can be successfully concealed using a suitable wall filler. To achieve the best results, this remedial work should be carried out after the primer coats have been applied. Once the primer has completely set, the filler must be carefully sanded back until it is perfectly flush with the level of the surrounding paper. Because any raised filler will stand out dramatically once painted over, taking the extra time to achieve a smooth, level surface is essential for a professional-looking result.