Wallpapering has long held a reputation as a frustrating home improvement chore, often associated with tangled rolls of paper, messy adhesive, and mismatched patterns. However, home improvement specialists and interior design experts emphasize that with the correct preparation and a methodical approach, hanging wallpaper can be significantly easier than it first appears. By following a few fundamental rules, transforming a room with fresh wall coverings becomes a straightforward undertaking rather than an overwhelming renovation trial.
Understanding the process involves comprehensive planning, careful surface preparation, and precise execution to ensure minimal fuss. At the same time, recognizing common pitfalls—such as tearing paper, visible seams, or trapped air bubbles—allows homeowners to anticipate challenges and avoid them entirely. Whether tackling a statement accent wall or an entire room, mastering the basics remains the key to achieving a professional-grade finish.
How Much Wallpaper Will You Need?
Accurately estimating the required amount of wallpaper is one of the most critical steps in any decorating project. Property owners frequently make the mistake of simply measuring the basic floor dimensions or wall surface areas without factoring in critical variables such as roll length, width, and pattern matching. For instance, selecting a heavily patterned wallpaper naturally increases the required quantity because additional paper is wasted while aligning motifs across adjacent strips.
Standard wallpaper rolls typically measure 53 centimeters wide and 10 meters long, making basic calculations manageable once room dimensions are established. Even when dealing with non-standard dimensions, a simple mathematical approach prevents shortages. By measuring wall height from the skirting board to the ceiling and dividing the roll length by that figure, decorators can determine how many full wall lengths a single roll provides. For example, a room with a 2.4-meter ceiling height yields four wall lengths from a standard 10-meter roll.
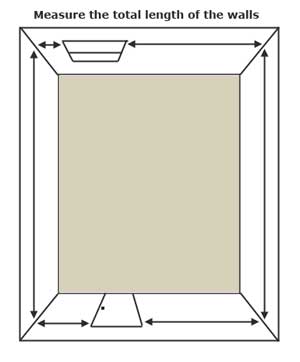
Calculating the total horizontal perimeter—excluding doors and windows—and dividing that figure by the wallpaper width reveals the total number of vertical strips required. Dividing the total strip count by the number of lengths per roll provides the baseline estimate. Professionals consistently recommend adding an extra margin, typically purchasing one or two additional rolls above the strict mathematical calculation, to account for trimming errors, pattern matching waste, and potential mistakes. For those who prefer a more automated approach, digital wallpaper calculators offer a reliable alternative to manual arithmetic.
How to Choose Wallpapering Paste
Selecting the correct adhesive is just as important as choosing the paper itself. The market offers a wide variety of wallpaper pastes, most commonly formulated as a powder or dry flakes that require mixing with water. These traditional options allow decorators to adjust the consistency depending on the weight of the paper. Alternatively, pre-mixed pastes are widely available; while they generally carry a higher price tag, their convenience and consistent texture make them particularly appealing to beginners and those looking to streamline the application process.
Tools You Will Need for Wallpapering
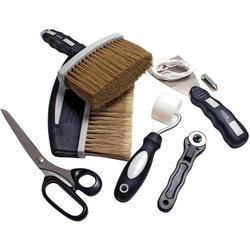
While the hardware market features hundreds of specialist gadgets designed for professional decorators, a standard wallpapering project requires only a modest toolkit. At a bare minimum, achieving clean results relies on a sharp utility knife or trimming scissors, a pasting table, a plumb line or chalk for establishing straight reference lines, a smoothing brush or plastic smoother to eliminate air bubbles, a seam roller for securing edges, and clean damp sponges for wiping away excess adhesive. Having these fundamental instruments prepared beforehand prevents unnecessary interruptions during the hanging process.
Preparation Before You Start Hanging Wallpaper
Thorough preparation lays the groundwork for a successful installation. Before opening any paste, decorators must measure the room height and add approximately 100 millimeters to create a generous trimming margin at the top and bottom. Recording this measurement in a visible location helps prevent costly sizing errors. When working with prominent patterns, extending the top and bottom margins even further provides essential room for vertical adjustments. Cutting the first few strips in advance and laying them face down on a clean pasting table streamlines the workflow.
Simultaneously, the wall surface itself demands meticulous attention. Walls must be entirely clean, dry, and free from dust, protruding nails, or old filler. For rooms with newly plastered surfaces, ensuring the underlying plaster skim coat has cured and dried completely is vital; applying wallpaper over damp plaster invariably leads to adhesion failures and mold growth down the line.
How to Paste the Wallpaper
Applying adhesive correctly requires patience and attention to detail. Pasting must be applied evenly across the reverse side of the paper, working outward from the center to the edges to ensure complete coverage. Once pasted, the paper requires a specific soaking time—often referred to as book-ending or relaxing—where the sheet is folded loosely upon itself without creasing the main fold.
This soaking period allows the paper to expand fully before it is hung on the wall. To keep the workspace organized, pasted sheets can be draped over a clean broom handle suspended between two chairs, allowing decorators to prep subsequent sheets while the first one achieves its necessary soak.
Where Should You Start Wallpapering?
Determining the ideal starting point depends heavily on the architectural features of the room. If the space features a dominant focal point, such as a chimney breast, decorators should begin there. Measuring the width of the feature and marking a plumb center line with chalk provides a straight reference edge, allowing the papering process to expand symmetrically outward.
In rooms lacking an obvious focal point, starting on the wall closest to the main window is standard practice. This strategic placement minimizes the visual impact of shadows cast by slight overlaps between adjacent wallpaper strips. By measuring out from the corner by a distance equal to the wallpaper width minus 50 millimeters, decorators can use a plumb line to establish a straight vertical guide. The initial strip is then positioned to wrap around the internal corner onto the window wall by a small margin, ensuring a seamless transition.
Hanging the First Sheet of Wallpaper
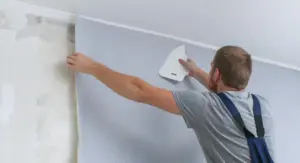
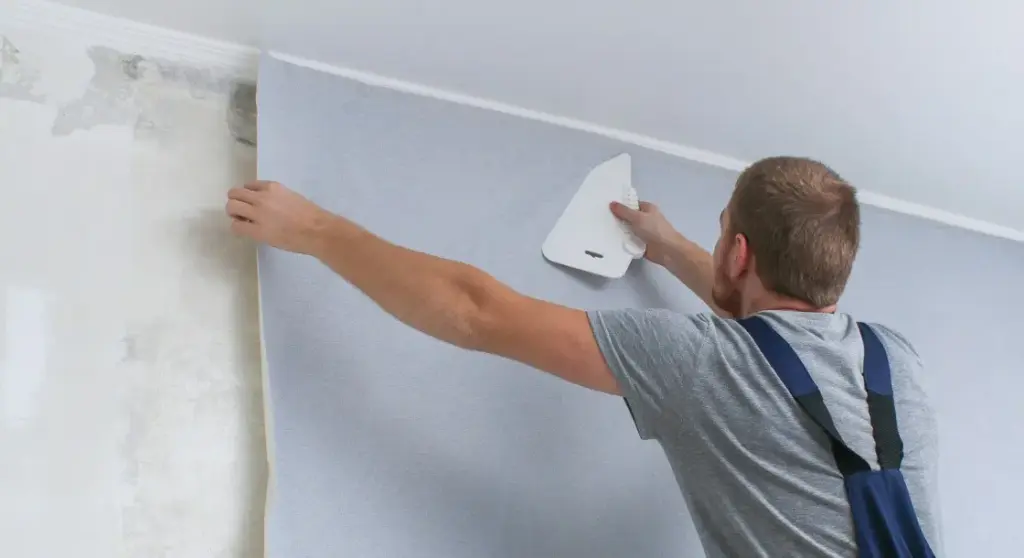
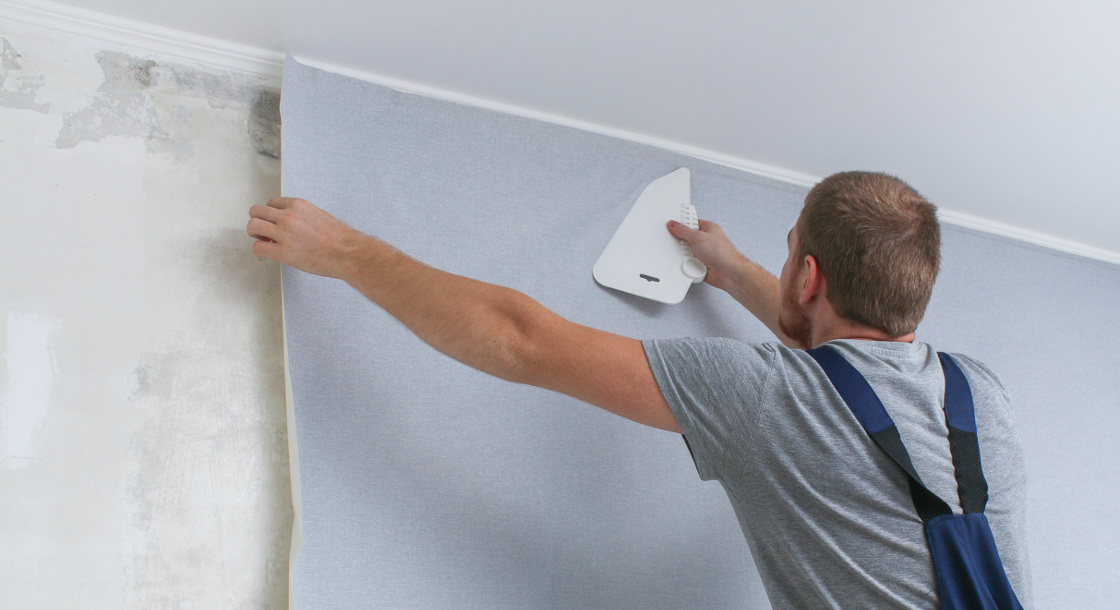
Aligning the first sheet against the established plumb line is the defining moment of the installation. Once the initial strip is correctly positioned against the vertical guide, decorators gently smooth the paper downward and outward using a smoothing brush, driving out trapped air pockets. The excess paper at the ceiling and skirting board is then gently creased against the angle and trimmed using a sharp blade or scissors. Subsequent sheets follow this exact precedent, carefully butted edge-to-edge against the previous strip rather than overlapping, and secured along the joints with a light pass from a seam roller.
Wallpapering Around Corners
Navigating internal and external corners requires precise techniques to prevent wrinkles and lifting. For internal corners, paper is wrapped slightly around the bend, with subsequent sheets overlapped to maintain pattern continuity without creating excessive bulk in the corner angle. External corners are handled similarly, wrapping the paper smoothly around the protruding edge while maintaining vertical alignment using a plumb reference.
Doors and Windows
Encountering doorframes and window recesses introduces unique geometry to the task. When reaching a doorframe, pressing the paper firmly into the angle between the wall and the wooden architrave creates a clean crease. Pulling the paper back slightly allows for precise trimming before brushing the edge back into its final position. Windows require careful patching, particularly around upper corners of the recess, where precut sections are applied after the main side panels are secured to ensure complete coverage without stretching the paper.
How to Avoid Wallpapering Problems
Anticipating common issues safeguards the final aesthetic of the room. Paper tearing during handling or hanging typically indicates that the adhesive has been mixed too thin or applied too heavily, requiring a thicker consistency and a lighter touch. Similarly, visible white seams after drying often stem from improper edge-butting or insufficient soaking time before installation, a risk that can be mitigated by applying a base layer of lining paper prior to the decorative wallpaper.
Air bubbles, while occasionally inevitable, should be minimized through even adhesive distribution and proper soaking. Existing bubbles can be resolved by carefully piercing the paper with a sharp blade, releasing trapped air or excess paste, and smoothing the surface flat. Creases around corners, lifting seams, and peeling sheets are frequently traced back to inadequate paste application near the edges or underlying paint residue such as distemper. Addressing these foundational issues with thorough wall cleaning, proper lining, and targeted re-pasting ensures a durable and polished result that stands the test of time.