When it comes to room transformations and home interior updates, deciding how to handle old wallpaper is often the first major dilemma faced by decorators. Opting to paint directly over existing wallpaper can serve as a considerably faster and more efficient way to revamp a living space, bypassing the tedious, time-consuming process of stripping old paper off the walls, repairing the plaster beneath, and preparing a bare surface for a fresh coat of color. However, industry experts and seasoned renovators note that this shortcut comes with a distinct set of challenges, and ignoring crucial preliminary checks can lead to costly and frustrating mistakes down the line.
Before any homeowner commits to rolling paint over their current walls, a thorough inspection of the wallpaper’s overall condition is essential. The primary prerequisite for a successful paint job is that the paper itself must be in sound condition, entirely free from major rips, tears, or structural damage. If the existing wallpaper is severely worn, heavily damaged, or compromised, attempting to paint over it is rarely a viable solution. In such cases, professionals generally advise that stripping the paper and painting the bare wall afterward is the only reliable path to a lasting finish.
Another critical warning sign for decorators is widespread peeling. Even if the paper is not physically torn, wallpaper that is lifting away from the wall in multiple areas indicates that the underlying adhesive paste is failing. This failure can stem from a variety of factors, ranging from the use of low-quality paste during the initial installation to moisture issues and dampness within the room that have gradually broken down the bond. Painting over compromised adhesive is strongly discouraged, as the added weight of primer and topcoats will almost certainly accelerate the peeling process, ruining the new paint job within a short timeframe.
At the same time, minor issues do not necessarily mean the entire room needs to be stripped. If peeling is strictly localized to a single, isolated area, it may still be possible to salvage the wall by carefully re-sticking the loose section with fresh wallpaper paste before moving forward with any painting preparations. Decorators undertaking this fix must work with precision to smooth out air bubbles and allow the paste to dry completely before applying any liquids over the repaired patch. Regarding the style of the paper, plain and flat surfaces are inherently the most suitable candidates for direct painting. Nevertheless, textured and patterned papers can also be painted over, provided the homeowner is comfortable with the underlying texture remaining visible through the new color layers.
Preparing Wallpaper for Painting
Once a homeowner has thoroughly inspected the room and confirmed that the existing wallpaper is structurally sound, the necessary preparation work for the painting phase is generally straightforward compared to starting from raw plaster. Because the foundational layer is already in place, the primary focus shifts to creating a clean, stable surface that will accept new coatings without reacting negatively to moisture or oils.
The physical environment of the room must be readied, which involves protecting trim, fixtures, and flooring using decorator’s masking tape and protective sheeting. Proper preparation at this stage ensures clean lines and prevents accidental paint splatter on adjacent surfaces. With the room prepped and protected, the project can transition smoothly into the critical priming phase.
Priming Wallpaper for Painting
Even when dealing with light-colored or unpatterned wallpaper, applying at least one coat of primer is heavily recommended by painting specialists. A proper primer layer ensures a uniform, clean finish once the final topcoat is applied, while also blocking old patterns from bleeding through and making the underlying paper much easier to cover.
A major technical pitfall that DIY decorators frequently encounter involves choosing the wrong type of primer. Water-based primers can easily soak too deeply into the porous wallpaper and reactivate the old paste underneath, severely compromising the adhesion of both the paper and the new paint. To prevent this issue, experts recommend using an oil-based primer whenever painting over wallpaper. Specialized products, such as all-in-one primer and sealer formulations designed for difficult surfaces, provide an effective barrier that locks down the paper and creates a stable foundation. Applying at least one coat—though ideally two—and allowing it to dry completely is vital before moving on to the final painting steps.

How to Paint Over Wallpaper
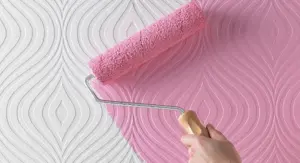
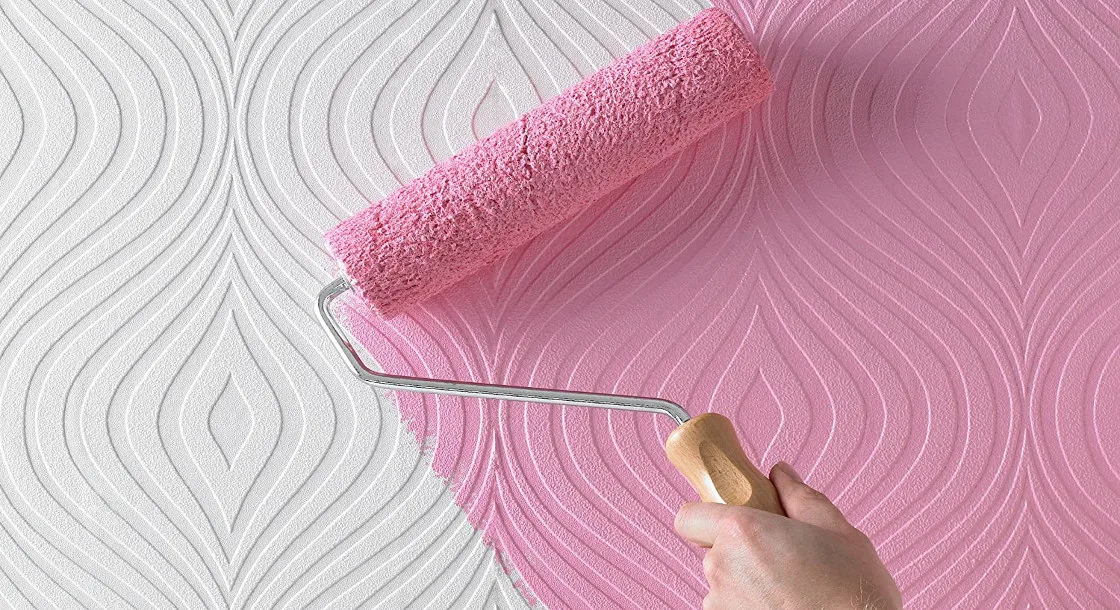
With the priming stage successfully completed and thoroughly dried, decorators can select their desired topcoat paint color and begin the process of transforming the room’s aesthetic. High-quality rollers and brushes are typically employed to distribute the paint evenly across the primed surface, ensuring that all edges and corners receive adequate coverage. Multiple thin coats of topcoat are generally preferred over a single thick application to achieve a professional, streak-free appearance while minimizing the risk of drips or runs on the vertical surfaces.
Problems With Painting on Top of Wallpaper
While planning, thorough preparation, and the correct choice of materials make painting over wallpaper a viable and efficient method for room renovation, certain complications can still arise. Fortunately, most of these issues can be successfully resolved or mitigated with a modest amount of extra remedial work.
Gaps Between Wallpaper Strips
One of the most common issues encountered when painting over older installations involves gaps opening up between individual strips of wallpaper. If the paper was hung correctly, these gaps should not exist; however, as wallpaper dries out completely over years of exposure to changing room temperatures, it can sometimes shrink slightly, leaving thin, noticeable lines between the sheets.
While this shrinkage is not an immediate dealbreaker for a painting project, it cannot be ignored, as paint will settle into the crevices and highlight the separations. Assuming the rest of the wallpaper remains firmly affixed to the wall, decorators can resolve this issue by using a fine filler to conceal the gaps between the sheets. Crucially, this corrective step should be performed after the primer coats have been applied. Once the primer has fully set, the filled areas must be carefully sanded back until they are perfectly flush and level with the surrounding paper. Any raised filler will show up prominently and detract from the finish once the final topcoat is applied, making patience and precision during the sanding phase essential to achieving a polished result.