Homeowners looking to revitalize their living spaces are increasingly turning their attention to kitchen walls and backsplashes as a primary focal point for interior upgrades. Tiling a kitchen wall is widely regarded as one of the most effective ways to elevate the aesthetic appeal of a cooking space, yet the prospect of undertaking such a project can often feel daunting for amateur renovators. Industry experts and interior specialists are emphasizing that with proper preparation, careful material selection, and attention to detail, achieving a flawless, professional-grade finish is entirely within reach for those willing to tackle the task themselves.
The process begins long before the first tile is ever pressed against the wall. According to design and home improvement authorities, selecting the appropriate type of tile is the foundational step that dictates both the visual character and the long-term maintenance requirements of the kitchen. The market offers a diverse array of options, each tailored to different functional needs and design preferences.
Ceramic tiles remain the most popular choice for kitchen walls. Manufactured from clay that undergoes heating at high temperatures, these tiles offer exceptional durability and longevity. Their widespread appeal is further bolstered by an extensive variety of available colors, patterns, and sizes, making them a remarkably versatile option capable of complementing virtually any kitchen design scheme

.
For those seeking an even higher level of durability, porcelain tiles present a compelling alternative. While also crafted from clay, porcelain tiles are fired at significantly higher temperatures, rendering them denser, less porous, and even more resilient than their ceramic counterparts. Available in finishes ranging from high gloss to matte, porcelain is frequently recommended for high-traffic areas within the kitchen where resistance to moisture and wear is paramount.
Homeowners aiming for a sleek, contemporary aesthetic often gravitate toward glass tiles. Beyond delivering a modern visual appeal, glass tiles are noted for their ease of cleaning and maintenance. Furthermore, their inherent reflective qualities can play a significant role in making a compact or modest kitchen feel considerably more spacious and open.
For those desiring a natural, rustic aesthetic, stone tiles—including varieties such as marble, granite, and slate—introduce unique textures and organic character to a space. While natural stone demands a higher level of maintenance and specialized care compared to manufactured alternatives, the distinct patterns and timeless elegance they provide can fundamentally transform the atmosphere of a room.
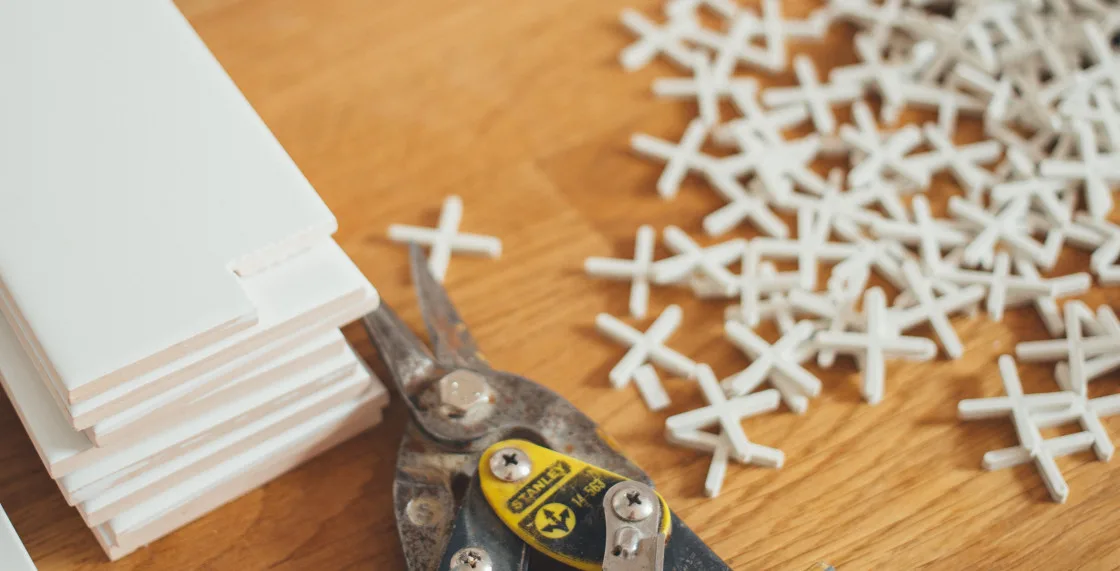
Before initiating the physical installation, securing the correct suite of tools and materials is critical to preventing frustration and ensuring structural integrity. Professionals stress that investing in high-quality supplies—ranging from robust adhesives and appropriate trowels to reliable levels and precision tile cutters—plays a decisive role in streamlining the workflow and achieving a polished end result. Skimping on foundational materials often leads to complications during installation and compromises the durability of the finished surface.
Surface preparation represents another crucial phase that cannot be rushed. Before any adhesive is applied, the wall must undergo thorough cleaning to eliminate accumulated dust, dirt, and grease that could otherwise interfere with the bond. Once the surface is wiped down with a damp cloth and allowed to dry completely, meticulous measuring and marking must take place. Utilizing measuring tapes, levels, and chalk lines helps establish accurate reference points, usually beginning at the center of the wall and working outward to maintain visual symmetry. Additionally, applying a primer to previously painted or wallpapered surfaces is strongly advised to enhance the adhesive qualities of the wall.
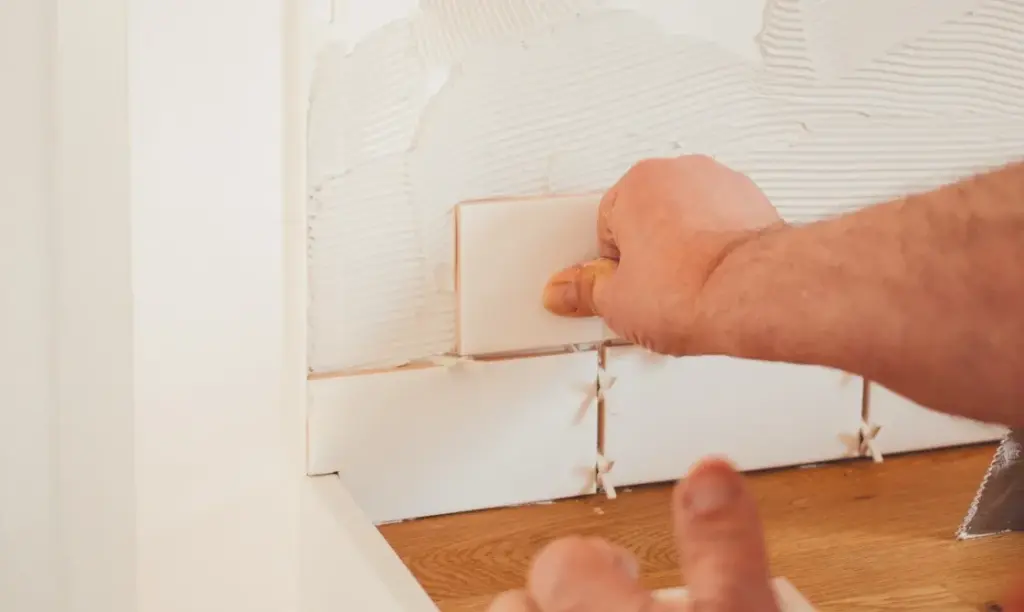
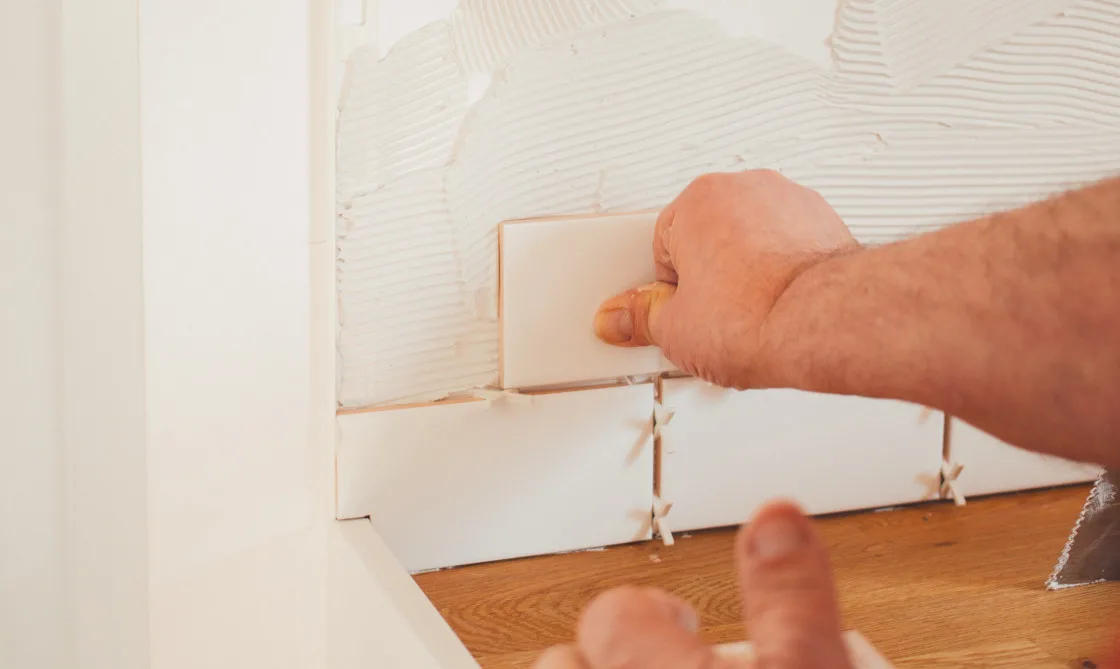
Once the groundwork is laid, the installation phase requires patience and precision. Spreading the adhesive evenly with the notched side of a trowel creates essential ridges that maximize tile contact and support. Tiles are then firmly pressed into place, starting from the center and moving outward while incorporating spacers to guarantee uniform gaps between each piece. Navigating obstacles such as electrical outlets, cabinetry, and windows necessitates careful measuring and precise cutting using a tile cutter or wet saw. After every tile is properly positioned and leveled, allowing the adhesive sufficient time to cure—typically between 24 and 48 hours depending on the specific product formulation—is essential before progressing to the next stage.
The final major phase of the project involves grouting and sealing. Grout, a cement-based compound, serves the dual purpose of filling the gaps between tiles for a cohesive appearance and protecting the vulnerable edges from chipping. Using a rubber grout float, the mixture is applied in manageable sections, after which excess material is carefully cleaned away with a damp sponge, taking care not to disturb the fresh lines. When natural stone tiles are used, applying a specialized sealer to the grout is necessary to guard against staining and moisture infiltration over time.
Throughout the process, renovators are cautioned to remain vigilant against common pitfalls that can detract from the final outcome. Inconsistent spacing resulting from the omission of tile spacers, improper adhesive application that leaves voids beneath the surface, and uneven tile placement that disrupts the overall plane of the wall are among the primary factors that distinguish a professional installation from a substandard one. By adhering to established installation techniques and maintaining meticulous standards of cleanliness and alignment, homeowners can successfully navigate the complexities of wall tiling and achieve a lasting transformation within their homes.