Before committing to a paintbrush and a fresh coat of color, property owners must thoroughly inspect the condition of the wallpaper currently on the walls. The foundational rule of this technique is that the underlying paper must be structurally sound, firmly adhered, and entirely free from major rips, tears, or extensive damage. If the wallpaper is already failing, compromised by dampness, or showing signs of heavy wear, attempting to paint over it is strongly discouraged. In such cases, the extra effort required to completely strip the paper and prepare the bare wall is unavoidable to ensure long-term durability.
Wallpaper that is peeling in multiple areas serves as a clear warning sign. This behavior typically indicates that the original adhesive paste is losing its grip, often due to low-quality installation materials or historical moisture issues within the room. Applying heavy wet paint to already lifting paper will only accelerate the failure, causing the wallpaper to bubble, sag, and detach completely from the drywall or plaster underneath.
However, minor imperfections do not necessarily mean the entire room must be stripped. If peeling is strictly localized to a single, isolated spot, it is often possible to carefully re-secure the loose edge using appropriate wallpaper paste. This remedial step must be executed with precision, ensuring that all trapped air bubbles are smoothed out before the adhesive is allowed to dry completely. Only after the repaired area is fully stabilized should any painting commence.
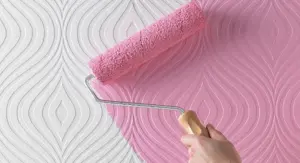
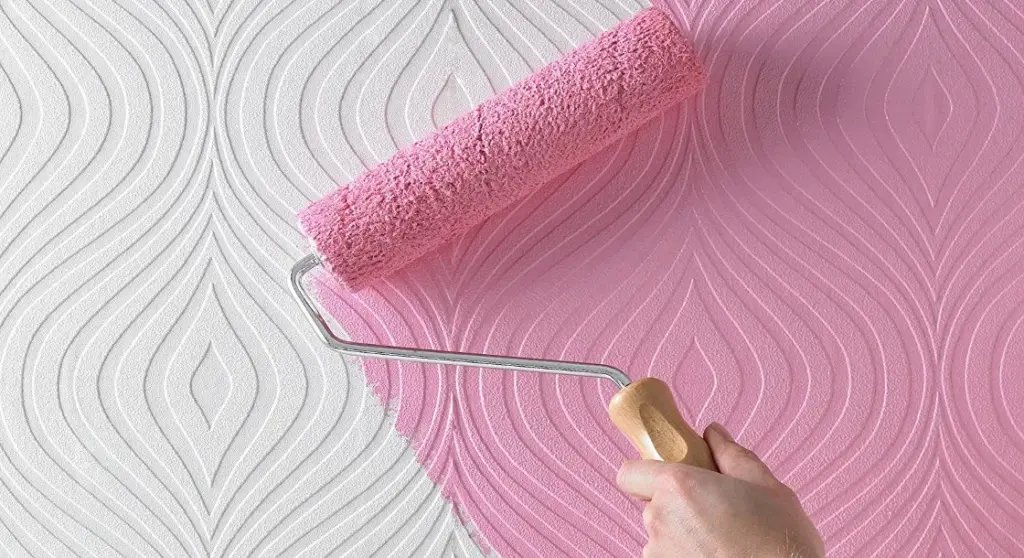
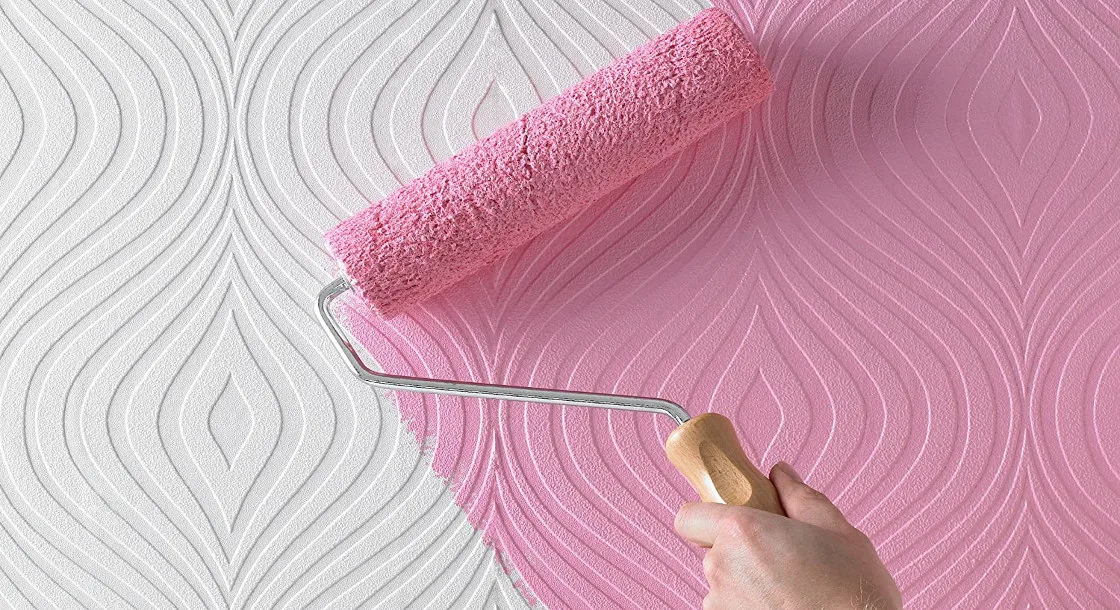
When it comes to the style of the paper, plain and flat surfaces are inherently the most compatible for painting. Textured and heavily patterned wallpapers can still be painted over, but decorators must accept that the underlying dimensional features, embossed designs, or patterns will remain visible beneath the new color layer, creating a distinct visual texture that some homeowners embrace for character while others find distracting.
Preparing Wallpaper for Painting
Assuming a thorough inspection confirms that the wallpaper is clean, dry, and securely fastened, the preparatory phase before actual painting remains relatively straightforward compared to a full wall-stripping project. The primary focus shifts from demolition to surface stabilization and meticulous area protection, ensuring that surrounding trim, ceilings, and flooring are adequately shielded with professional-grade masking tape and drop cloths.
With the room fully prepared and cleared of obstacles, the critical next phase involves priming the surface. Even when dealing with light-colored or unpatterned wallpaper, applying a dedicated primer coat is widely regarded as an indispensable step by painting professionals. A quality primer ensures a uniform, clean finish once the final topcoat is applied, while simultaneously sealing the paper to make future coverage smoother and more consistent.
A common mistake made by inexperienced DIYers is reaching for a standard water-based primer. Because wallpaper is porous and water-sensitive, water-based formulas can easily soak deep into the paper layers, reactivate the old wallpaper paste beneath, and cause catastrophic delamination. To prevent this, industry experts consistently recommend utilizing an oil-based primer or a specialized moisture-blocking sealer designed specifically to stabilize difficult surfaces without compromising the underlying adhesive bonds. Products such as high-grade all-in-one primer and sealer formulations provide the necessary barrier, creating an inert, solid foundation for subsequent layers of paint. Decorators are advised to apply at least one thorough coat—and ideally two—allowing ample drying time between applications to guarantee complete sealing before moving forward.
How to Paint Over Wallpaper
Once the primer has cured completely and the walls present a stable, sealed surface, homeowners can select their desired topcoat paint color and finish to begin transforming the room. Traditional
application methods using rollers and brushes apply uniformly over the primed paper, provided the technician maintains a steady hand and avoids overloading the tools with excess moisture.

Despite careful planning and execution, painters occasionally encounter unique challenges when working on top of existing wallpaper. One of the most frequent issues involves the appearance of thin gaps or hairline fissures between individual strips of wallpaper. While properly installed paper fits tightly together, natural shrinkage often occurs over time as the original adhesive dries out completely post-installation.
While a slight gap between sheets is not an immediate dealbreaker for a paint-over project, it cannot be ignored, as modern paint finishes will highlight the recessed lines rather than hide them. Fortunately, these imperfections can be successfully remedied with standard wall filler, provided the underlying wallpaper remains completely secure and rigid.
Industry best practices dictate that filling gaps should be performed strictly after the primer coats have been applied and allowed to set. Once the primer has hardened, a fine-grade filler can be carefully applied into the recessed seams. The crucial final step in this process is meticulous sanding. The dried filler must be sanded down precisely to the exact level of the surrounding paper surface. Because any raised filler or uneven ridge will show up glaringly under ambient room lighting once the final paint color is rolled on, taking the extra time to sand the repairs flat is essential for achieving a professional, seamless aesthetic.