LONDON — As home improvement projects continue to capture the attention of property owners seeking to refresh their living environments, kitchen renovations remain a primary focus. Among the most impactful and popular updates is the installation of a new kitchen wall tile or backsplash, a project that is increasingly being tackled by ambitious do-it-yourselfers looking to elevate their cooking spaces without incurring heavy contractor costs.
Tiling a kitchen wall may initially appear to be a formidable undertaking, demanding precision, patience, and physical labor. However, home improvement specialists emphasize that with proper preparation, the right selection of materials, and methodical execution, homeowners can achieve a professional-grade finish capable of fundamentally transforming the aesthetic of an entire residence. Industry guidance highlights that success in such projects relies heavily on understanding the nuances of different tile materials, preparing the underlying wall surfaces meticulously, and mastering the fine details of adhesive application and grouting.
Types of Tiles for Kitchen Walls
The foundational decision in any kitchen wall tiling project involves selecting the appropriate material. The market offers a diverse array of options, each bringing distinct aesthetic qualities, durability levels, and maintenance demands to the culinary workspace.
Ceramic tiles remain the most widely chosen option for kitchen walls. Manufactured from natural clay subjected to high-temperature kiln firing, ceramic tiles offer a durable and long-lasting surface that resists everyday wear and tear. Their immense popularity is further driven by a vast spectrum of available colors, decorative patterns, and physical sizes, rendering them an exceptionally versatile choice adaptable to virtually any interior design scheme.
For environments requiring even greater resilience, porcelain tiles present a robust alternative. While also crafted from clay, porcelain undergoes firing at substantially higher temperatures, a process that yields a denser, significantly less porous, and more durable product than standard ceramic. Available in finishes ranging from high gloss to matte, porcelain tiles serve as an ideal solution for high-traffic or moisture-prone areas within the kitchen.
Homeowners favoring a contemporary, minimalist aesthetic frequently gravitate toward glass tiles. Prized for their sleek appearance, glass tiles are straightforward to clean and maintain. Furthermore, their inherent reflective qualities possess the practical benefit of bouncing light around the room, which can create a visual illusion of spaciousness in more compact kitchen layouts.

Alternatively, natural stone tiles—including varieties such as marble, granite, and slate—introduce a distinctly organic, rustic charm to domestic interiors. While natural stone demands a higher level of ongoing maintenance and protective sealing compared to manufactured alternatives, the unique geological patterns and rich textures inherent in each piece impart considerable character and elegance to the space.
Tools and Materials for Tiling Your Kitchen Wall
Achieving a professional result requires more than just aesthetic vision; it demands an investment in proper equipment and supplies. Industry professionals advise against skimping on tools and raw materials, noting that quality instruments significantly streamline the workflow and contribute directly to a cleaner, more precise final installation.
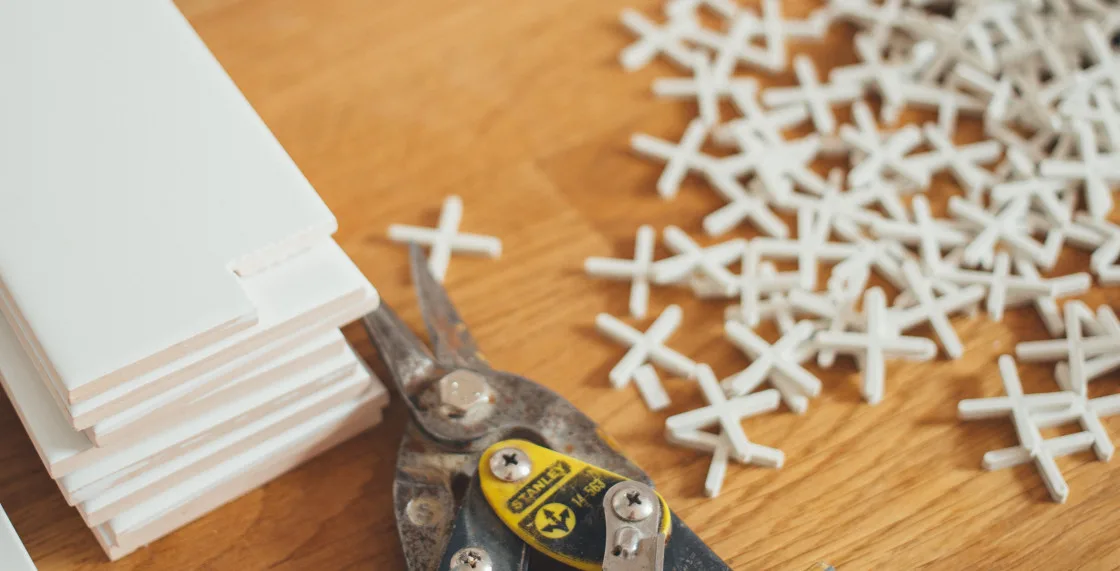
The essential inventory for a wall-tiling project encompasses specialized measuring and cutting instruments, application tools, and finishing supplies. Among these, a reliable measuring tape, a spirit level, and a chalk line are vital for establishing straight reference lines. A notched trowel is indispensable for spreading tile adhesive uniformly and creating the necessary ridges that promote strong adhesion. For accommodating electrical outlets, window frames, and cabinetry corners, a dedicated tile cutter or wet saw is required to make accurate dimensional adjustments. Finally, rubber grout floats, sponges, and appropriate tile spacers are necessary to maintain uniform gaps and apply finishing compounds cleanly.
The material requirements consist of the chosen tiles, compatible wall adhesive, matching grout, and, depending on the wall substrate and tile type, primers and protective sealers.
Preparation Before Tiling – Cleaning, Measuring, and Marking
Before a single tile is set into place, the underlying wall surface must undergo a rigorous preparation phase. This critical preparatory stage dictates how well the installation will endure over time and prevents structural failures down the line.
The process begins with thorough cleaning. Kitchen walls are frequently exposed to airborne grease, cooking oils, and microscopic dust particles that can compromise the bond of tile adhesive. Technicians recommend washing down the entire target area with a damp cloth and mild cleaning solution, then allowing the surface to dry completely before proceeding.
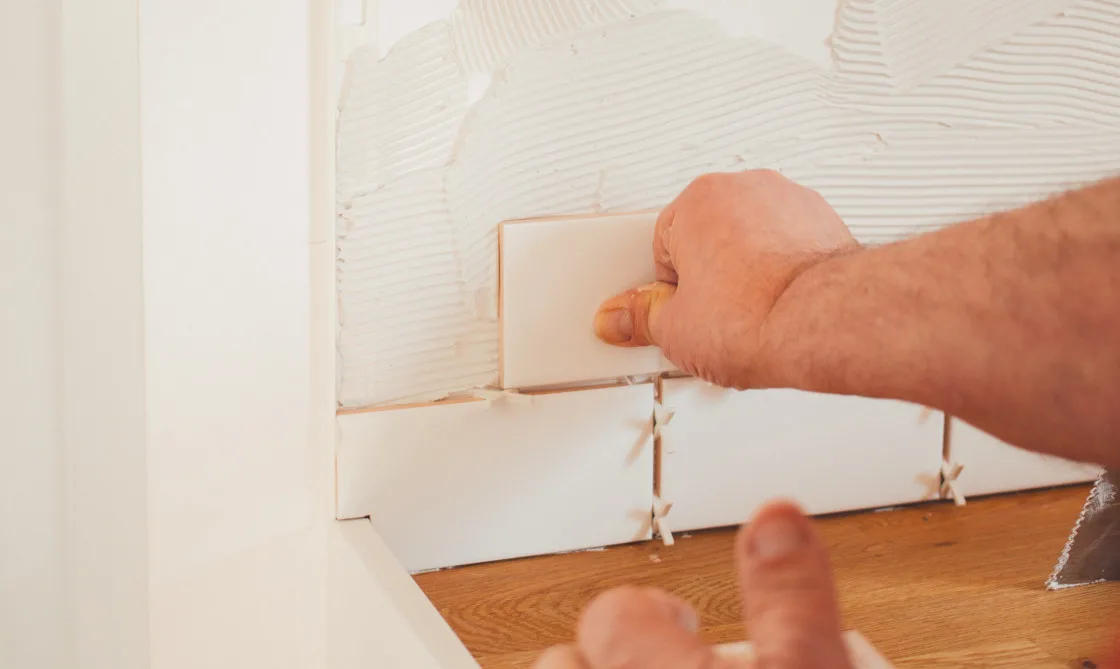
Following sanitation, accurate measuring and marking are paramount. Installers typically establish a baseline by measuring from the center of the wall and working outward toward the edges, employing plastic tile spacers to guarantee consistent, uniform gaps between adjacent pieces. For walls that feature pre-existing paint or wallpaper, the application of a specialized primer is strongly recommended to enhance the adhesive bonding properties, ensuring the wall surface can adequately support the weight of the new tile installation.
Tiling Tips for a Flawless Finish
Once the workspace has been meticulously prepped and primed, the physical installation can commence. Experts suggest adhering to several key practices to ensure a smooth workflow and an immaculate end result.
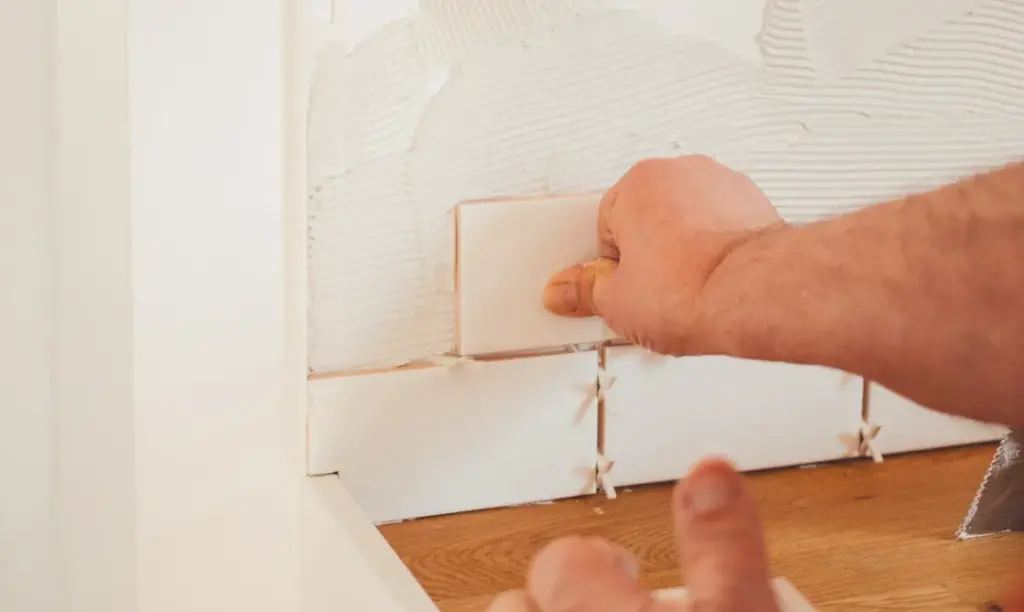
The application of adhesive requires a deliberate technique. Using a notched trowel, the adhesive must be spread evenly across the wall surface in manageable sections. The notches in the trowel are specifically engineered to form parallel ridges in the adhesive bed, which flatten out when the tile is pressed into place, maximizing contact area and bonding strength.
When placing the tiles, starting from the established center point and moving outward helps maintain symmetry across the wall layout. Each tile should be pressed firmly into the adhesive bed, tapped gently if necessary, and continuously checked against a spirit level to ensure it sits flush and level with its neighbors. Where obstacles such as light switches or plumbing fixtures interfere with the grid pattern, precise measurements must be transferred to the tile, followed by careful cutting using a wet saw or tile cutter to achieve a snug, professional fit.
Following placement, the entire assembly must be left undisturbed to allow the adhesive to cure fully. Depending on the specific formulation of the adhesive product used, this curing window typically ranges between 24 and 48 hours.
Grouting and Sealing Your Tiled Kitchen Wall
Once the structural adhesive has completely cured, the project transitions into the grouting phase. Grout—a dense, cement-based compound—fills the network of joints between individual tiles, unifying the installation visually while shielding the vulnerable tile edges from chipping and moisture intrusion.
The process involves mixing the dry grout compound according to the manufacturer’s exact specifications, then using a rubber grout float to press the material diagonally across the tile joints, ensuring they are filled completely without voids. Excess surface grout is subsequently cleaned away using a damp sponge and clean water, with care taken to rinse the sponge frequently to avoid smearing the residue across the newly set tiles.
In installations utilizing porous natural stone tiles, an additional protective step is required. Applying a specialized penetrating sealer to both the stone and the grout lines protects the porous materials against staining, discoloration, and moisture damage over years of kitchen use.
Common Mistakes to Avoid When Tiling Your Kitchen Wall
While DIY kitchen tiling is an accessible undertaking, certain pitfalls frequently compromise the quality of amateur installations. Awareness of these common errors can help maintain a high standard of workmanship.
Inconsistent spacing remains one of the most visible indicators of amateur work. Failing to use tile spacers consistently throughout the layout can cause gaps to drift, resulting in misaligned lines that disrupt the visual harmony of the wall. Similarly, incorrect or haphazard adhesive application—such as failing to create uniform ridges or applying adhesive in patches rather than a continuous bed—can lead to hollow spots behind the tiles, increasing the risk of cracking under pressure.
Uneven tile placement is another frequent issue. If individual tiles are not continually checked with a level against their neighbors, lips or uneven edges can form across the surface. These height discrepancies not only detract from the aesthetic appeal but also complicate the subsequent grouting process and create catch points that are difficult to clean.
By exercising patience, investing in proper preparation, and adhering to established installation techniques, homeowners can successfully navigate the complexities of wall tiling, resulting in a durable, visually striking upgrade that enhances the heart of the home.