Building a durable outdoor storage structure requires careful planning long before the first wall panels are erected, and industry experts are emphasizing that a solid foundation serves as the absolute key to a long-lasting shed. Outdoor Living Today, a prominent provider in the backyard structure sector, has released a comprehensive informational framework designed to help property owners establish a sturdy, level base for their outdoor investments without the common pitfalls of confusion or guesswork.
Whether a project is being undertaken by a seasoned do-it-yourself professional or a first-time homeowner dipping their toes into backyard carpentry, establishing proper groundwork dictates the structural integrity of the entire building over time. Ground shifting, moisture accumulation, and uneven settling are among the primary threats to outdoor structures, making initial site preparation a critical phase of any backyard improvement project. To address these challenges, the company’s new resource details clear methodology and outlines multiple foundation options suited to different budgets, skill levels, and terrain types.
Step 1: Clear and Prepare the Site
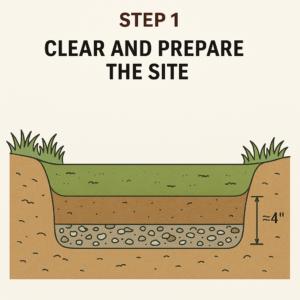
The foundation process begins well before any prefabricated shed kit arrives at a property. Thorough site preparation prevents future complications related to drainage, vegetation growth, and structural shifting. Builders must first select an area that offers adequate space and proper drainage away from the structure.
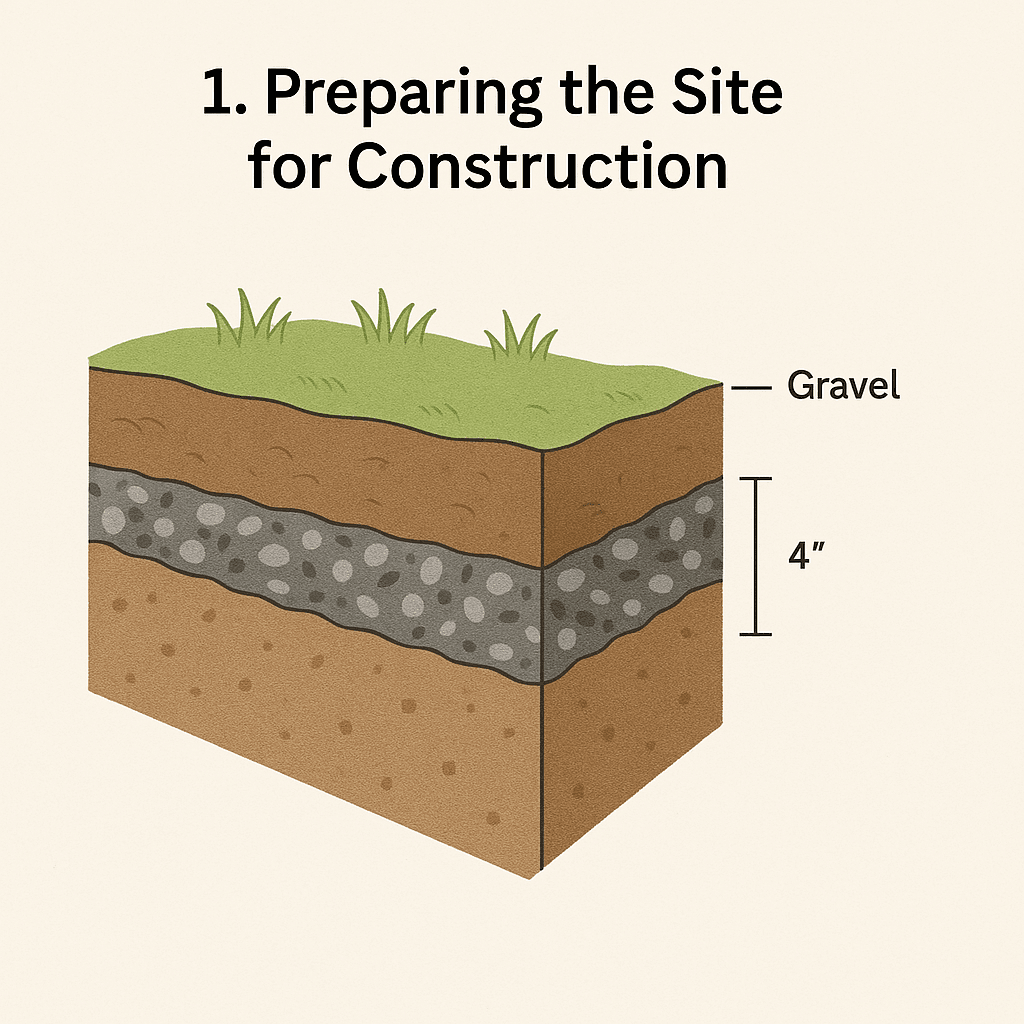
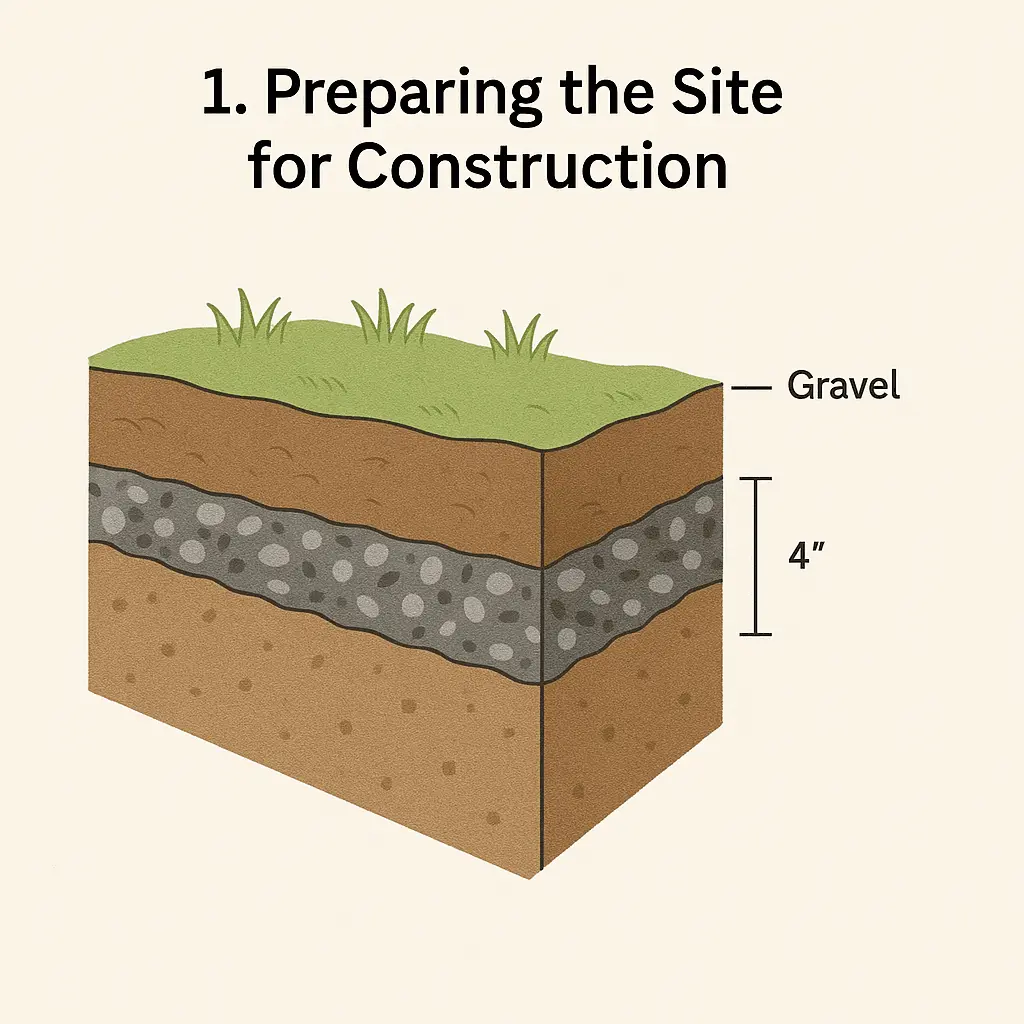
Once a location is chosen, the site requires total clearing. This involves removing all vegetation, topsoil, roots, organic debris, and large rocks from the designated footprint. Organic material left beneath a foundation will eventually decompose, creating voids that lead to settling and structural distortion. After removing the topsoil, the bare earth should be graded and leveled as accurately as possible.
For optimal longevity, industry specialists recommend incorporating landscape fabric directly beneath a layer of gravel or crushed stone. Placing this permeable membrane down before adding aggregate serves a dual purpose: it effectively prevents persistent weed growth from pushing up through the floor joists while simultaneously stabilizing the soil to minimize shifting over extended periods.
Step 2: Mark Out the Shed Foundation
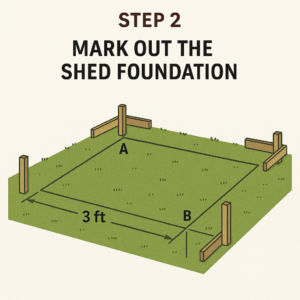
With the site cleared and leveled, the next phase involves physically marking the exact boundaries of the intended structure. Precision during this layout stage ensures that the framing squares up correctly, preventing cascading alignment issues during wall and roof installation.
Builders typically use wooden stakes and mason’s string to outline the perimeter, measuring diagonally from corner to corner to verify that the layout forms a true rectangle. When both diagonal measurements match precisely, the corners are verified as square. For those who encounter challenges with manual geometry and right angles, modern digital tools can offer significant assistance. Various smartphone applications and online calculators are readily available to help verify square corners by inputting the specific length and width dimensions of the intended shed footprint.
Step 3: Choose Your Foundation Type
Every backyard terrain and user requirement is unique, which is why selecting the appropriate structural base is vital. Outdoor Living Today highlights three distinct foundation types, each offering specific advantages depending on the project scope, permanence, and budgetary considerations.
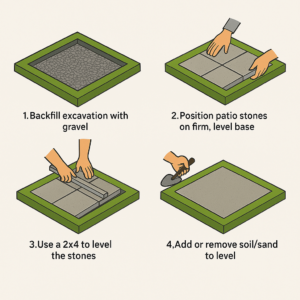
The patio stone foundation represents an accessible approach for many property owners. This method involves laying a compacted gravel base topped with concrete patio pavers or stones arranged to support the shed’s floor joists. Industry observers note that a patio stone foundation is quick to install, cost-effective, and maintains the advantage of being relatively easy to modify, move, or adjust if minor settling occurs over the seasons.
Another widely utilized method involves a 4-by-4 pressure-treated beam foundation. In this configuration, heavy-duty, treated wooden timbers are laid parallel or in a grid pattern over a prepared gravel bed to elevate the shed structure off the bare earth. This elevated design leaves valuable clearance underneath the building, promoting crucial air circulation for ventilation and significantly reducing the risk of premature wood rot from ground moisture.
For those seeking maximum permanence, a poured concrete slab foundation offers unbeatable durability and structural rigidity. Concrete pads provide a completely flat, impenetrable barrier that anchors the structure securely against severe weather while offering exceptional resistance against pests, burrowing animals, and ground moisture. While more labor-intensive and permanent than gravel or timber alternatives, a concrete slab provides a lifelong base for heavy equipment and intensive storage needs.
Final Tips Before You Start
Before breaking ground or purchasing materials, builders should evaluate environmental factors such as local frost lines, municipal zoning regulations, and property setbacks. Ensuring compliance with local bylaws prevents costly relocations or compliance issues after construction is complete.
Furthermore, while general best practices provide a reliable framework for site preparation, individual product designs often feature unique engineering requirements. Property owners are strongly encouraged to consult the specific product assembly manuals included with their purchased kits or available through manufacturer documentation to ensure their chosen foundation aligns perfectly with the engineering specifications of their specific shed model.