Wallpapering has long held a reputation as one of the most frustrating home improvement tasks, frequently dismissed by amateurs due to the fear of miscalculated rolls, visible seams, and stubborn air bubbles. However, industry experts and interior renovation specialists emphasize that with meticulous preparation and a clear understanding of the fundamentals, hanging wallpaper can be a remarkably straightforward process. Whether embarking on a full room overhaul or creating a singular focal accent wall, a systematic approach to planning, pasting, and hanging ensures a professional finish with minimal friction.
How Much Wallpaper Will You Need?
Accurately estimating the required amount of wallpaper is the critical first step in any successful decorating project. Beyond the basic length and width of the room, decorators must account for the specific dimensions of the chosen wallpaper rolls. Standard rolls typically measure 53 centimeters in width and 10 meters in length. However, selecting a patterned design inherently introduces greater waste, as individual strips must be carefully aligned to ensure visual continuity across the seams, requiring additional rolls to compensate for the necessary trimming.
To calculate the total amount required without guesswork, professionals recommend starting by measuring the height of the walls from the skirting board up to the ceiling or the bottom edge of the coving. Dividing the total length of a standard roll by this wall height reveals how many complete vertical strips can be cut from a single roll. For instance, a room with a standard wall height of 2.4 meters will yield four usable lengths from a 10-meter roll.
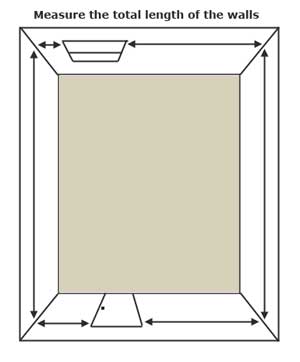
The next phase involves measuring the perimeter of the room while subtracting the dimensions of doors and windows to find the total linear width of the walls. Dividing this total wall width by the width of the wallpaper indicates how many individual vertical widths are needed to wrap around the space. Finally, dividing that resulting figure by the number of wall lengths obtainable from a single roll provides the baseline number of rolls required. Because minor cutting errors, misalignments, and trim margins are an inevitable part of the installation process, professionals consistently advise purchasing an extra roll or two beyond the mathematical total to ensure the project can be completed without interruption. Alternatively, digital wallpaper calculators provided by major hardware and home improvement retailers offer a convenient shortcut for those looking to bypass manual computations.
How to Choose Wallpapering Paste
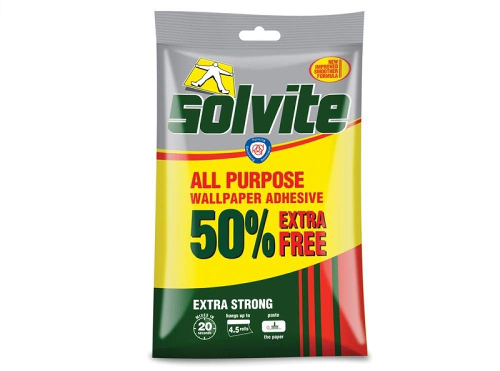
Selecting the correct adhesive is vital for ensuring long-term adhesion and a smooth surface finish. The market offers a variety of wallpapering pastes, most commonly sold as dry powders or flakes that require manual mixing with water. These traditional formulations are favored for their cost-effectiveness and adjustable consistency. Conversely, pre-mixed wallpaper pastes are readily available in tubs; while they carry a higher price point, their convenience and consistent texture make them particularly appealing to beginners who wish to eliminate the preparation phase of mixing powders.
Tools You Will Need for Wallpapering
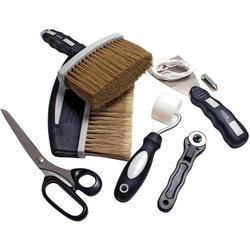
While the hardware market features an extensive array of specialist wallpapering implements, a standard installation does not require an exhaustive toolkit. At a bare minimum, decorators need a reliable pasting table, a sharp utility knife or pair of heavy-duty scissors, a plumb line or spirit level for establishing straight reference lines, a smoothing brush or plastic smoother, a seam roller for pressing down edges, and clean damp sponges for wiping away excess adhesive. Having these essential implements assembled and within arm’s reach before the first strip is cut significantly streamlines the workflow.
Preparation – Before You Start Hanging Wallpaper
Thorough preparation forms the foundation of any successful wallpapering endeavor. Installers must begin by measuring the room’s height and adding a 100-millimeter margin to allow for clean trimming at the top and bottom edges. For heavily patterned designs, extra allowance should be built into the measurements to grant adequate flexibility for pattern matching. Cutting the initial batch of strips and laying them face down on a clean pasting table allows the decorator to establish an efficient rhythm.
Concurrently, the wall surface must be meticulously prepared. It must be structurally sound, completely dry, and entirely free from dust, protruding nails, and old wall anchors. For newly plastered interiors, allowing the skim coat to dry completely before introducing moisture-heavy wallpaper paste is vital to prevent lifting, dampness, and adhesion failure.
How to Paste the Wallpaper
Applying paste evenly across the paper requires deliberate technique to prevent warping, tearing, or dry spots. Once the adhesive is applied to the reverse side of the paper, the sheet must be allowed to soak for a specified duration to permit the paper to expand fully before it is hung on the wall. To manage multiple sheets efficiently, decorators often drape pasted sheets over a broom handle suspended across the backs of two chairs, keeping them clear of the floor and dust sheets while subsequent sheets are prepared.
Where Should You Start Wallpapering?
Determining the optimal starting point depends entirely on the architectural layout of the room. If the space features a dominant architectural focal point, such as a chimney breast, installation should begin there. By measuring the chimney breast and marking a straight vertical line down its exact center using a plumb line or chalk, the decorator creates a reliable reference edge from which the first strip can be hung and worked outward.
In rooms lacking a prominent focal feature, the ideal starting point is the wall immediately adjacent to the window. Commencing here minimizes the visibility of shadows cast across minor overlaps between adjacent strips of wallpaper. Installers measure out from the corner by a distance equal to the width of the paper minus 50 millimeters, establishing a plumb line to guide the first strip so that it wraps neatly around the internal corner onto the window wall.
Hanging the First Sheet of Wallpaper
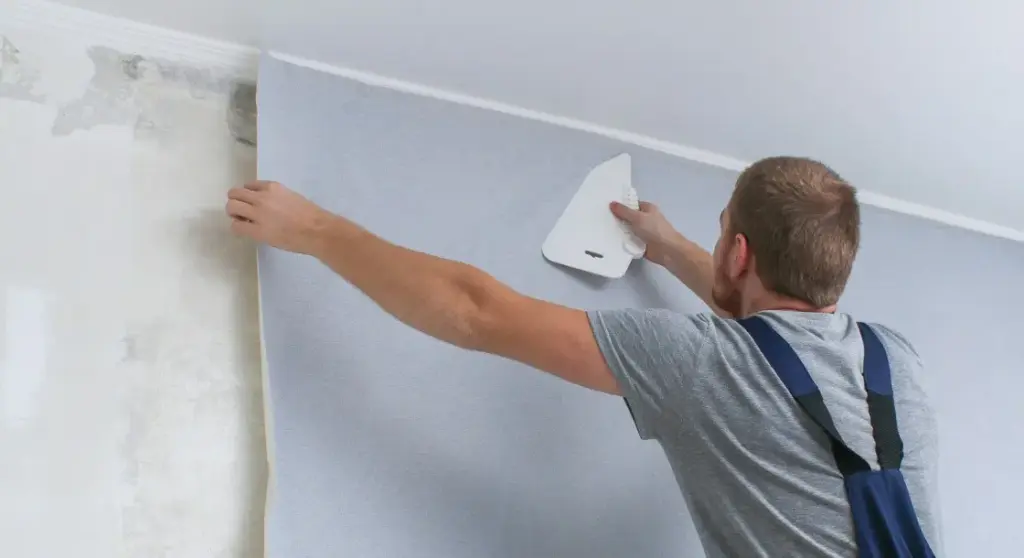
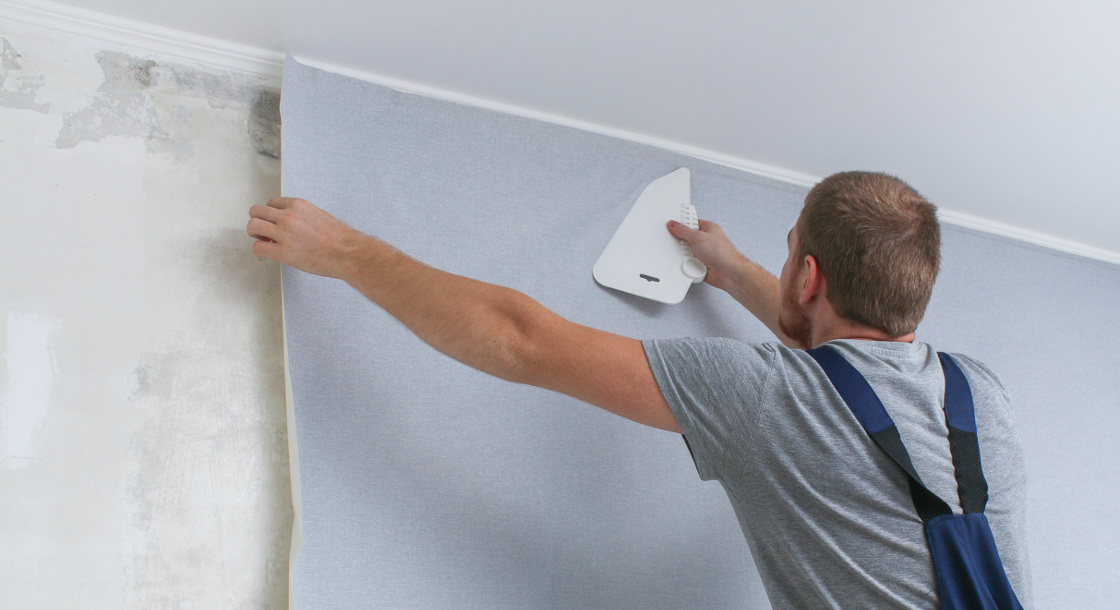
Hanging the initial sheet sets the geometric standard for the entire room. Guided by the pre-established plumb line, the top of the paper is aligned with adequate overhang at the ceiling before the body of the sheet is gently smoothed downward and outward against the wall. Using a smoothing brush from the center toward the outer edges forces out trapped air and establishes firm contact with the substrate. Subsequent strips are then applied by carefully butting the edge of the new sheet directly against the previous one, utilizing a gentle seam roller to secure the joint without squeezing excessive paste out through the crack.
Wallpapering Around Corners
Navigating internal and external corners requires distinct handling to prevent bunching and subsequent tearing. For internal corners, paper is typically wrapped around the corner by a small margin, with subsequent strips overlapped squarely to maintain a clean vertical alignment. External corners are handled by wrapping the paper smoothly around the protruding edge, ensuring the material remains taut and well-adhered to prevent lifting over time.
Door and Windows
Reaching doorframes and windows introduces unique geometric challenges that require precise trimming techniques. When encountering a door architrave, the paper is pressed firmly into the angle between the wall and the wooden surround, creating a clean crease using the blunt edge of a pair of scissors. The paper is then pulled back slightly to allow for excess trimming before being brushed smoothly back into position.
When papering around windows, where the available paper often appears insufficient to cover the deep reveals, the standard practice involves cutting separate custom patches for the upper corners of the window recess. These localized patches are applied independently after the side reveals have been successfully papered, ensuring complete coverage without visible gaps.
How to Avoid Wallpapering Problems
Understanding potential pitfalls allows decorators to diagnose and rectify issues before they compromise the aesthetic integrity of the room. Paper tearing during handling or hanging is frequently caused by excessive moisture or overly thin paste; thickening the adhesive mixture and applying a more measured amount resolves the issue. Similarly, ensuring cutting implements are sharp prevents physical tearing of the paper fibers during trimming.
Visible white seams typically indicate that adjacent sheets were not properly butted together during installation, or that the paper has undergone natural shrinkage as it dried. Utilizing a seam roller and pre-lining the walls with dedicated lining paper significantly mitigates this occurrence. While an occasional air bubble is normal during installation and can be managed by carefully piercing the bubble with a sharp blade to release trapped air and smoothing the surface down with a touch of fresh paste, widespread bubbling indicates uneven adhesive application or insufficient soaking time.
Seam lifting and overall sheet detachment are commonly attributed to failing to apply adhesive right up the extreme edges of the paper, or neglecting to line the walls prior to hanging. In cases where old paint residues or distemper interfere with adhesion, stripping the affected paper, thoroughly washing and drying the wall surface, and applying a proper sealer are necessary before attempting to rehang the material. Through careful preparation, precise calculation, and methodical execution, decorators can successfully navigate these common challenges and achieve a lasting, professional-grade finish.