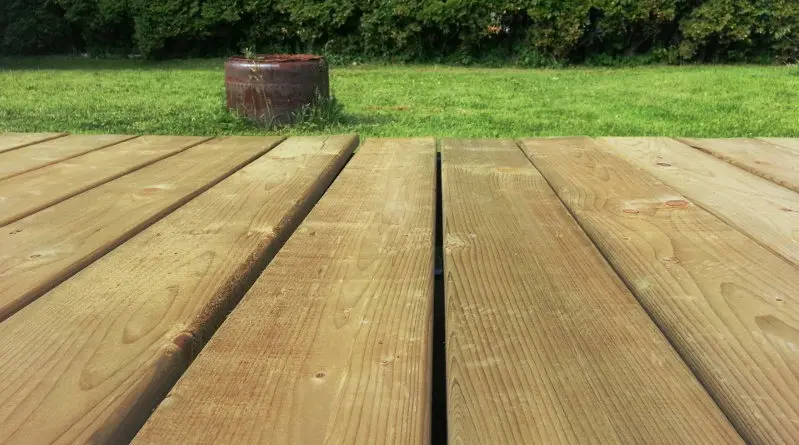
Property owners who manage their time efficiently and prepare their materials thoroughly can often complete a standard square or rectangular ground-level deck in a single day. Furthermore, the simplicity of the design offers a unique practical advantage: because the structure does not rely on permanent subterranean footings, it can potentially be dismantled and relocated if the owners decide to move house. However, despite its relative simplicity compared to multi-tier or raised alternatives, constructing a timber deck still demands precision, patience, and a steady hand, particularly for those with limited experience working with timber.
Creating the Decking Frame
The foundation of any successful deck begins with the outer structural frame. The process starts with careful measurement and cutting of the timber bearers required to form the perimeter. Once cut, these four primary pieces are laid flat on the ground in their exact relative positions and joined together at the corners using sturdy butt joints. Industry standards recommend using exterior-grade screws measuring at least 150mm in length to secure the corners, with a minimum of two fixings per joint to ensure structural integrity and prevent shifting over time.
To guarantee that the perimeter is perfectly square—a critical step that prevents alignment issues later in the build—builders measure diagonally across the frame from corner to corner in both directions. Once squared, a temporary timber batten is nailed diagonally across one of the corners to lock the shape in place while the rest of the framework is assembled.
Attention then shifts to internal support. By measuring and marking points at 400mm intervals along two opposing sides of the outer frame, builders establish precise locations for the internal bearers. These intermediate supports serve a dual purpose: they reinforce the overall rigidity of the frame and provide the necessary surface area to secure the final decking boards safely. For projects utilizing specialized decking tiles rather than traditional planks, the spacing between these support bearers must be adjusted to match the specific dimensions of the tiles.
After verifying the exact internal dimensions between the marked sides, additional support bearers are cut to size, positioned over the marked points, and secured using 150mm screws. With the internal grid fully integrated, the complete wooden frame is ready to be transferred to its permanent location on the prepared site.
Preparing the Site for Ground-Level Decking
Site preparation varies significantly depending on the existing surface conditions. If the intended location sits on pre-existing, level concrete or sound paving slabs, extensive earthworks are generally unnecessary. In such cases, builders can place the frame directly onto the surface, utilizing thin timber off-cuts to shim and level any minor irregularities in the paving.
However, building over soil or a traditional lawn requires a comprehensive ground preparation process to ensure longevity and stability. The procedure typically begins by using a tape measure and wooden stakes to map out the perimeter of the deck. String is tied between the corner pegs to establish a visible working boundary and a guide for excavation. Verifying diagonal measurements ensures that the marked layout maintains true ninety-degree corners.
When constructing over a lawn, builders utilize a straight-edged spade to slice through the turf layer, dividing it into manageable strips that can be rolled up and relocated. For rough or uneven soil areas, large stones are removed, and the earth is flattened using a heavy plank or grading tool. Achieving an accurate, level surface is vital for ground-level installations, a condition verified by placing a spirit level across a long straight timber resting on the ground.
Drainage assessment dictates the next phase of foundation work. For well-drained soil that remains relatively dry, the standard procedure involves laying a sheet of heavy-duty weed-proof membrane—trimmed slightly larger than the deck footprint—and covering it with a 40 to 50mm layer of gravel to suppress unwanted plant growth.
Conversely, sites prone to dampness or those requiring a more robust foundation necessitate the placement of paving slabs beneath the corners and at strategic intervals along the interior frame. These slabs rest on top of the gravel base, serving as stable weight-bearing footings. Builders use a long spirit level across the span of the slabs to ensure uniform height, adjusting them by tapping them downward or adding supplemental gravel as needed.
An alternative excavation method involves removing the topsoil or turf specifically where the support slabs will rest, digging an additional 25 to 30mm into the earth, and filling the depression with fine gravel. Once compacted to match the surrounding soil height, the slabs are positioned in these prepared beds, a weed-proof membrane is laid around them, and the entire area is dressed with gravel up to the upper surface of the slabs.
Once the foundation elements are secure, the assembled timber frame is hoisted into position on top of the slabs. Gardeners and DIY builders often require assistance during this stage to maneuver the frame safely and verify that it rests evenly without rocking under weight.
Fixing the Decking Boards and Finishing Touches
The aesthetic distinction between an average backyard platform and a professional-grade deck often lies in the precision and consistency of the board installation. Careful measuring, accurate cutting, and methodical pacing are essential. Taking extra time to ensure each board aligns properly yields far superior results than rushing the final stages of construction. Professionals generally recommend cutting multiple boards simultaneously and treating all freshly cut timber ends with a protective wood preservative before installation.
Decking boards are laid perpendicular to the underlying support bearers. Starting from the perimeter edge furthest away from any adjoining walls, the initial board is positioned flush against the outer face of the frame. Appropriate exterior decking screws are driven through the board into each underlying bearer, with fixings carefully positioned within the textured surface grooves if ribbed timber is utilized.
Maintaining uniform spacing between individual boards is critical for water drainage and natural timber expansion. Installers typically use standardized timber off-cuts measuring between 3mm and 10mm in thickness as temporary spacers between consecutive boards. This routine continues across the surface of the frame until the final gap near the property wall or outer edge is reached.
Because the final space rarely accommodates a full board width precisely, the last piece requires custom trimming. Installers measure the remaining gap—accounting for the necessary expansion spacing—transfer the dimensions to a final decking board, cut it to size, and treat the exposed edge with wood preservative before securing it with screws.
To achieve a polished, professional appearance, the project concludes with the attachment of fascia boards along the visible outer perimeters of the deck. These strips of square-edged treated timber conceal the exposed frame bearers and the cut ends of the decking boards. Secured with deck screws and featuring mitred joints at the corners, the fascia unifies the structure, bringing the entire ground-level project to a clean and durable completion.