In an era dominated by instantaneous digital messaging and fleeting electronic greetings, a renewed push toward traditional, tactile correspondence is finding a welcoming audience among families and young children. Educators and parents alike are increasingly recognizing the value of teaching kids the timeless art of sending physical cards for birthdays, holidays, and gestures of gratitude. At the forefront of this simple yet meaningful movement are easy, hands-on paper crafts that not only spark youthful creativity but also foster a sense of thoughtfulness and consideration for others.

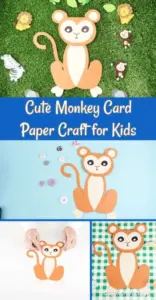
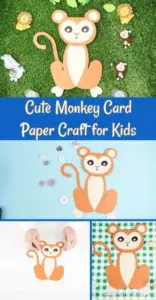
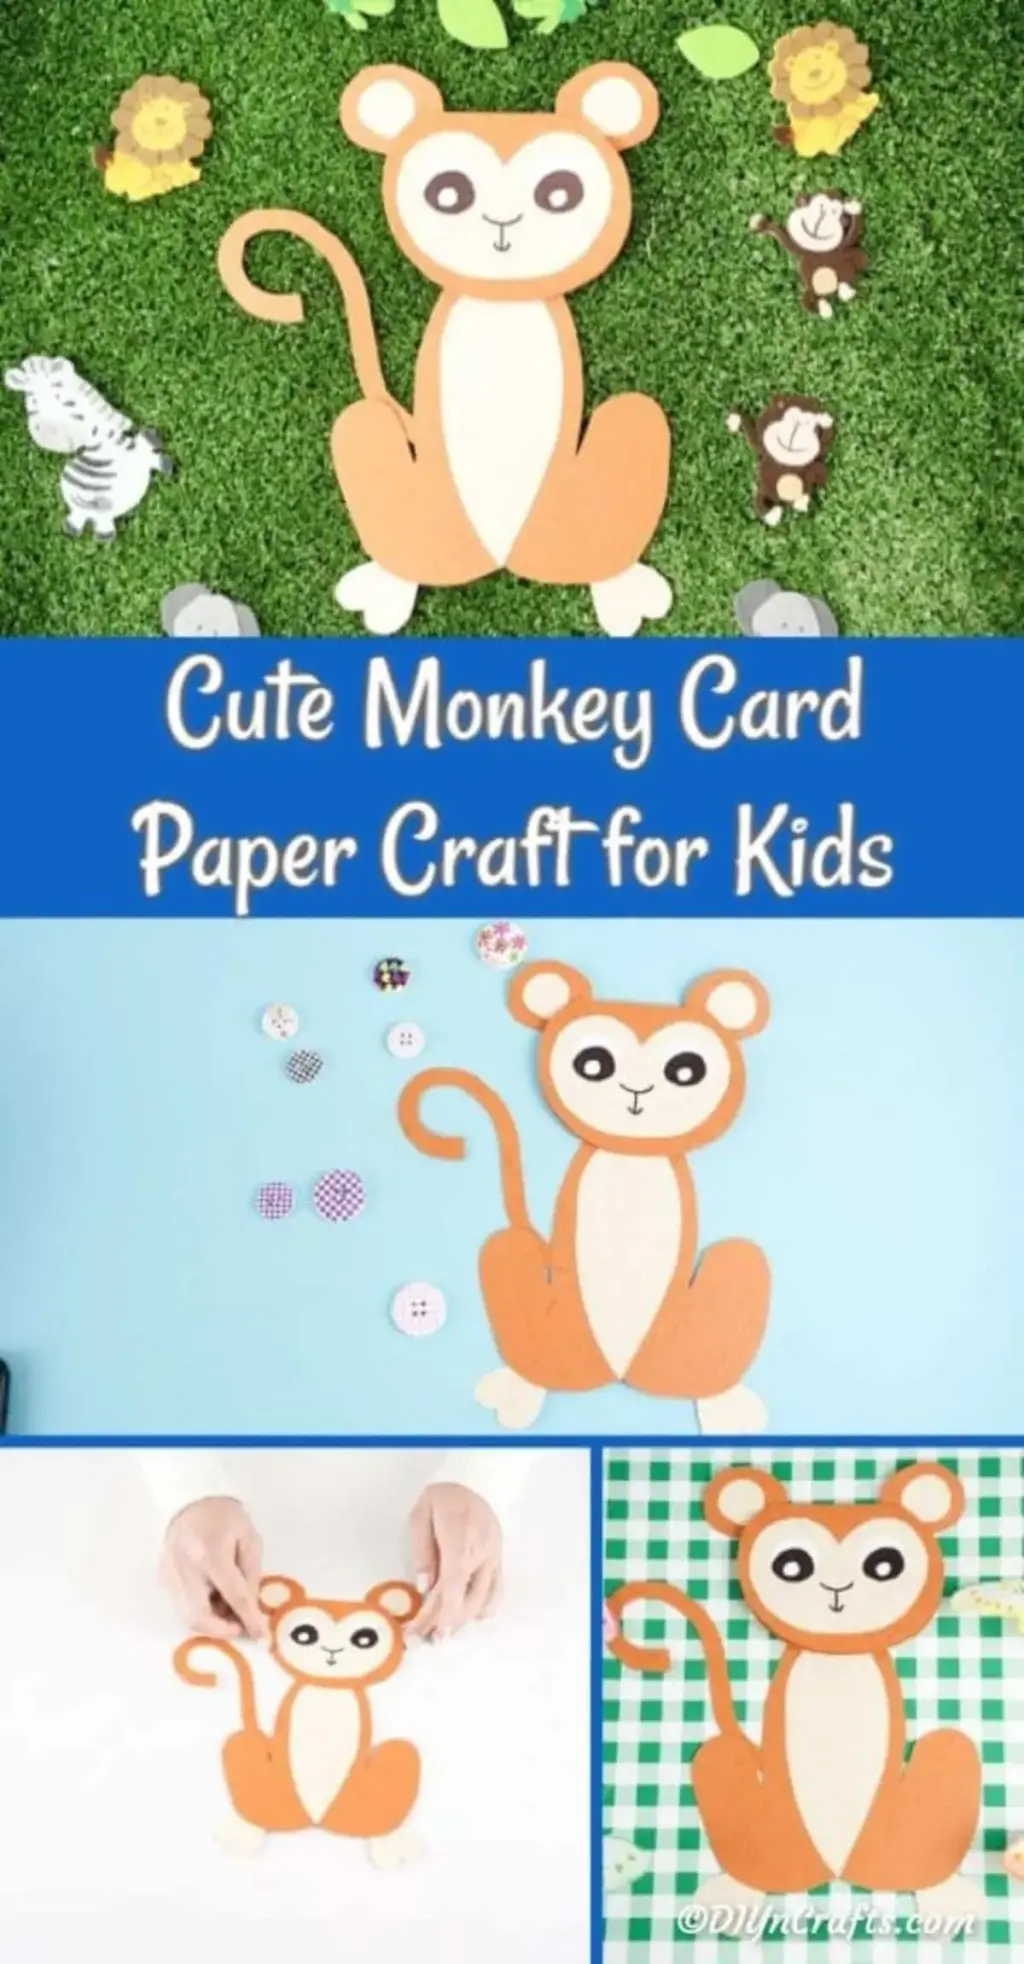
Among the latest projects capturing the imagination of young crafters is a charming, handmade monkey card. Designed to be accessible for children of various ages, the project requires only a few basic household craft supplies: colorful construction paper or cardstock in shades like orange and cream, a pair of safety scissors, a glue stick, and a black marker. By folding paper strategically before cutting, children can create a functional, double-sided circular card that opens up to reveal a personalized message hidden within.

The appeal of monkey-themed activities for children is hardly a secret. Whether through visits to local zoos or the comforting familiarity of a favorite plush toy, jungle animals consistently rank as a major hit among younger demographics. Incorporating this beloved motif into a hands-on crafting session provides an engaging way to integrate familiar concepts into a productive activity. Experts in child development often note that homemade cards crafted by children serve a dual purpose: they refine fine motor skills through cutting, folding, and gluing, while simultaneously encouraging kids to pause and think outward about family members and friends who might appreciate a bright spot in their mailboxes.

While modern conveniences often lean toward store-bought greeting cards, advocates for traditional communication argue that handmade creations carry a distinct emotional weight. When a child invests even a brief window of time—roughly fifteen minutes for a project like the paper monkey card—into designing, assembling, and writing inside a custom card, the final product transcends a simple piece of paper. It becomes a personal artifact of care, reinforcing the social values of gratitude and remembrance.

What is the Best Paper for Homemade Cards?
Choosing the right materials is a fundamental step in ensuring that a child’s creative efforts withstand the test of time and handling. For projects intended to function as greeting cards, standard copy paper often falls short, lacking the structural integrity required to hold up under glue and handling.

Instead, educators and experienced crafters generally recommend opting for thicker cardstock or heavier construction paper. Because the finished product needs to function as both a decorative figure and a functional card with an opening fold, sturdier paper ensures the structure maintains its shape without drooping or tearing easily.

For families looking to maximize the longevity of their children’s artwork, alternative materials offer intriguing possibilities. Foam paper, for instance, provides a durable, textured option that can make the finished craft last significantly longer. Another popular preservation method involves using basic paper for the initial creation and subsequently running the finished card through a standard page laminator. Trimming carefully around the edges after lamination creates a moisture-resistant, highly durable keepsake that family members and friends can safely store and display for years to come.

Beyond standard crafting sessions, these versatile paper projects can also serve as creative outlets for leftover materials from previous activities. Scrap paper in various colors can easily be repurposed into complementary decorations, ensuring that supplies rarely go to waste.

Can I Mail This Via USPS?
A common question among parents introducing children to handmade correspondence is whether dimensional or uniquely shaped cards can successfully make the journey through the postal system. According to postal guidelines, handmade cards can certainly be mailed much like any traditional greeting card, provided a few practical considerations are kept in mind.

The primary factors to evaluate before dropping a handmade paper craft into a mailbox are the overall weight of the card and its physical dimensions. Because additions like layered cardstock, extra paper cutouts, and potential lamination can add heft and thickness, standard automated sorting machines may require adjustments. To ensure the card arrives safely without getting caught or damaged in high-speed postal machinery, many crafters prefer to use slightly larger, sturdier packaging such as a manila envelope.

Additionally, affixing extra postage may be necessary depending on the final weight and thickness of the envelope. For families who enjoy an extra layer of personalization, crafting a custom handmade envelope using decorative scrapbook paper offers an imaginative way to complete the mailing process from start to finish, turning the act of sending mail into an extended creative exercise.

Supplies Needed
Executing this straightforward paper craft requires minimal preparation and relies on commonly available materials found in most home or classroom art supplies. The essentials include sheets of orange craft paper or cardstock to form the primary structure of the monkey’s head and body, and cream or light-colored paper to create contrasting features such as the inner ears, face, and belly.

A reliable pair of scissors is necessary for both adult assistance and independent child use, depending on age levels, alongside a standard glue stick or liquid craft adhesive. Finally, a black marker or fine-tip pen is required to sketch in the facial features—including the eyes, nose, and mouth—as well as to write the personal greeting inside the card.

How to Make a DIY Monkey Card
The construction process begins by folding a piece of orange paper approximately one-quarter of the way down. By cutting out a circle while keeping the folded area intact, the resulting shape naturally forms a double-sided circle that opens easily on a hinge, establishing the "card" portion of the project.

Next, two small, rounded ears are traced and cut from the orange paper, accompanied by two slightly smaller rounded shapes cut from the cream-colored paper to serve as the inner ears. Once these elements are glued together, they are attached to the top of the folded circular head, leaving the open edge positioned at the bottom.

The monkey’s face is then brought to life by cutting a distinct facial shape from the cream paper, adhering it to the upper portion of the head, and using a black marker to draw the eyes, nose, and mouth. The body is formed separately by drawing and cutting a long oval shape featuring rounded legs on either side from the orange paper, accented by a smaller cream oval glued to the center of the belly.

After securing the body to the base of the head, a curved tail is cut and attached to the back of the figure. The project concludes when the child opens the card’s folded head to write a simple, heartfelt message, ready to be shared with family, friends, or neighbors.

While freehand drawing and cutting offer wonderful opportunities for children to practice independent artistic expression, crafters looking for alternative methods frequently utilize templates, stencils, or pre-cut digital files via electronic cutting machines. Another accessible approach involves using simple character outlines from children’s coloring books as tracing guides, ensuring that crafters of all skill levels can easily achieve a polished result.