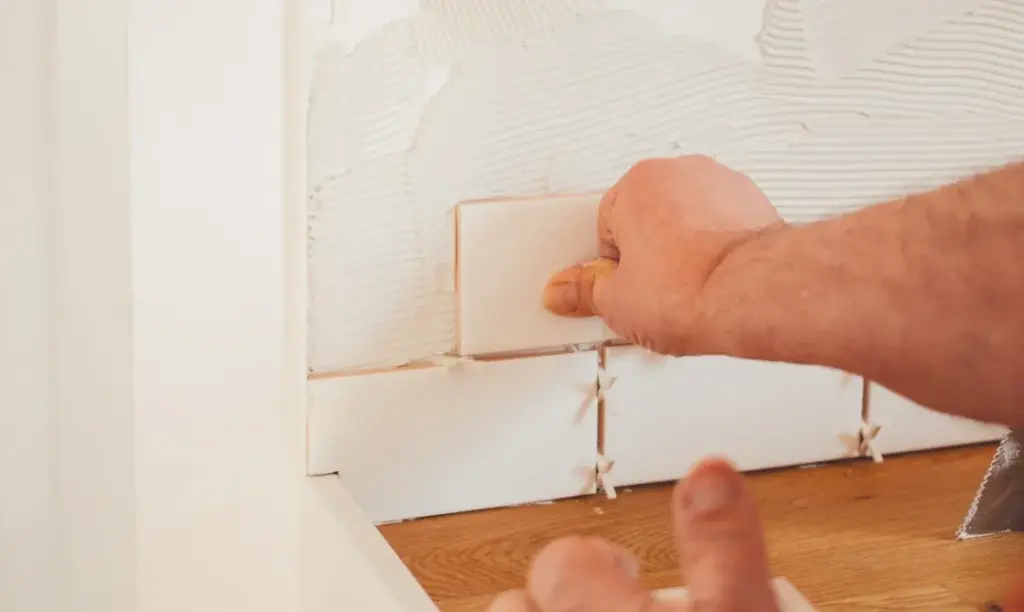
Homeowners looking to breathe new life into their dated living spaces are increasingly turning their attention to kitchen walls, finding that a fresh application of tiles can completely transform the heart of the home. Tiling a kitchen wall or splashback is often viewed as an intimidating endeavor for the uninitiated, but industry insights and interior design professionals emphasize that with careful preparation, proper tools, and methodical execution, achieving a professional-grade finish is well within reach for dedicated do-it-yourselfers.
The movement toward residential kitchen revitalization comes as people spend more time focusing on interior aesthetics and functional home improvements. Transforming drab walls into striking, modern focal points starts with understanding the wide array of materials available on the market today. Each tile variety offers distinct visual characteristics, unique maintenance requirements, and varying levels of durability suited to different household lifestyles.
Ceramic tiles remain the perennial favorite for kitchen walls. Manufactured from natural clay fired at elevated temperatures, ceramic options yield a robust, long-lasting surface. Their widespread popularity is further bolstered by an extensive assortment of available colors, patterns, and dimensions, making them a remarkably versatile choice capable of complementing virtually any kitchen design scheme.

For those seeking enhanced durability, porcelain tiles present a compelling alternative. While also crafted from clay, porcelain undergoes firing at even higher temperatures, resulting in a dense product that is significantly less porous and more resilient than standard ceramic. Available in an array of finishes ranging from high gloss to matte, porcelain tiles stand up exceptionally well to the heavy traffic and frequent moisture characteristic of active culinary spaces.
Homeowners leaning toward a sleek, contemporary aesthetic frequently gravitate toward glass tiles. Beyond their modern visual appeal, glass options are recognized for being exceptionally easy to clean and maintain. Furthermore, their inherent reflective qualities can play a valuable optical trick in smaller kitchens, bouncing light around the room to create an open, more expansive atmosphere.
Meanwhile, natural stone tiles—including marble, granite, and slate—introduce an organic, rustic texture that adds considerable character and warmth to a kitchen. While natural stone demands a higher level of ongoing maintenance and care compared to its manufactured counterparts, the distinct veining and rich textures ensure a truly bespoke look.
Embarking on a successful wall-tiling project requires gathering a comprehensive suite of high-quality tools and materials before any physical work begins. Professionals stress that attempting to skimp on foundational items—such as precise measuring devices, reliable levels, notched trowels, and quality adhesives—can severely compromise the final result. Investing in proper equipment ensures that the workflow remains efficient and yields the structural integrity required to prevent future shifting or cracking.
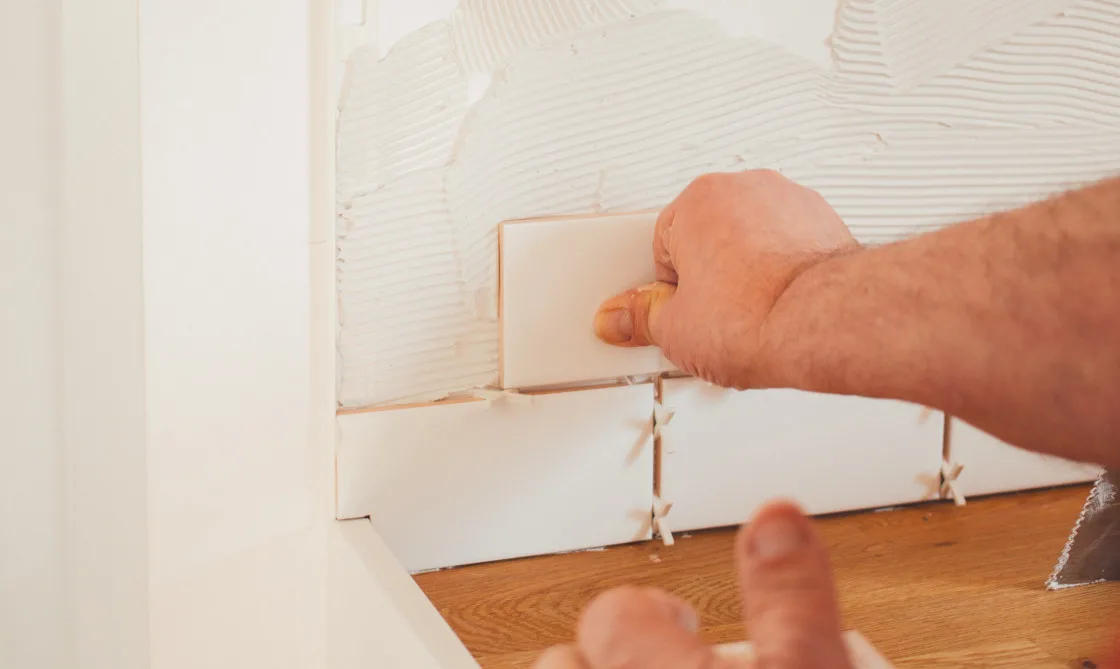
Before laying a single tile, meticulous preparation of the wall surface is mandatory. The process begins with rigorous cleaning to eliminate accumulated dust, dirt, and kitchen grease that could otherwise interfere with the bond between the wall and the adhesive. Once the surface has been thoroughly wiped down with a damp cloth and allowed to dry completely, measurements must be taken using a measuring tape, level, and chalk line. Installers typically establish a baseline starting from the center of the wall and working outward, employing spacers to guarantee uniform gaps between individual pieces. Additionally, when tiling over previously painted or wallpapered drywall, applying a manufacturer-recommended primer is critical to ensuring optimal adhesion.
Once the groundwork is laid, the actual installation demands precision and patience. Adhesive must be distributed evenly across the wall surface using the flat edge of a trowel, followed by combing through with the notched side to create parallel ridges. These ridges are essential for collapsing evenly under the weight of the tile, maximizing surface contact and holding power.
Placement begins at the predetermined center point, pressing each tile firmly into the adhesive bed while checking continuously with a spirit level to maintain a flush, even plane with adjacent pieces. Obstacles such as electrical outlets, cabinetry, and window frames require careful measuring and cutting, typically performed using a tile cutter or a wet saw to achieve clean, exact dimensions. Following placement, the installation must remain undisturbed while the adhesive cures fully, a process that can span anywhere from 24 to 48 hours depending on the specific formulation used.
With the tiles securely bonded, the project transitions into the grouting and sealing phase. Grout, a cement-based compound, serves the dual purpose of filling the joints between tiles for a cohesive visual finish and protecting the vulnerable edges from chipping and moisture infiltration. Applying grout requires working in manageable sections with a rubber float, driving the material deep into the joints while taking care not to gouge the lines. Excess residue is subsequently cleaned away using a damp sponge, with frequent rinsing to prevent a hazy film from drying onto the tile faces. For installations featuring natural stone, an additional step involving grout and stone sealers is deployed to guard against stubborn stains and water damage over time.
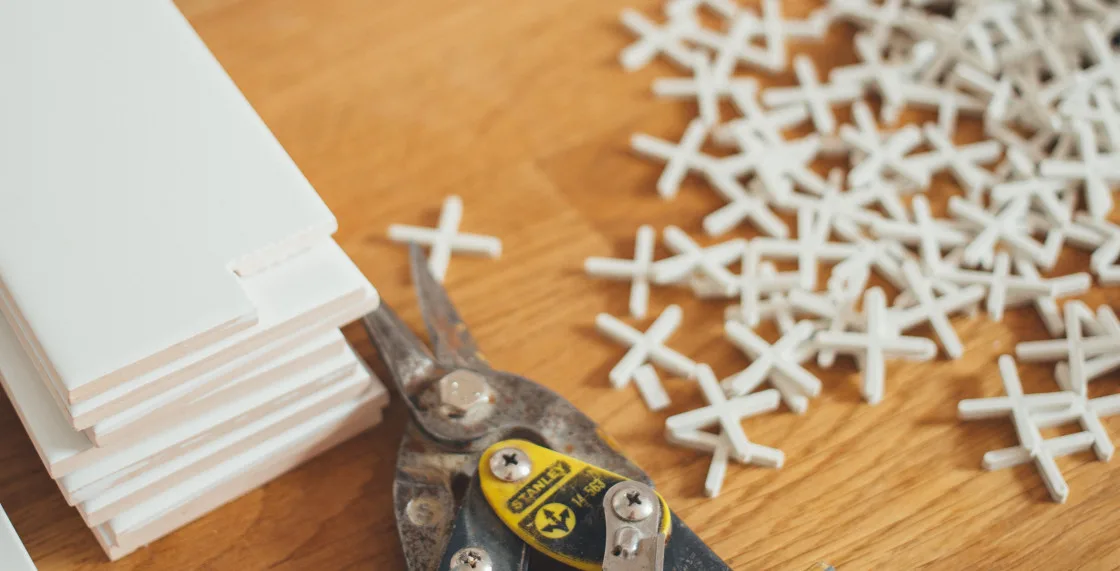
Despite the accessibility of residential tiling projects, experts note that several recurring pitfalls can undermine an otherwise careful installation. Inconsistent spacing caused by omitting tile spacers immediately betrays an amateur finish, while incorrect adhesive application—such as failing to create proper ridges or covering too large an area at once—can lead to loose tiles. Furthermore, neglecting to verify that each tile is level can create cascading alignment errors that complicate grouting and ruin the aesthetic continuity of the splashback.
By avoiding these common missteps, maintaining rigorous attention to detail throughout the measuring, cutting, and curing stages, and selecting materials tailored to the specific demands of the household, homeowners can successfully execute a transformative kitchen upgrade that stands the test of time.