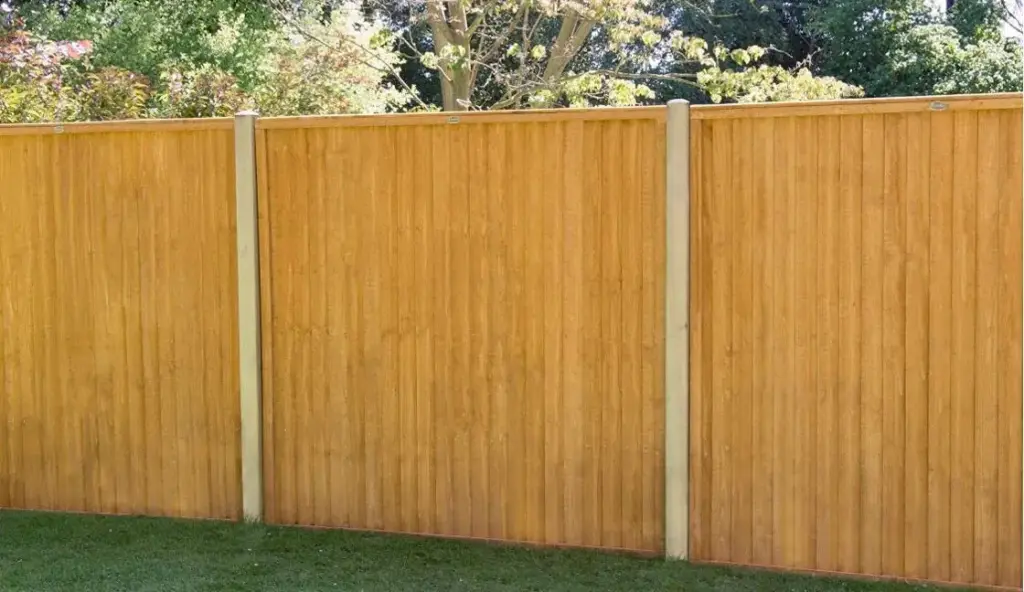
The decision to anchor wooden posts directly into concrete foundations fundamentally transforms the durability of a property’s perimeter, providing a rock-solid footing that withstands environmental pressures far better than surface-level alternatives. However, undertaking this method requires careful planning and a realistic timeline. Property owners must factor in additional days for project completion, as the concrete requires adequate time to cure and set fully before any strain or weight from fence panels can be applied.
Choosing and Treating Wooden Fence Posts
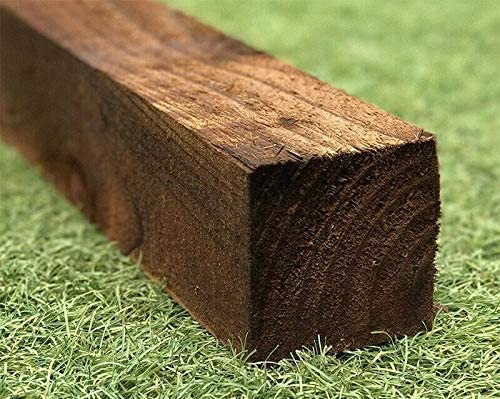
The foundation of any successful fencing project begins well before the first hole is dug, starting with the careful selection and preparation of the timber itself. To maximize the lifespan of the fence and prevent premature decay, building professionals strongly advocate for the use of pressure-treated timber. Within this category, opting for heartwood—the dense inner core of a tree—over sapwood yields superior results, although heartwood posts typically command a higher price tag.
Dimensional planning is equally critical to structural stability. For a standard garden fence standing at a height of six feet, or approximately 1.83 meters, industry guidelines dictate that the supporting posts must be significantly longer. Builders recommend that posts extend at least 25 percent deeper into the ground, translating to an overall length of roughly eight feet, or 2.4 meters, to ensure sufficient underground anchorage and resistance against lateral wind loads.

Regardless of the timber grade selected, preventative maintenance plays a vital role in delaying the natural decay process. Wood rot typically initiates at the ground line where moisture accumulates in the soil. To combat this vulnerability, builders apply a thorough coat of specialized wood preservative to the lower section of the post—specifically the portion destined to be buried beneath the earth—and allow it to dry completely before installation. Many professionals also take the opportunity to treat the bottom edges of the adjacent fence panels simultaneously to provide comprehensive moisture protection across the entire wooden structure.
Digging The Fence Post Holes
Once the timber has been selected, treated, and properly dried, the focus shifts to the physical labor of excavation. The precise placement and spacing of the post holes are dictated directly by the dimensions of the fencing materials being utilized. Standard fence panels generally measure six feet in width, requiring meticulous measurement to ensure that each successive hole is positioned at the exact distance needed to accommodate the panels snugly without putting undue stress on the framework.
Using specialized tools such as a narrow spade or a large masonry trowel, installers excavate holes designed to provide sufficient volume for the concrete anchor. The dimensions of the hole must balance depth and width to create a solid anchor block underground, preventing the post from shifting under seasonal freeze-thaw cycles or heavy gales.
Mixing the Concrete for the Post Holes
When it comes to securing the posts, builders generally choose between two primary approaches for the concrete mixture: commercially pre-mixed post-mix bags or mixing individual components from scratch. For smaller projects involving only one or two replacement posts, ready-to-use post-mix products offer unmatched convenience and speed. For larger installations requiring numerous holes, however, sourcing and mixing raw materials in bulk proves more cost-effective and practical.
When preparing a custom batch, masons utilize a relatively dry concrete mixture composed of one part cement, two parts sand, and three parts aggregate, commonly referred to as a standard 1:2:3 mix. This mixture can be prepared efficiently in a mechanical cement mixer for larger volumes, or manually on a mixing board or inside a wheelbarrow for smaller requirements. Experts emphasize that the mix should intentionally be kept on the drier side rather than overly wet. A drier concrete consistency provides superior structural support to hold the wooden post upright and steady while the material gradually hardens, whereas a soupier mix can cause the post to drift out of alignment during the curing phase.
Setting the Fence Posts in Concrete
The culmination of the project involves placing the treated timber into the excavated earth and pouring the concrete foundation. Having an extra pair of hands to stabilize the post and manage the shovel during the pour greatly simplifies the process, ensuring the timber remains plumb throughout the operation.
Installers position the post centrally within the hole, checking its vertical alignment continuously with a spirit level on multiple sides to guarantee absolute straightness. As the concrete is introduced around the base of the timber, it is tamped down to eliminate air pockets and create a dense, uniform anchor. The top of the concrete collar is typically sloped slightly away from the wooden post, a deliberate design choice that prevents rainwater from pooling against the timber and encourages moisture to run off harmlessly into the surrounding soil. With the posts firmly anchored, the site is left undisturbed for the required curing period, ensuring the boundary will stand resiliently for years to come.