The modern kitchen has long been considered the heart of the home, but for many residents, staring at drab, outdated walls can make the space feel uninspiring. Across residential neighborhoods, property owners are increasingly taking interior design into their own hands, focusing heavily on upgrading kitchen walls and installing stunning backslashes designed to elevate the culinary space. While tiling a vertical surface can initially appear to be a daunting undertaking, interior renovation experts emphasize that with proper preparation, the right materials, and careful execution, achieving a professional and flawless finish is entirely within reach for dedicated do-it-yourselfers.
Transforming a kitchen through wall tiling begins long before the first piece of mortar is mixed. The crucial first step in any successful home improvement project is selecting the precise type of tile that suits both the aesthetic goals of the household and the practical demands of a high-moisture cooking environment. The market offers a wide variety of materials, each bringing distinct characteristics, visual appeals, and maintenance requirements to the table.

Ceramic tiles remain the most popular choice for kitchen walls among homeowners. Manufactured from natural clay fired at high temperatures, these tiles offer exceptional durability and longevity. Their broad availability in countless colors, patterns, and sizes makes them an extraordinarily versatile option capable of complementing virtually any kitchen design scheme. For areas experiencing heavier daily use or moisture exposure, porcelain tiles provide a resilient alternative. Also crafted from clay but fired at even higher temperatures, porcelain is denser, less porous, and remarkably durable, available in finishes ranging from a sleek high gloss to a contemporary matte.
For those aiming for a distinctly modern and streamlined aesthetic, glass tiles have emerged as a favored alternative. Beyond their clean look, glass surfaces are exceptionally easy to clean and maintain. Furthermore, their natural reflective qualities can work wonders in compact kitchens, bouncing light around the room and creating the optical illusion of a much more spacious environment. On the other end of the design spectrum, natural stone tiles—including marble, granite, and slate—introduce a rustic, organic warmth to the interior. While natural stone demands a higher level of ongoing maintenance and care compared to manufactured alternatives, its distinct natural veining and rich textures inject unmatched character and individuality into the kitchen.
Before embarking on the physical installation, professionals stress the absolute necessity of gathering all requisite tools and investing in high-quality materials. Skimping on foundational items like adhesives, trowels, and cutting equipment can compromise the integrity of the installation, whereas premium supplies ensure a smoother workflow and a more refined final product.
Once the inventory is secured, attention must turn to meticulous surface preparation. The wall must be thoroughly cleansed of accumulated dust, dirt, and kitchen grease by wiping down the area with a damp cloth and permitting it to dry entirely. Following cleanliness, precise measurements and markings establish the geometric foundation of the project. Using a measuring tape, spirit level, and chalk line, renovators typically locate the exact center of the wall to work outward symmetrically, incorporating tile spacers to guarantee uniform gaps. In instances where the tiling will cover previously painted or wallpapered drywall, applying a specialized primer is widely recommended to enhance the bonding strength of the adhesive.
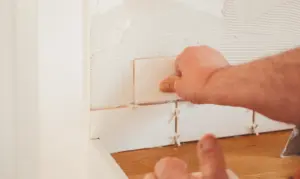
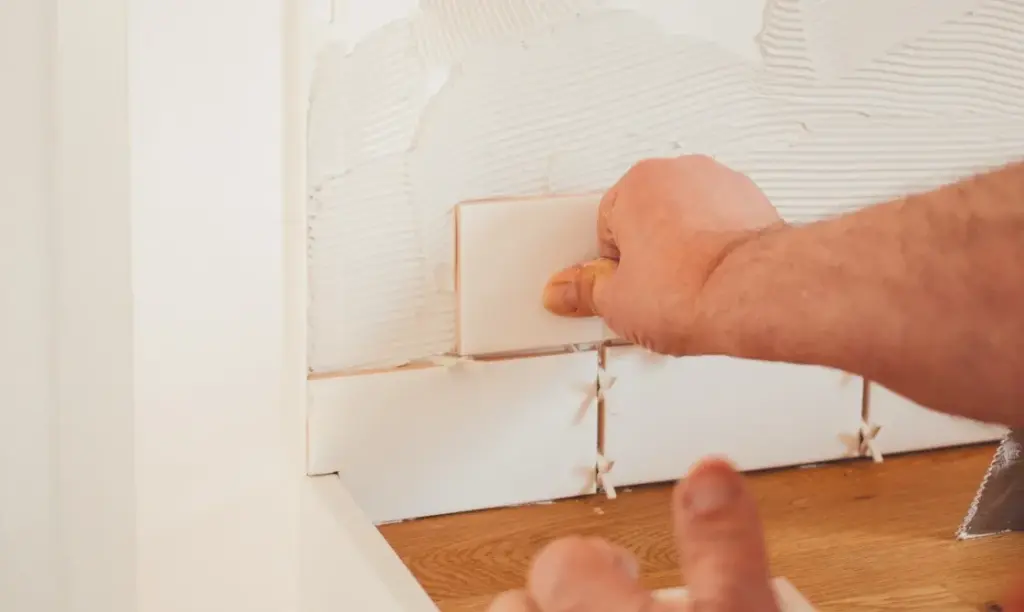
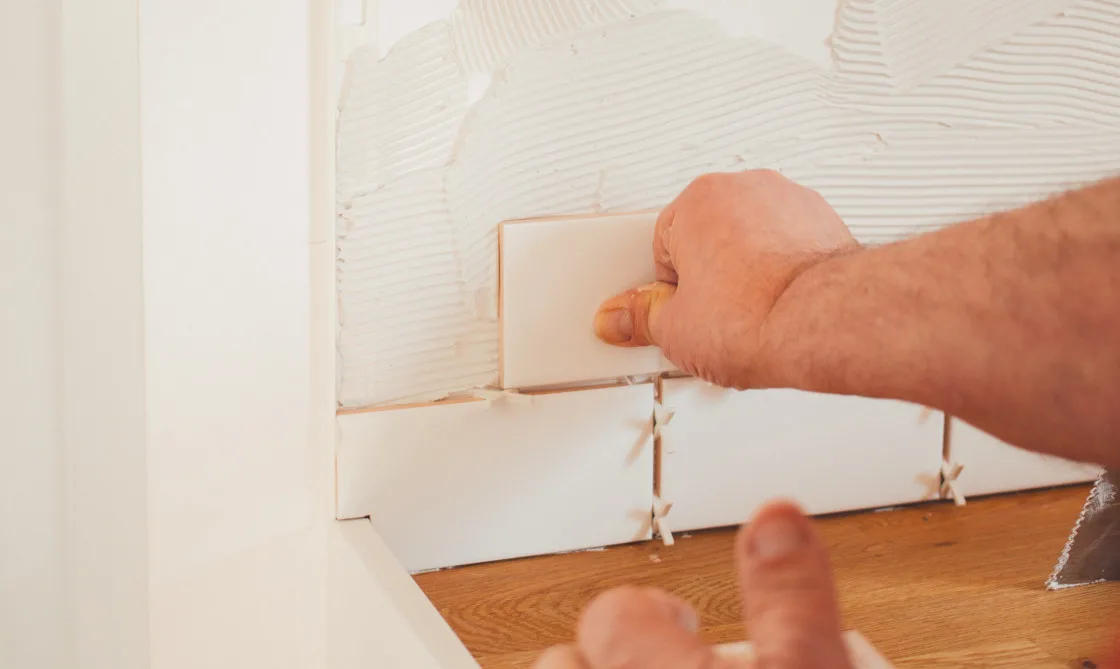
With the canvas properly primed and marked, the physical installation of the tiles gets underway. Achieving a professional outcome relies heavily on disciplined technique. Adhesive must be applied evenly across the wall using a trowel, utilizing the notched side to create systematic ridges that maximize suction and bonding for each tile. Installers generally begin at the central reference points and progress outward, pressing individual pieces firmly into the bed of adhesive while constantly checking alignment against adjacent tiles to ensure everything remains level and flush.
Obstacles such as electrical outlets, cabinetry edges, and window frames require careful navigation. Renovators utilize specialized tile cutters or wet saws to trim individual pieces to exact dimensions, relying on patient, incremental cuts to achieve a seamless fit around household fixtures. Following placement, the newly tiled surface must remain entirely undisturbed to allow the adhesive to cure completely, a process that typically spans between twenty-four and forty-eight hours depending on the specific chemical formulation of the product being used.
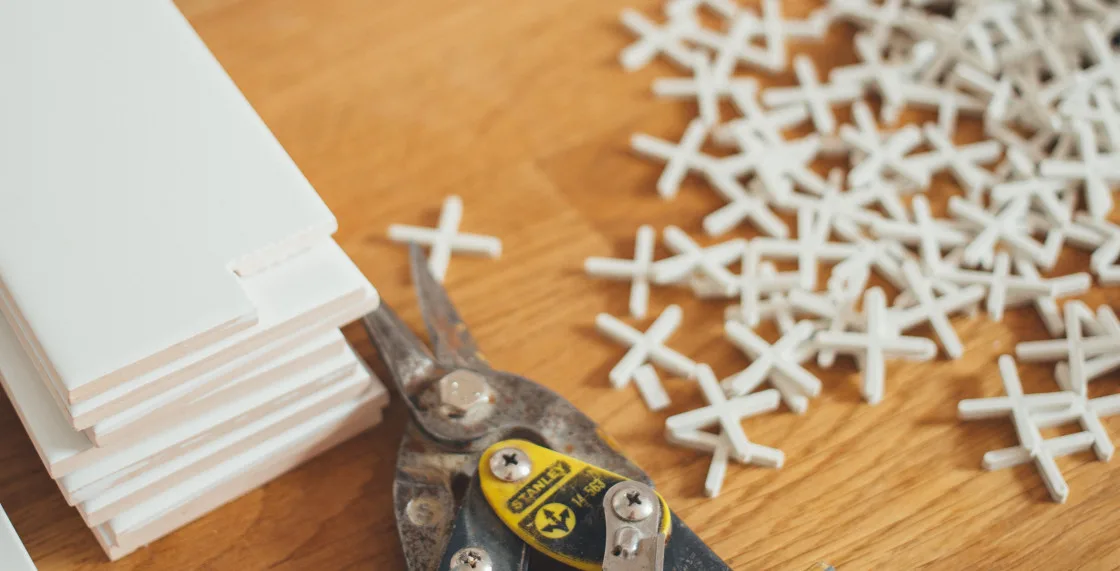
The subsequent phase involves grouting and sealing, which solidifies the structural integrity of the wall while defining its visual grid. Grout, a cement-based compound, is worked into the gaps between the tiles using a rubber grout float across manageable sections. Once the compound begins to set slightly, excess material is carefully wiped away using a clean, damp sponge, with frequent rinsing to prevent smearing the haze across the newly polished tile faces. For installations utilizing porous natural stone, applying a protective sealer over the grout lines is critical to defend against future staining and moisture infiltration.
Throughout the process, renovators are cautioned to watch out for recurring pitfalls that frequently undermine DIY projects. Inconsistent spacing between tiles can immediately give a project an amateurish appearance, making the systematic use of spacers non-negotiable. Similarly, failing to create proper ridges in the adhesive or neglecting to check levels continuously can result in uneven surfaces that complicate grouting and detract from the overall aesthetic harmony of the kitchen upgrade. By respecting the technical demands of surface preparation, material selection, and precise installation, homeowners continue to successfully modernize their living spaces, turning ordinary kitchen walls into striking focal points.