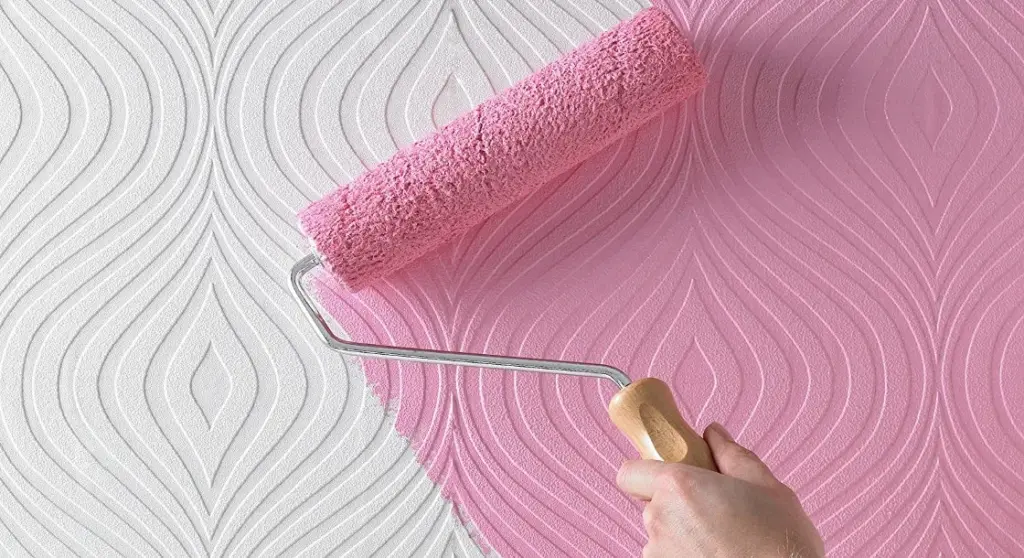
For homeowners seeking a fresh aesthetic without the labor-intensive ordeal of stripping old wall coverings, painting directly over wallpaper has long emerged as a popular and time-saving shortcut. Bypassing the grueling process of scraping paper, soaking adhesives, and meticulously preparing bare plaster can drastically reduce the timeline of a room revamp. However, home improvement specialists emphasize that this approach is far from a universal fix. Achieving a professional, long-lasting finish requires careful preliminary inspections, strict adherence to priming protocols, and a proactive strategy for managing common structural imperfections that can sabotage an otherwise straightforward DIY project.
Before committing to a paint roller, property owners must conduct a rigorous assessment of the existing wallpaper’s condition. Industry standards dictate that the underlying paper must be entirely free from rips, tears, and widespread structural degradation. If a wall covering is already compromised—exhibiting extensive peeling across multiple sections—experts strongly advise against simply painting over it. Widespread separation typically indicates that the original wallpaper paste has failed, a breakdown that is frequently triggered by inferior adhesive quality or underlying dampness within the room. Applying heavy coats of primer and paint to failing paper will only add weight, accelerating the detachment process and ruining the new decorative finish.
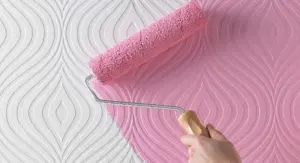
In contrast, minor localized peeling presents a manageable hurdle rather than a dealbreaker. If the lifting is restricted to a single, isolated zone, renovators can often secure the loose edges using a specialized wallpaper paste. This remedial step requires precision; the adhesive must be applied carefully to prevent unsightly air bubbles, and the patched area must be allowed to dry completely before any subsequent layers of paint are introduced. Furthermore, the physical profile of the wall covering plays a decisive role in the final visual outcome. Plain, flat wallpapers naturally serve as the most seamless foundation for painting. Nevertheless, textured and patterned varieties can also be coated, provided the homeowner is comfortable with the underlying relief and design remaining visible beneath the new paint.

Assuming the initial inspection confirms that the wallpaper is structurally sound and firmly adhered, the preparatory phase remains relatively streamlined compared to a full stripping job. However, transitioning from paper to paint demands meticulous attention to chemical compatibility, particularly during the priming stage. Even when working with light-coloured or unpatterned wallpapers, applying at least one dedicated coat of primer is widely considered essential. Primer ensures a uniform surface texture, prevents bleed-through, and makes the underlying pattern far easier to conceal with the chosen topcoat.
A critical technical pitfall in this process involves the choice of primer. Professionals caution that water-based primers can penetrate too deeply into the wallpaper, reactivating the old adhesive and compromising the bond between the wall and the paper. To mitigate this risk, experts routinely recommend utilizing oil-based or high-performance sealing primers. Specialized formulations, such as all-in-one primer-sealer products, provide the necessary barrier to lock down the wallpaper securely while creating an ideal canvas for the subsequent topcoat. Applying one to two thorough coats and allowing ample drying time establishes the structural integrity required for a successful room makeover.
Once the priming layer has fully set, homeowners can proceed to select and apply their desired topcoat color. Yet, even with meticulous preparation, certain challenges may occasionally arise as the project nears completion. One of the most frequent structural issues encountered when painting over wallpaper involves the appearance of fine gaps between adjacent strips of paper. As wallpaper dries and cures after its initial installation, it can occasionally experience slight shrinkage, leaving thin crevices along the seams. While this phenomenon is not an immediate catastrophe for a painting project, it requires targeted intervention to prevent a messy aesthetic result.

Assuming the remainder of the wallpaper remains firmly attached to the substrate, standard decorators’ filler can be effectively employed to conceal these gaps. Crucially, timing and precision are paramount during this remedial phase. Industry professionals advise executing this fix after the primer has been applied and cured. Once the filler has set, it must be sanded back with extreme care until it is perfectly flush with the surrounding paper surface. Because any raised filler will stand out conspicuously once the final paint layers are applied, taking the extra time to achieve a smooth, level finish ensures the integrity of the newly revamped space.