Tired of staring at the same old, drab kitchen walls day in and day out? Many homeowners dream of installing a stunning backsplash that can instantly elevate their cooking space to new heights of aesthetic appeal and functional elegance. Tiling a kitchen wall may initially seem like a daunting home improvement task, but industry professionals emphasize that with the right guidance, preparation, and tools, achieving a flawless finish is entirely within reach. This transformative upgrade not only revitalizes the immediate cooking zone but can also significantly shift the visual dynamic of an entire household.
Undertaking a kitchen renovation project requires a strategic approach, beginning with material selection and surface preparation before moving through the delicate phases of setting tiles and mastering the art of grouting. Industry experts note that bringing a personalized design vision to life relies heavily on patience and precision. Whether embarking on a weekend DIY venture or preparing for a broader home makeover, understanding the foundational principles of wall tiling ensures long-lasting durability and a polished, professional outcome.
Types of Tiles for Kitchen Walls
The critical first step in any kitchen wall tiling project is selecting the ideal type of tile. The market offers a wide variety of options, each defined by its own distinct aesthetic profile, structural composition, and maintenance requirements.
Ceramic tiles remain the most popular choice for kitchen walls among homeowners and designers alike. Manufactured from natural clay fired at high temperatures, these tiles offer exceptional durability and longevity. Their vast array of colors, patterns, and sizes makes them an exceptionally versatile option capable of complementing virtually any kitchen interior design theme.
Porcelain tiles share a similar clay origin with ceramic counterparts, but they undergo firing at significantly higher temperatures. This intense manufacturing process renders porcelain substantially more durable and far less porous than standard ceramic. Available in an assortment of finishes ranging from high-gloss sheens to understated matte textures, porcelain tiles serve as an excellent selection for high-traffic zones within a busy kitchen environment where resistance to moisture and wear is paramount.
For those striving to achieve a sleek, contemporary, and modern visual identity, glass tiles present a compelling alternative. Beyond their clean aesthetic appeal, glass surfaces are celebrated for their ease of cleaning and maintenance. Furthermore, their inherent reflective qualities can play an optical trick on perception, making a compact or small kitchen feel noticeably more spacious and luminous.

Conversely, homeowners seeking a natural, organic, and rustic atmosphere frequently turn to stone tiles, including varieties such as marble, granite, and slate. While natural stone demands a higher level of maintenance and specialized care compared to manufactured alternatives, the unique patterns, rich textures, and organic variations introduce an unmatched level of character and sophistication to the culinary space.
Tools and Materials for Tiling Your Kitchen Wall
Before setting a single tile against a kitchen wall, professionals stress the absolute necessity of gathering all required tools and specialized materials. Investing in high-quality equipment is widely considered non-negotiable for anyone striving to achieve a professional-grade finish. Experts caution against skimping on these foundational items, as superior tools streamline the workflow and ensure significantly greater efficiency throughout the installation process.
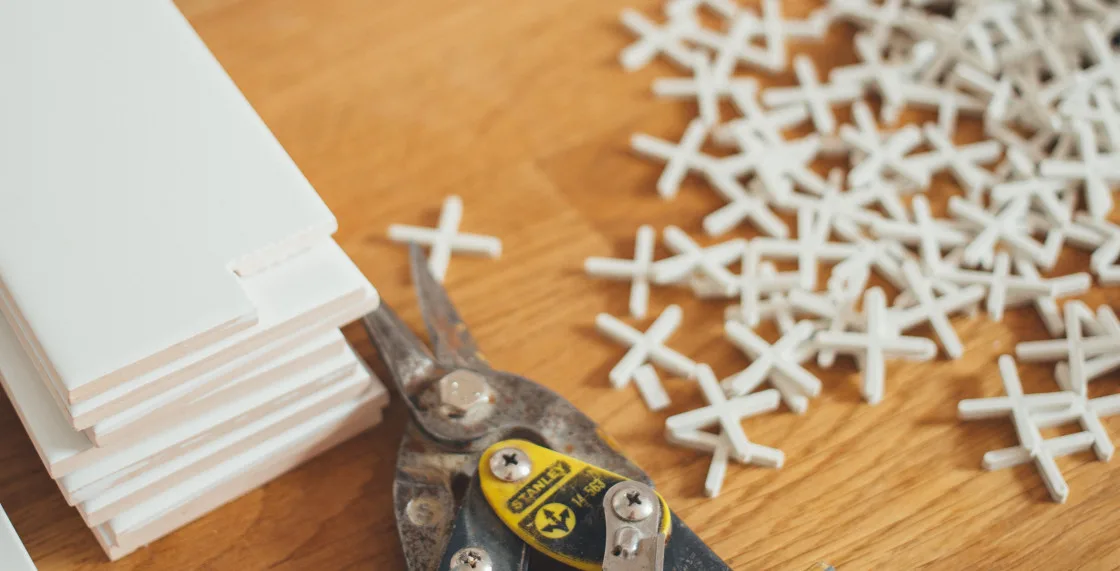
The essential inventory includes a reliable measuring tape, a spirit level for maintaining horizontal and vertical alignment, a chalk line for precise layout planning, a notched trowel for adhesive distribution, a rubber grout float, clean sponges, tile spacers, and a dedicated tile cutter or wet saw for navigating complex spatial obstacles. Alongside these instruments, builders must acquire the appropriate volume of high-grade adhesive, carefully selected tile materials, compatible grout mixes, primers for wall conditioning, and specialized sealers where natural stone is implemented.
Preparation Before Tiling – Cleaning, Measuring, and Marking
Once all tools and materials are securely on hand, attention shifts directly to preparing the wall surface. This vital preliminary phase involves thorough cleaning, precise measuring, strategic marking, and, where circumstances dictate, the application of a surface primer.
Cleaning the wall surface thoroughly stands out as an absolute prerequisite. Accumulated dust, airborne grease, and domestic grime can severely compromise adhesive bonds. Professionals recommend wiping down the entire target area with a damp cloth and allowing the substrate to dry completely before proceeding further.
Measuring and marking establish the geographic blueprint of the installation. Using a measuring tape, level, and chalk line, installers map out the precise boundaries of the tiled zone. Best practices dictate starting the layout directly at the center of the wall and working outward toward the edges, integrating tile spacers consistently to guarantee uniform gaps between individual pieces.
Surface conditioning is equally critical, particularly when dealing with non-standard substrates. For walls featuring existing paint or wallpaper applications, applying a specialized primer is strongly advised. This chemical treatment enhances the adhesive qualities of the wall, ensuring the mortar grips securely. Installers must strictly follow the manufacturer instructions corresponding to the specific primer product in use to guarantee structural integrity.
Tiling Tips for a Flawless Finish
With the surface fully prepped and primed, the actual installation phase commences. Achieving a pristine, professional finish requires strict adherence to proven trade techniques regarding adhesive application, tile placement, and cutting accuracy.
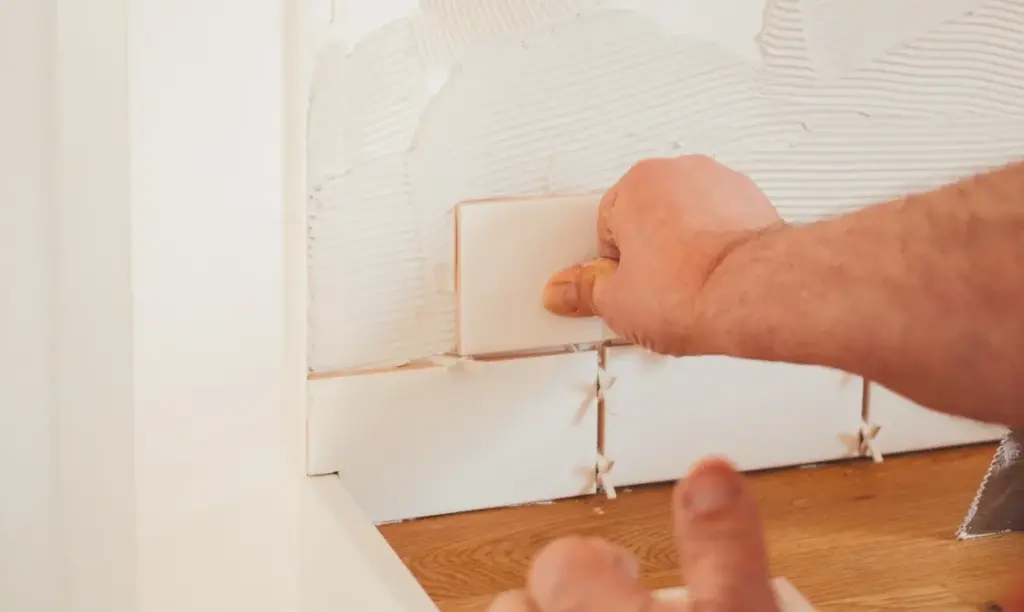
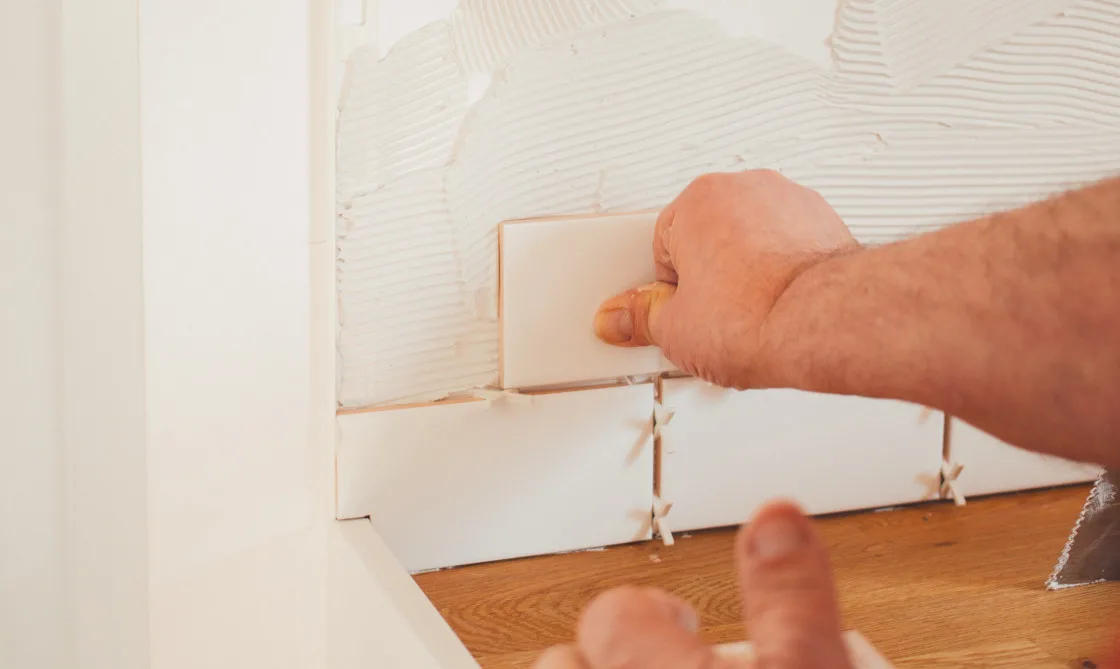
Spreading the adhesive evenly across the substrate is the foundational mechanical step. Installers utilize a trowel to apply the bonding agent, ensuring complete coverage across the designated zone. Crucially, utilizing the notched side of the trowel creates parallel ridges in the adhesive bed, which maximizes suction and helps the tiles adhere securely to the wall.
Placing the tiles proceeds methodically from the established center point outward. Installers press each individual tile firmly into the combed adhesive, verifying that it sits level and perfectly flush with its adjacent neighbors while utilizing spacers to maintain consistent joint widths.
Navigating around permanent spatial obstacles—such as electrical outlets, cabinetry edges, and window frames—demands precise modification. Using a tile cutter or a specialized wet saw, installers trim individual tiles to exact dimensions. Careful measurement and gradual cutting ensure an immaculate, custom fit around challenging architectural fixtures.
Allowing the adhesive to cure completely represents the final operational pause before finishing touches can begin. Depending on the specific formulation of the adhesive product selected, complete drying typically requires anywhere from 24 to 48 hours, during which time all physical disturbance of the newly set wall must be strictly avoided.
Grouting and Sealing Your Tiled Kitchen Wall
Once the underlying adhesive has fully cured and hardened, the project transitions into the grouting phase. Grout functions as a cement-based binding material that fills the interstitial gaps between tiles, locking the assembly together while protecting delicate tile edges from chipping and moisture infiltration.
Mixing the grout must be executed precisely in accordance with the manufacturer’s technical specifications. Installers utilize a rubber grout float to press the mixed compound deeply into the tile joints, working systematically in manageable, small sections.
Cleaning off excess grout residue from the face of the tiles requires a damp sponge and clean water. Frequent rinsing of the sponge is vital to prevent the accidental smearing of grout slurry across the finished surface.
For installations incorporating natural stone materials, applying a specialized sealer to the cured grout is an essential protective measure. This sealant shields both the grout and the porous stone from stubborn staining and long-term moisture damage, preserving the integrity of the installation for years to come.
Common Mistakes to Avoid When Tiling Your Kitchen Wall
While undertaking a kitchen wall tiling project is deeply rewarding, amateur renovators frequently encounter common pitfalls that compromise the final appearance. Recognizing these errors helps ensure a successful outcome.
Inconsistent spacing remains a primary hazard. Failing to utilize tile spacers religiously results in irregular grout lines that instantly signal an unprofessional installation. Similarly, incorrect adhesive application—such as failing to create uniform ridges with a notched trowel—leads to weak bonding and potential tile displacement over time. Finally, neglecting to check level alignments continuously can cause uneven tile placement, disrupting the visual harmony and creating significant complications during the subsequent grouting phase.
By adhering to rigorous standards of preparation, material selection, and technical execution, homeowners can successfully navigate the complexities of kitchen wall renovation, resulting in a durable, sophisticated, and visually stunning space.