Homeowners seeking to revitalize their living environments are increasingly turning their attention to one of the most functional yet visually impactful areas of the home: the kitchen wall and splashback. Upgrading a drab cooking space with a stunning backsplash has become a central focus for interior renovations. While the task of tiling a kitchen wall often appears daunting to DIY enthusiasts and first-time renovators alike, industry professionals emphasize that achieving a flawless finish is entirely attainable with proper preparation, the correct selection of materials, and meticulous execution.
The process begins long before the first tile is pressed into place. Industry experts stress that selecting the appropriate tile material is the foundational step for any successful kitchen upgrade. Each material carries its own distinct aesthetic value, durability profile, and maintenance requirements, making the initial choice critical for both long-term satisfaction and daily functionality.
Ceramic tiles remain the most popular choice for kitchen walls. Manufactured from clay fired at high temperatures, ceramic tiles offer a durable and long-lasting surface capable of withstanding the rigors of a busy kitchen. Their widespread appeal is further bolstered by an extensive variety of colors, patterns, and sizes, providing homeowners with immense versatility to match any interior design vision.

For areas enduring heavier daily wear and tear, porcelain tiles present a robust alternative. Sharing similarities with ceramic, porcelain is crafted from refined clay and fired at even higher temperatures. This intensive manufacturing process renders porcelain tiles significantly denser, highly durable, and less porous than their ceramic counterparts. Available in finishes ranging from high gloss to matte, porcelain tiles excel in high-traffic cooking zones where moisture and resistance to impact are paramount.
Homeowners aiming for a sleek, contemporary aesthetic frequently gravitate toward glass tiles. Beyond their modern visual appeal, glass tiles offer the distinct advantage of being exceptionally easy to clean and maintain. Furthermore, their inherent reflective qualities can significantly enhance spatial perception, making smaller kitchens feel considerably more open and luminous.
For those desiring a more natural, organic aesthetic, stone tiles—including marble, granite, and slate—introduce unique textures and rich character to a culinary space. While natural stone requires a higher level of maintenance and specialized care compared to manufactured alternatives, its distinctive patterns ensure that no two kitchen walls are ever identical.
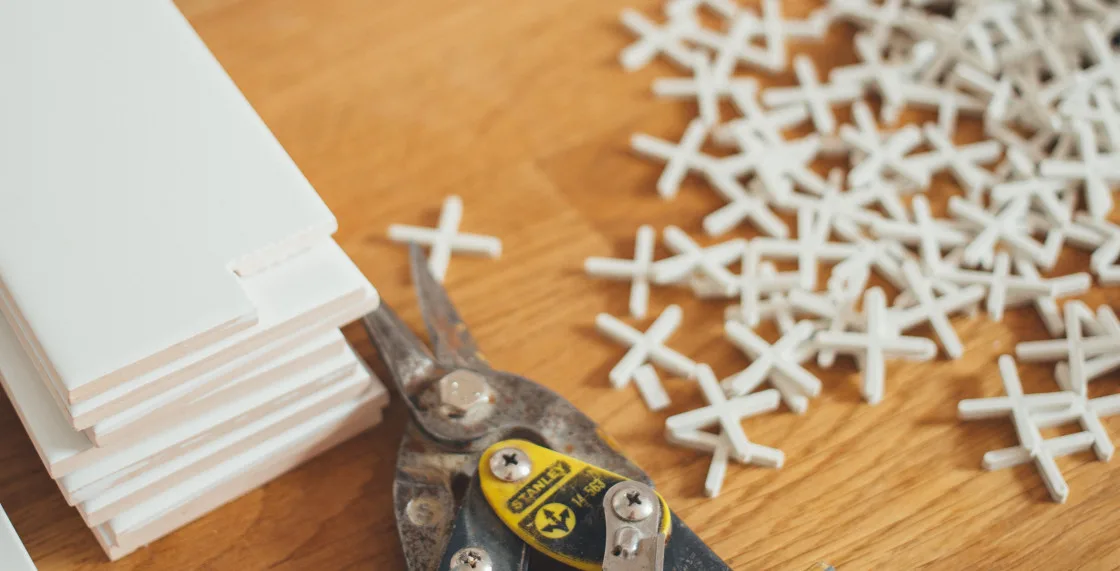
Achieving a professional-grade installation requires gathering all necessary tools and materials before commencing the project. Industry standards dictate that investing in high-quality items—ranging from adhesives and notched trowels to levels, tile cutters, and grouting tools—is essential for ensuring efficiency and a polished, professional finish. Skimping on foundational supplies often leads to complications during the installation process, whereas quality equipment facilitates smoother application and better structural integrity.
Surface preparation represents the next critical phase in the renovation sequence. Before any adhesive is applied, the existing wall surface must undergo rigorous cleaning to eliminate accumulated dust, dirt, and grease. Professionals recommend wiping down walls with a damp cloth and allowing complete evaporation before proceeding. Following cleaning, precise measuring and marking using a measuring tape, level, and chalk line establish the alignment boundaries. Installers typically establish a center reference point on the wall and work outward, utilizing tile spacers to guarantee uniform gaps between individual pieces. Additionally, when tiling over previously painted or wallpapered surfaces, the application of a compatible primer is strongly advised to enhance adhesive bonding strength according to manufacturer specifications.
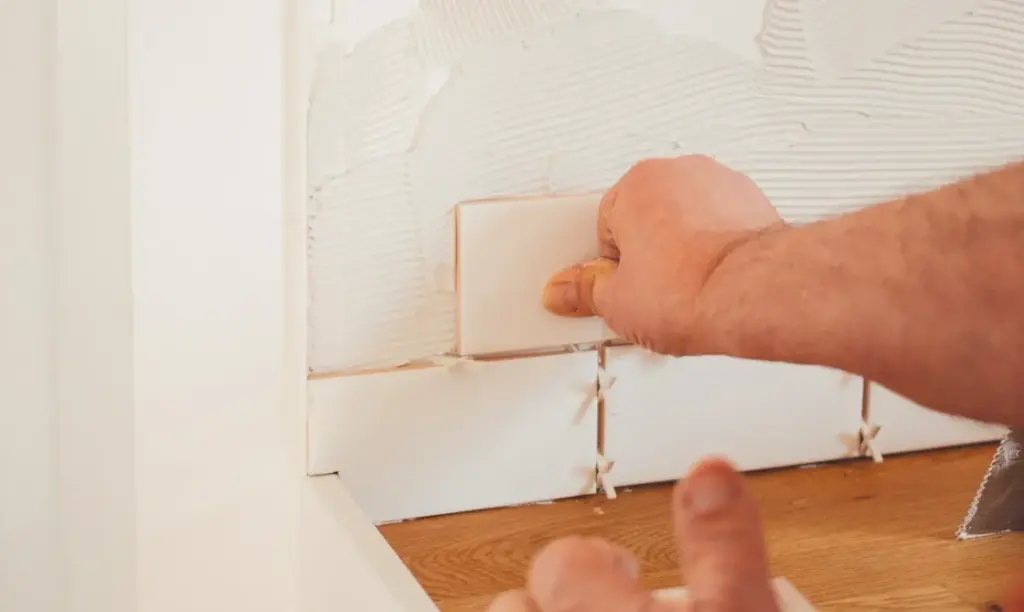
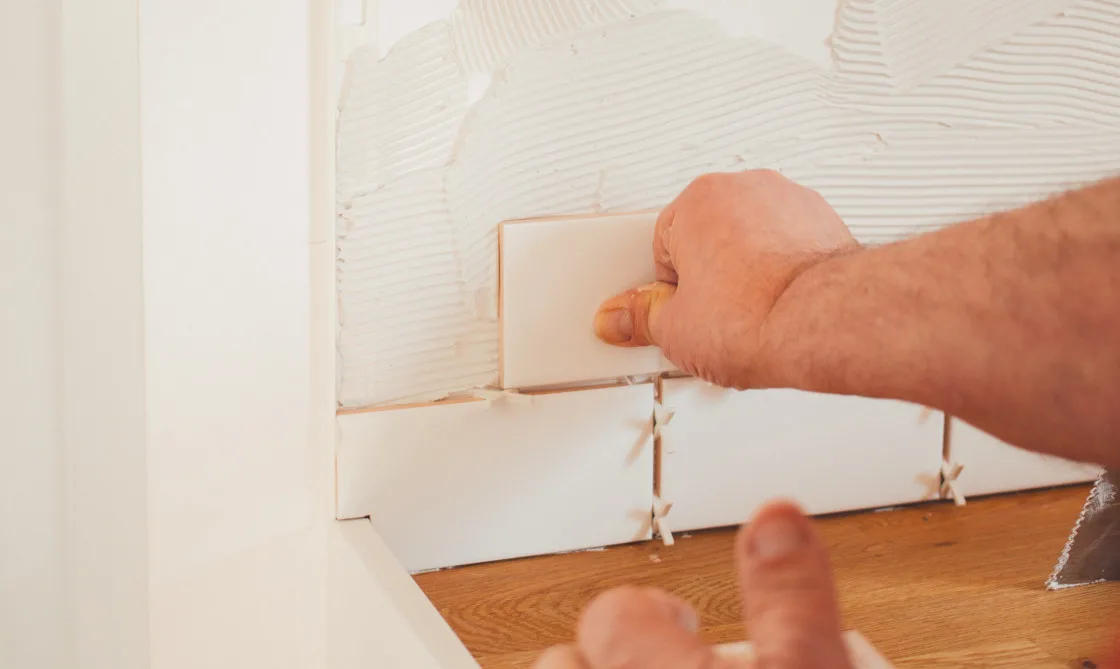
Once preparation is complete, the physical installation of the tiles begins. The technique demands a methodical approach, starting with the even application of adhesive using a trowel across the designated work area. The notched edge of the trowel creates essential ridges within the adhesive bed, maximizing suction and structural support for each tile. Installers press tiles firmly into place, continuously checking with a level to ensure that every piece sits flush and even with its neighbors. Around permanent fixtures such as electrical outlets, cabinetry, and windows, tiles must be carefully measured and cut using a tile cutter or wet saw to achieve a precise, professional fit. After placement, the adhesive requires an undisturbed drying period—typically lasting between 24 and 48 hours depending on the specific formulation—before any grouting can commence.
Grouting and sealing complete the physical installation phase, providing both structural finishing and protective barriers against moisture and debris. Grout, a cement-based compound, fills the interstitial gaps between tiles to protect their vulnerable edges from chipping while creating a cohesive visual appearance. Applied using a rubber grout float across small sections, excess grout is subsequently cleaned away using clean water and a frequently rinsed sponge to prevent hazing or residue buildup. For natural stone installations, applying a specialized sealer is a mandatory final step to protect both the stone and the grout from staining and moisture infiltration.
Throughout the installation process, professionals advise remaining vigilant against common pitfalls that compromise the final aesthetic. Inconsistent spacing, resulting from the omission of tile spacers, immediately signals an amateur installation. Similarly, improper adhesive application—such as failing to create uniform ridges or leaving gaps—can lead to loose tiles over time. Failing to monitor tile alignment with a level often results in uneven surfaces that complicate grouting and detract from the overall craftsmanship. By adhering to established preparation protocols, utilizing the correct materials, and maintaining precision during placement, homeowners can successfully elevate their kitchen spaces with a durable, professionally finished tile installation.