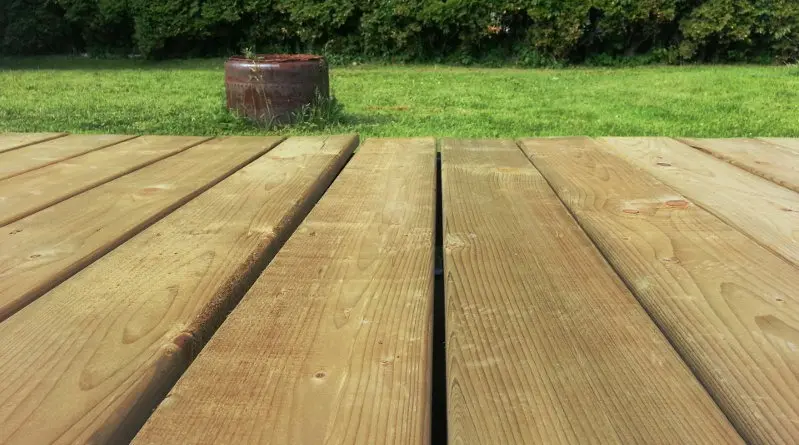
Homeowners looking to upgrade their exterior living areas are increasingly turning to ground-level decking as one of the most efficient, cost-effective, and rewarding weekend improvement projects available. Constructing a deck directly on soil or at ground level presents a remarkably streamlined alternative to elevated installations, bypassing the need for complex deep-set foundations, structural posts, complicated staircases, or safety balustrades. For those with a flat and sound available space, industry experts note that a well-organized builder can successfully complete a square or rectangular ground-level deck in as little as a single day. Beyond the immediate aesthetic appeal and functionality, this type of low-profile construction offers a unique degree of flexibility, with some installations even remaining portable enough to be disassembled and relocated when moving home.
Despite the relative simplicity compared to multi-tiered or elevated structures, embarking on a DIY timber project still demands careful preparation, precise measurements, and a realistic assessment of one’s woodworking capabilities. While it may test the skills of those who have spent very little time working with timber, adherence to fundamental carpentry principles and a measured approach can yield professional-grade results. Success hinges on thorough planning, patience, and meticulous attention to detail during both the framing and surface-laying stages.
Creating the Decking Frame
The foundation of any successful timber deck begins with the outer structural frame. The process starts with verifying measurements and cutting all necessary bearers to form the perimeter of the structure. Once cut, these four primary pieces are laid flat on the floor in their designated positions and joined together securely using robust butt joints at each corner.
Industry standards recommend utilizing heavy-duty screws measuring at least 150mm in length to bind the outer bearers together, applying a minimum of two fasteners per corner to ensure maximum structural integrity. To guarantee that the frame is perfectly square, builders must measure diagonally across the structure in both directions. Once squared, a temporary timber batten is typically nailed diagonally across one of the corners to lock the frame into its proper shape while intermediate supports are added.
Additional internal bearers are then mapped out by measuring and marking points at precise 400mm intervals along two opposite sides of the frame. These intermediate supports serve a dual purpose: they dramatically increase the overall rigidity of the framework while providing essential load-bearing support for the surface decking boards. For projects utilizing specialized decking tiles rather than traditional planks, the spacing between these support bearers must be adapted accordingly to match the exact width of the tiles.
After measuring the precise gap between the marked sides, builders cut the required number of internal support bearers, position them over the previously marked points, and secure them using the same 150mm screws. With the internal matrix complete, the finished framework is fully prepared to be transitioned onto its final footings.
Preparing the Site for Decking
Site preparation varies significantly depending on the underlying surface conditions. When constructing a deck over an existing flat concrete pad or a solid area of paving slabs, extensive footings and foundations are generally unnecessary. However, minor adjustments using thin timber off-cuts may be required to pack out specific corners to achieve a completely level surface. Conversely, building over grass or soil requires a rigorous ground-clearance protocol.
The initial phase involves mapping out the perimeter of the deck using a tape measure and a series of wooden pegs or stakes driven into the ground to denote the corners. String is then tightly wound between the pegs to establish clear sightlines for digging and leveling. For square or rectangular layouts, cross-diagonal measurements must be repeated to verify that the perimeter angles are true.
When working over an existing lawn, a straight-edged spade is employed to slice through the turf layer, segmenting it into manageable strips that can be rolled up and discarded or relocated. In areas characterized by rough soil, large stones must be cleared, and the terrain smoothed using a rigid plank or similar leveling tool. Because this is a ground-level installation, achieving an accurate baseline is critical, requiring frequent checks with a spirit level placed atop a straight plank.
Drainage assessment dictates the next phase of sub-base construction. For naturally well-drained locations free from excessive dampness, the standard procedure involves rolling out a sheet of weed-proof membrane—trimmed to be slightly larger than the cleared footprint—and blanketing it with a 40mm to 50mm layer of gravel.
In environments prone to moisture retention, or where a more robust foundation is desired to stabilize the timber frame, paving slabs are strategically positioned at the corners and at regular intervals along the central span. These slabs rest directly on the gravel base, functioning as solid footing pads. Installers use a long spirit level across the span of the slabs to ensure they sit uniformly at the exact same height, tapping them down or adding underlying gravel as needed to correct discrepancies.
An alternative preparation technique involves removing the topsoil or turf entirely, placing the concrete slabs at the designated corner and intermediate bearing points, and tracing their outlines with a sharp trowel. After temporarily lifting the slabs, an additional 25mm to 30mm of soil is excavated from beneath each footprint, backfilled with fine gravel, and compacted to match the surrounding grade. The slabs are then reset into their prepared beds, a weed-proof membrane is fitted around them, and the remaining voids are filled with gravel up to the upper surface of the concrete.
Once the foundational base is fully stabilized, the assembled timber frame is maneuvered into position atop the slabs. Ensuring the structure rests evenly without rocking under weight is the final prerequisite before surface installation can begin.
Fixing the Decking Boards
The transition from a basic structure to a visually stunning deck depends heavily on the precision applied during the board-fixing stage. Taking the time to double-check measurements, cut boards cleanly, and avoid rushing will yield a far superior finished product. Best practices suggest cutting multiple boards simultaneously and applying a quality wood preservative to all newly exposed cut ends prior to installation.
Decking boards are installed perpendicular to the underlying support bearers. Working from the perimeter edge furthest away from any adjacent wall or structure, the initial board is aligned flush with the outer face of the frame. Appropriate-length decking screws are driven through the board into each intersecting bearer, with fasteners neatly positioned within the designated surface grooves if using textured timber.
Maintaining consistent expansion gaps between individual boards—typically ranging from between 3mm and 10mm—is essential for proper drainage and natural wood movement. Installers frequently use matching timber off-cuts as spacers to preserve uniform gaps as each successive board is laid and aligned.
Reaching the final boundary often requires custom modification, as the last board rarely spans the remaining gap perfectly. Installers measure the exact clearance, factor in the necessary expansion spacing, and transfer those dimensions to a final decking board before trimming it to size. As with previous cuts, the newly exposed edge is treated with wood preservative before the final board is secured in place with decking screws.
To achieve a polished, professional aesthetic, fascia boards are attached along all visible outer edges of the frame, effectively concealing the rough ends of the bearers and decking boards. Standard square-edged treated timber that matches the species of the deck is typically utilized for this purpose, screwed directly into the frame with mitred joints at the corners to complete a clean, architectural finish.