The decision to bypass wallpaper removal should never be made lightly. Before purchasing supplies or applying any product, property owners must thoroughly inspect the condition of the wall coverings. Ideally, the wallpaper must be in sound structural condition, completely free from rips, tears, or widespread damage. If the paper is severely compromised, riddled with blemishes, or falling apart, attempting to paint over it is generally discouraged. In such cases, stripping the old material and painting the exposed wall underneath remains the superior long-term choice for room aesthetics and durability.
A critical warning sign for DIY decorators is widespread peeling. Even if the paper is not physically torn or ripped, wallpaper that is lifting off the wall in multiple locations indicates that the underlying adhesive paste is failing. This failure can stem from a variety of factors, including the use of low-quality paste during the original installation or moisture infiltration within the room over time. Painting over compromised adhesive will only exacerbate the issue, as the added weight of primers and topcoats often causes the paper to sag or detach completely from the wall surface.
However, if peeling is strictly localized to a single area, the situation is usually salvageable. Decorators can carefully re-adhere the lifting section using standard wallpaper paste, taking meticulous care to smooth out any air bubbles that might become permanently trapped. Once the localized repair is executed, the area must be allowed to dry completely before any painting procedures begin.

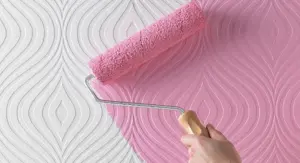
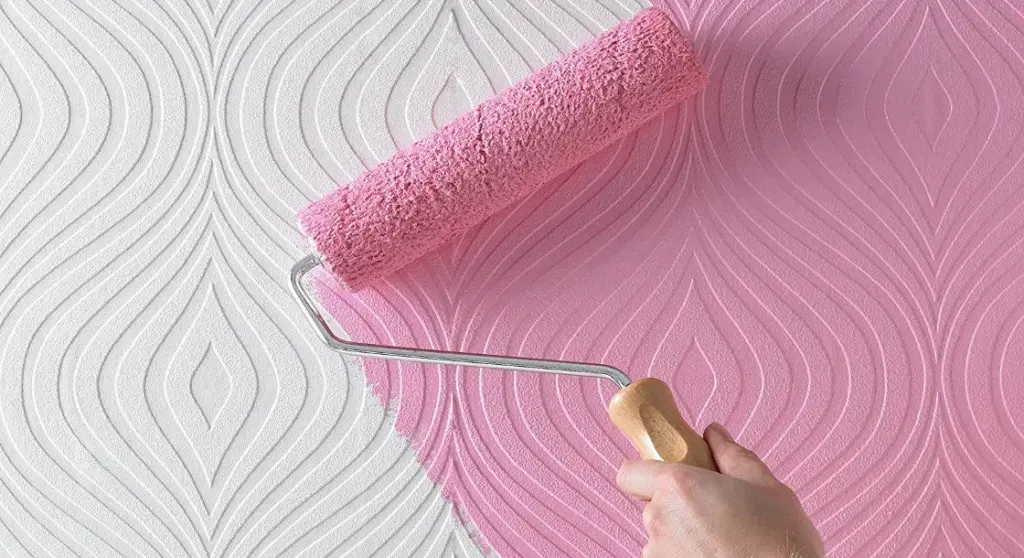
Regarding the type of paper best suited for this technique, plain and flat wallpapers offer the smoothest canvas and yield the most predictable results. Despite this, textured and patterned wallpapers can also be painted over, provided the homeowner accepts that the underlying texture, embossing, or pattern relief will remain distinctly visible beneath the new paint layer.
Assuming the preliminary inspection confirms the wallpaper is in good, stable condition, the preparatory phase before painting is relatively straightforward. However, skipping critical steps in this phase can ruin the entire project. Proper preparation involves protecting surrounding surfaces, cleaning the walls of dust and grease, and ensuring the environment is stable for the chemical products that will follow.
One of the most vital technical considerations when painting over wallpaper involves the choice of primer. Even when dealing with light-coloured or unpatterned paper, applying at least one coat of primer is strongly recommended. Priming ensures a uniform, clean finish when the final topcoat is applied and significantly improves the coverage of the underlying paper design.
However, professionals advise against using water-based primers for this specific application. Water-based formulas can easily saturate the paper, penetrating too deeply and dissolving or compromising the integrity of the underlying wallpaper paste. To avoid lifting the paper during the priming stage, experts recommend utilizing an oil-based primer. Specialized products, such as all-in-one primer and sealer formulations, provide the necessary moisture barrier while preparing the wallpaper surface for subsequent layers of paint. Decorators are generally advised to apply at least one, but preferably two, coats of primer, ensuring each layer dries completely before moving forward with the topcoat.

Once the priming stage is successfully completed and thoroughly dried, homeowners can select their preferred topcoat paint color and begin transforming the walls. While proper planning and meticulous preparation usually guarantee a smooth process, certain complications can still arise during or after the painting phase.
One common issue involves the appearance of gaps between individual wallpaper strips. When wallpaper is initially installed, it can occasionally shrink slightly as the adhesive dries, leaving thin, unsightly gaps between adjacent sheets. While this shrinkage does not immediately derail a painting project, it requires targeted intervention to prevent a sloppy final appearance.
Assuming the wallpaper remains firmly affixed to the wall and is structurally sound elsewhere, decorators can utilize standard wall filler to conceal the gaps between the sheets. Crucially, this remedial step should be performed after the primer coats have been applied. Once the filler has fully set, it must be meticulously sanded down until it is perfectly level with the surrounding paper surface. Because any raised filler will stand out prominently and create an unattractive blemish once the topcoat is applied, taking the necessary time to sand the repaired areas thoroughly is essential for achieving a professional finish.