Choosing this shortcut requires a rigorous initial assessment of the current state of the walls. Before committing to the brush or roller, professionals emphasize the importance of checking whether the paper remains in sound condition, completely free from rips, tears, or structural damage. When wallpaper is heavily compromised or in poor condition, attempting to paint over it is rarely recommended; stripping it away to work directly on the bare wall is almost always the superior and more durable option.
Similarly, painting over wallpaper that is actively peeling in multiple areas—even if the paper itself is not torn—poses significant risks. Widespread peeling typically indicates that the original adhesive paste is failing, a deterioration that can stem from either low-quality installation materials or underlying dampness issues within the room. If moisture is the culprit, simply painting over the surface will trap problems underneath, leading to further bubbling and degradation down the line.

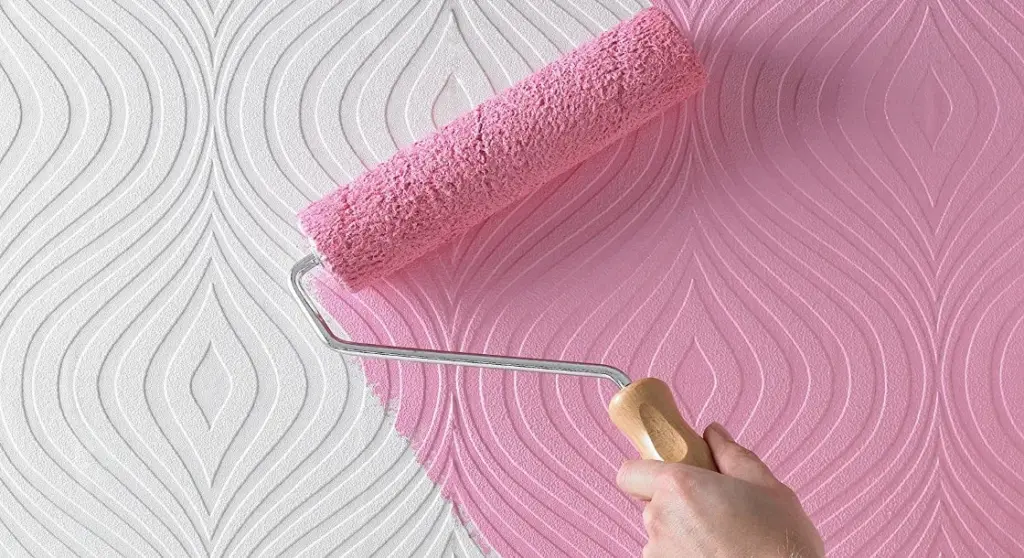
However, if peeling is strictly localized to a single, isolated spot, decorators may be able to salvage the surface by carefully re-adfixing the loose edge with fresh wallpaper paste before moving forward with any painting plans. When undertaking this minor repair, meticulous care must be taken to smooth out the paper and prevent trapped air bubbles, followed by allowing the paste to dry completely. In terms of paper types, plain and flat designs serve as the most receptive canvases for paint, though textured or patterned varieties can also be painted over successfully, provided the homeowner is comfortable with the underlying relief pattern remaining visible beneath the new color.
Assuming the preliminary checks confirm the wallpaper is sturdy and secure, the required preparation phase remains relatively straightforward. Once the room has been cleared and protected, the transition to applying paint requires strategic priming. Even when dealing with light-coloured or unpatterned wallpaper, applying at least one coat of primer is strongly advised to secure a clean, professional finish and simplify the coverage of the topcoat.
A critical technical consideration during this phase involves the choice of primer. Water-based primers run the risk of soaking too deeply into the wallpaper layers, which can inadvertently reactivate and break down the underlying adhesive paste. To circumvent this issue, professionals generally recommend utilizing an oil-based primer or specialized sealing formulas—such as all-in-one primer and sealer products—to properly stabilize the surface. Applying one to two coats of this barrier, and allowing it to cure completely, creates a stable foundation for the final color selection.

Despite careful planning and meticulous preparation, homeowners occasionally encounter specific complications once the painting process is underway. One of the most common issues arises from the natural behavior of wallpaper as it dries following its initial installation. Over time, wallpaper strips can sometimes experience minor shrinkage, resulting in thin gaps appearing between adjacent sheets.
While the appearance of these seams is not an immediate dealbreaker for a paint-over project, they must be addressed to achieve a polished look. Assuming the broader wallpaper installation remains firmly affixed and structurally sound, standard wall filler can be deployed to bridge the gaps between sheets. Industry best practices dictate that this remedial filling should take place after the primer has been applied and set. Once the filler is dry, it must be sanded back with extreme precision until it matches the exact level of the surrounding paper. Because any raised edges of filler will show up prominently under a fresh coat of paint, dedicating time and patience to this sanding process remains essential for a seamless finish.