As residential renovation costs continue to climb across the housing sector, an increasing number of homeowners are taking matters into their own hands by tackling kitchen wall upgrades and backsplashes as do-it-yourself projects. Transforming a tired, drab cooking space into a vibrant culinary hub no longer necessarily requires hiring expensive contractors, provided that renovators approach the task with careful preparation, proper tools, and a solid understanding of tiling fundamentals. Industry experts note that updating a kitchen backsplash or wall can fundamentally elevate the aesthetic of an entire home, offering one of the highest visual returns on investment for domestic updates.
Achieving a professional-grade finish begins well before the first tile is ever pressed against a wall. The initial and perhaps most critical decision in any tiling project involves selecting the appropriate material for the specific environment. The market offers a wide variety of tile types, each carrying distinct visual characteristics, durability levels, and maintenance demands that suit different household lifestyles.
Ceramic tiles remain the most popular choice for kitchen walls and backsplashes due to their exceptional versatility and reliability. Manufactured from clay that undergoes heating at high temperatures, ceramic tiles offer a durable and long-lasting surface that resists everyday kitchen wear and tear. Furthermore, they are widely available in an extensive spectrum of colors, patterns, and dimensions, accommodating virtually any interior design vision.

Porcelain tiles share a similar clay foundation with ceramic options but are subjected to even higher firing temperatures during production. This intensive process renders porcelain significantly denser, less porous, and markedly more durable than standard ceramic. Available in finishes ranging from high-gloss to subtle matte, porcelain tiles represent an optimal choice for high-traffic areas of the kitchen where moisture and heavy use are constant factors.
For homeowners seeking a sleek, contemporary aesthetic, glass tiles have emerged as a prominent trend in modern kitchen design. Beyond their clean visual appeal, glass surfaces are exceptionally easy to clean and maintain. Their natural reflective qualities also serve a functional purpose in smaller kitchens, bouncing light around the room and creating an illusion of expanded space.
Meanwhile, natural stone tiles—including varieties such as marble, granite, and slate—introduce an organic, rustic character to culinary spaces. While stone options demand a higher level of maintenance and sealing compared to manufactured tiles, their unique veining, textures, and natural variations impart a timeless elegance that synthetic materials cannot fully replicate.
Gathering the necessary equipment and supplies before commencing work is vital to maintaining project momentum. Professionals emphasize that investing in quality tools and materials streamlines the installation process significantly. Attempting to cut corners on foundational items often leads to frustration and compromised results, whereas proper equipment ensures efficiency and precision from layout to the final wipe-down.
Preparation of the work surface dictates the structural integrity and longevity of the installation. Before any adhesive is applied, the wall surface must undergo rigorous cleaning to eliminate accumulated dust, grease, and household grime. Using a damp cloth to wipe down the area, followed by allowing the wall to dry completely, ensures that bonding agents will adhere properly.
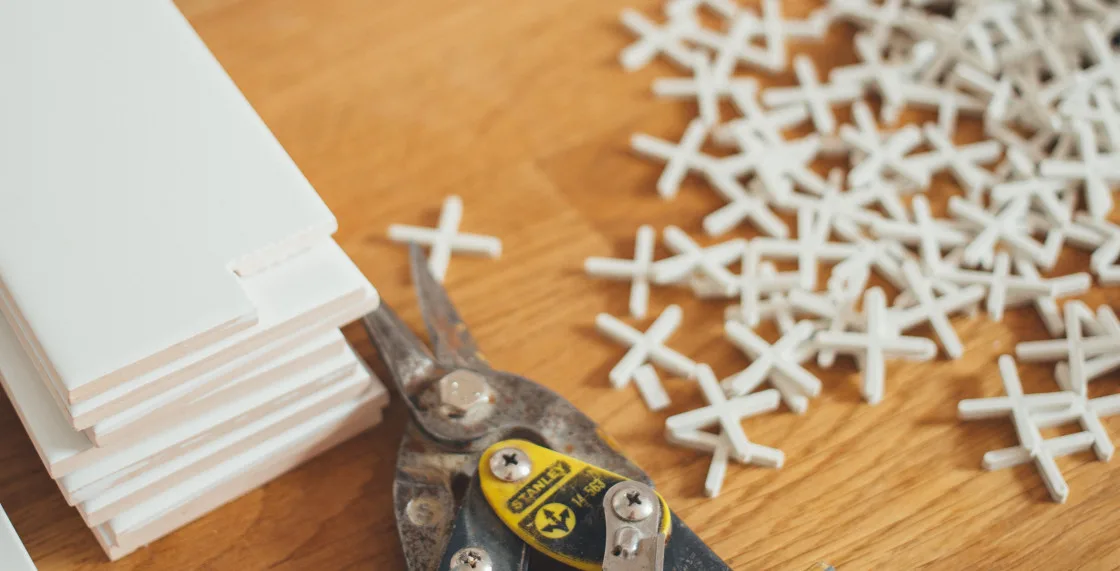
Measuring and marking the workspace requires patience and precision. Installers typically utilize a measuring tape, spirit level, and chalk line to establish a reliable baseline. Commencing work from the center of the wall and expanding outward helps maintain visual symmetry, while tile spacers are deployed simultaneously to guarantee uniform gaps between individual pieces. Additionally, when tiling over previously painted or wallpapered surfaces, applying a compatible primer is standard practice to enhance adhesion between the wall and the bonding material.
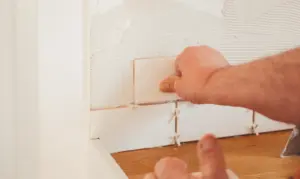
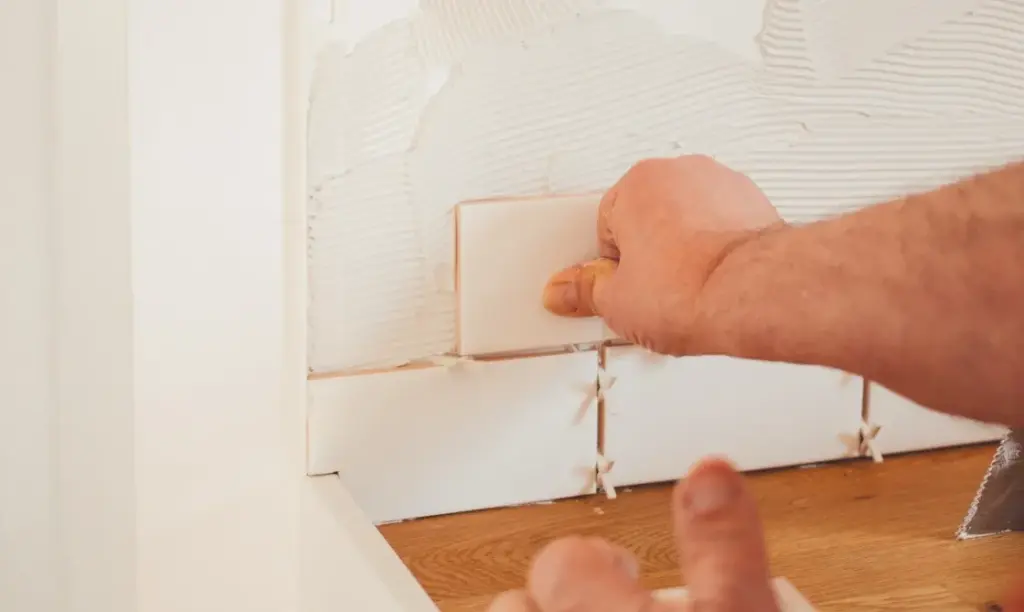
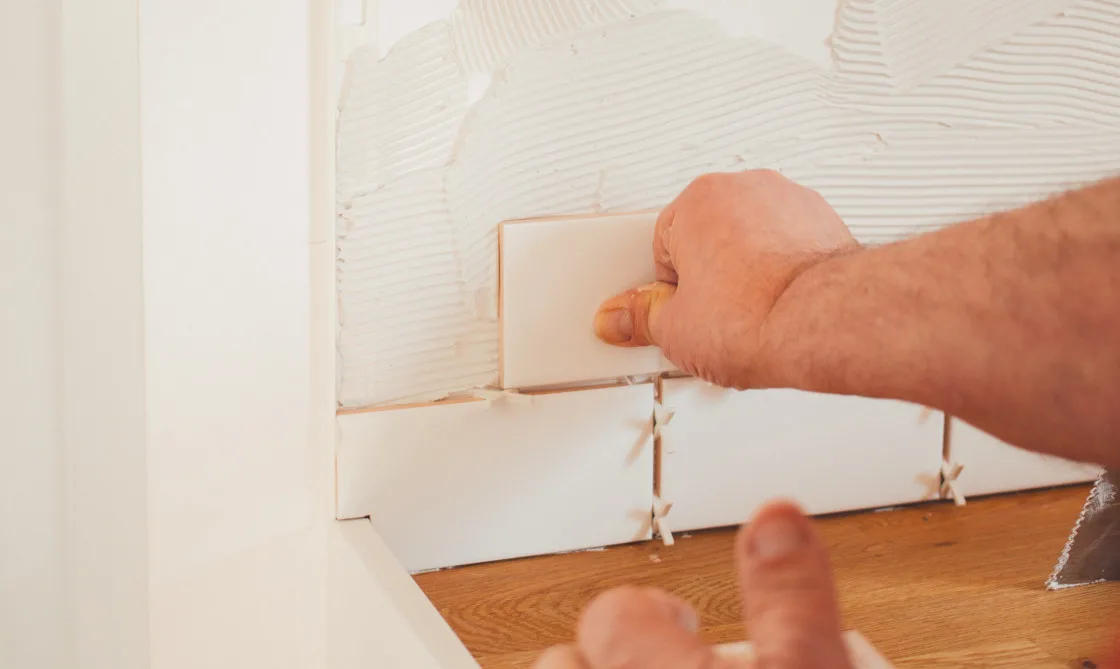
Once the preparatory phases are complete, the physical installation of the tiles begins. Adhesive must be spread evenly across the wall using a trowel, ensuring complete coverage in the targeted zone. The notched side of the trowel creates essential ridges within the adhesive layer, a technique that maximizes suction and grip when the tiles are pressed into place. Installers position each tile firmly, checking frequently with a level to guarantee that the surface remains flush and even with adjacent pieces.
Navigating architectural obstacles such as electrical outlets, cabinetry, and window frames requires careful cutting using specialized tools like tile cutters or wet saws. Precise measurements at these junctions prevent awkward gaps and maintain a cohesive appearance across the entire wall. Following placement, the adhesive must be left undisturbed to dry thoroughly. Depending on the specific formula used, curing times generally range between 24 and 48 hours.
The subsequent phase involves grouting and sealing the installation. Grout, a cement-based compound, fills the interstitial gaps between tiles to seal out moisture, protect edges from chipping, and deliver a unified visual finish. Using a rubber grout float, installers apply the mixture across small sections at a time, working it deep into the joints before promptly cleaning away surface residue with a damp sponge and clean water. For installations featuring natural stone, applying a specialized sealer to the cured grout is essential to guard against staining and moisture degradation over time.
Throughout the process, common pitfalls can compromise the final outcome if not carefully avoided. Inconsistent spacing between tiles instantly detracts from the professional appearance of the project, making the use of tile spacers mandatory. Similarly, improper adhesive application or failing to keep the working surface level can result in uneven tiles that complicate grouting and ruin the aesthetic continuity of the splashback. By adhering to established installation techniques and exercising patience during preparation and execution, homeowners can successfully navigate the complexities of wall tiling and achieve a transformation that revitalizes their living space.