For many homeowners, the kitchen remains the bustling heart of the household, yet staring at the same tired, drab walls day after day can dampen the spirit of the entire home. To combat this design fatigue, a growing number of residents are taking matters into their own hands, embarking on do-it-yourself tiling projects to install stunning new backsplashes and elevate their cooking spaces. While tackling a kitchen wall upgrade might initially appear to be a daunting undertaking, interior design and home improvement experts emphasize that with the correct guidance, proper preparation, and the right set of tools, achieving a flawless finish is entirely within reach.
The journey toward a revitalized kitchen begins well before the first tile is ever set against the wall. Industry professionals stress that a successful transformation requires a careful, deliberate process that spans material selection, surface preparation, precise installation, and meticulous grouting. By understanding the nuances of each phase, DIY enthusiasts can avoid common pitfalls and secure a professional-grade aesthetic that completely redefines the character of their living space.
Types of Tiles for Kitchen Walls
The foundational decision in any kitchen tiling endeavor lies in selecting the appropriate material. The market offers a diverse array of options, each bringing its own distinct visual appeal, tactile quality, and specific maintenance demands to the culinary environment.
Ceramic tiles currently stand as the most popular choice for kitchen walls. Manufactured from clay that undergoes heating at high temperatures, these tiles offer exceptional durability and longevity. Their widespread appeal is further bolstered by an extensive spectrum of available colors, patterns, and sizes, rendering them a remarkably versatile option capable of complementing virtually any kitchen design scheme.
For those seeking an even more robust alternative, porcelain tiles present a compelling solution. Similar to their ceramic counterparts in origin, porcelain tiles are fired at significantly higher temperatures. This intensive manufacturing process yields a product that is denser, highly durable, and markedly less porous than standard ceramic. Available in finishes ranging from high gloss to matte, porcelain tiles serve as an exceptional option for high-traffic zones within the kitchen where resilience is paramount.
Homeowners aiming for a sleek, contemporary aesthetic frequently gravitate toward glass tiles. Beyond their modern visual footprint, glass tiles offer the distinct advantage of being exceptionally easy to clean and maintain. Furthermore, their inherent reflective qualities can play a significant role in bouncing light around the room, making a compact or modest kitchen feel considerably more expansive and open.
For individuals inclined toward a more organic, grounded atmosphere, stone tiles—including varieties such as marble, granite, and slate—deliver a distinctly natural and rustic ambiance. While natural stone demands a higher level of ongoing maintenance compared to manufactured alternatives, the individuality of its natural patterns and rich textures infuses a kitchen with unmatched character and depth.

Tools and Materials for Tiling Your Kitchen Wall
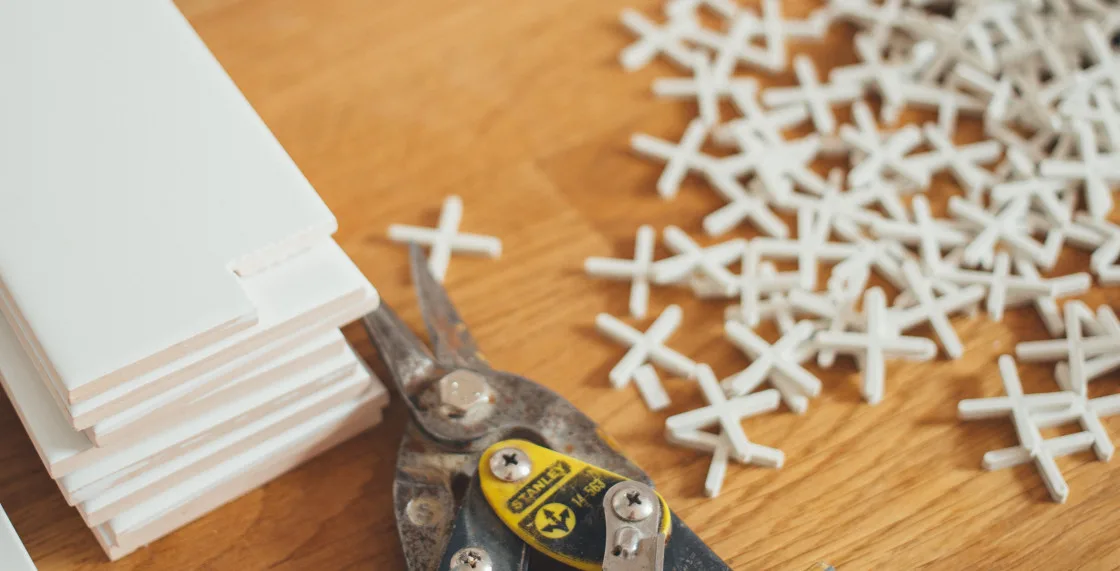
Before initiating the physical labor of tiling, professionals advise gathering all necessary equipment and supplies in one place. Assembling a comprehensive toolkit beforehand prevents frustrating interruptions mid-project and ensures a smoother workflow. Industry standards suggest investing in high-quality tools and materials rather than opting for budget alternatives, as superior equipment significantly enhances both the ease of the process and the final visual outcome.
The required inventory spans various measuring devices, cutting equipment, mixing tools, and application implements, alongside the core components of tiles, adhesive, spacers, grout, and sealants. Having these elements ready establishes a solid foundation for the meticulous preparation phase that follows.
Preparation Before Tiling – Cleaning, Measuring, and Marking
Transforming a kitchen wall requires treating the underlying surface with the utmost care. Once all tools and materials are secured, attention turns directly to the wall itself through a tri-fold process of thorough cleaning, precise measuring and marking, and strategic priming.
The physical preparation begins with deep cleaning. Dust, accumulated cooking grease, and everyday grime must be entirely eradicated from the wall surface to prevent interference with the bonding agents. Wiping down the area with a damp cloth and allowing the structure to dry completely is a mandatory precursor to any adhesive application.
Following sanitation, meticulous measurement takes center stage. Using a measuring tape, level, and chalk line, installers map out the precise geographic boundaries of the installation. Best practices dictate starting the layout at the center of the wall and expanding outward symmetrically, integrating tile spacers continuously to guarantee uniform gaps between individual pieces.
Surface conditions also dictate whether additional chemical preparation is required. When tiling over pre-existing painted surfaces or wallpaper, applying a specialized primer is strongly recommended. This substance acts as a bonding agent, ensuring that the adhesive grips securely to the wall substrate according to the manufacturer’s precise technical specifications.
Tiling Tips for a Flawless Finish
With the wall properly prepped and primed, the installation phase commences. Achieving a polished, high-end look relies heavily on technique during the application of adhesives and the placement of the tiles.
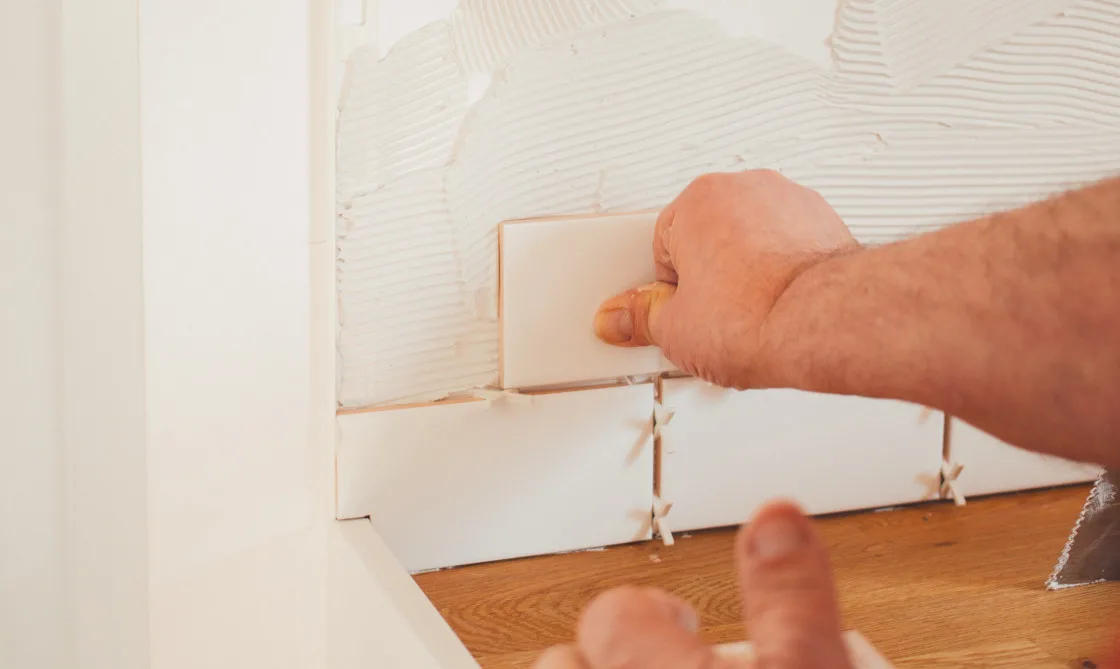
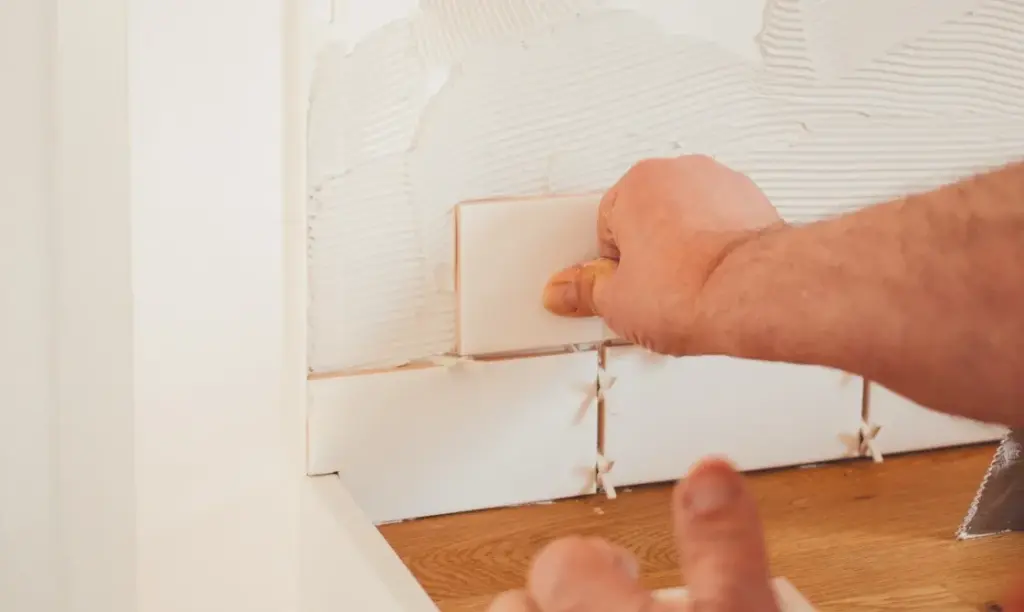
Adhesive must be spread evenly across the targeted surface area using a trowel, ensuring complete coverage wherever tiles are destined to rest. By utilizing the notched side of the trowel, the installer creates distinct ridges within the adhesive bed. These ridges play a critical mechanical role, collapsing under pressure to maximize surface contact and secure the tiles firmly in place.
Tile placement itself proceeds methodically from the center outward. Installers press each individual tile firmly into the combed adhesive, checking continuously with a spirit level to confirm that it sits flush and level with its neighbors while maintaining consistent intervals via spacers.
Obstacles such as electrical sockets, window frames, and cabinetry require custom modifications. Utilizing a tile cutter or a specialized wet saw allows craftsmen to make precise, clean cuts around these architectural interruptions, preserving the geometric integrity of the backsplash design.
Once every tile is secured, the installation must remain undisturbed. Allowing the adhesive to cure completely is a non-negotiable step before proceeding to the next phase. Depending on environmental factors and the specific formulation of the adhesive, this curing window typically spans between 24 and 48 hours.
Grouting and Sealing Your Tiled Kitchen Wall
When the structural adhesive has fully cured, the project transitions to finishing the joints via grouting. Grout serves a dual purpose: it fills the interstitial gaps between tiles to deliver a cohesive, finished appearance, and it seals the exposed edges against chipping and moisture infiltration.
The process begins by mixing the cement-based grout according to the manufacturer’s exact guidelines. Using a rubber grout float, the mixture is pressed into the joints across small, manageable sections of the wall.
Prompt cleanup is essential during this stage. Excess grout remaining on the surface of the tiles is wiped away using a clean sponge and water. Frequent rinsing of the sponge prevents the unintentional smearing of grout residue across the newly installed surface.
For installations featuring natural stone tiles, an additional protective measure is required. Sealing the grout lines becomes imperative to defend the porous materials against staining and moisture-related deterioration, requiring strict adherence to the manufacturer’s instructions for the chosen sealing compound.
Common Mistakes to Avoid When Tiling Your Kitchen Wall
While DIY kitchen tiling can be deeply satisfying, novice installers often encounter predictable hurdles that compromise the final aesthetic. Being aware of these pitfalls helps safeguard the quality of the project.
Inconsistent spacing remains one of the most frequent errors. Neglecting to use tile spacers consistently results in uneven gaps that immediately signal an amateur installation. Similarly, improper adhesive application—such as failing to create uniform ridges or leaving gaps in coverage—weakens the bond and can cause tiles to shift or detach over time.
Failing to maintain a level surface during placement also introduces significant complications. If individual tiles are allowed to sit unevenly or project further than their neighbors, subsequent grouting becomes difficult, and the overall reflection of light across the wall appears distorted and unprofessional.
By paying careful attention to preparation, respecting curing times, and maintaining rigorous standards of alignment and spacing, homeowners can successfully navigate the complexities of kitchen wall tiling and achieve a transformation that elevates the look and feel of their living space for years to come.