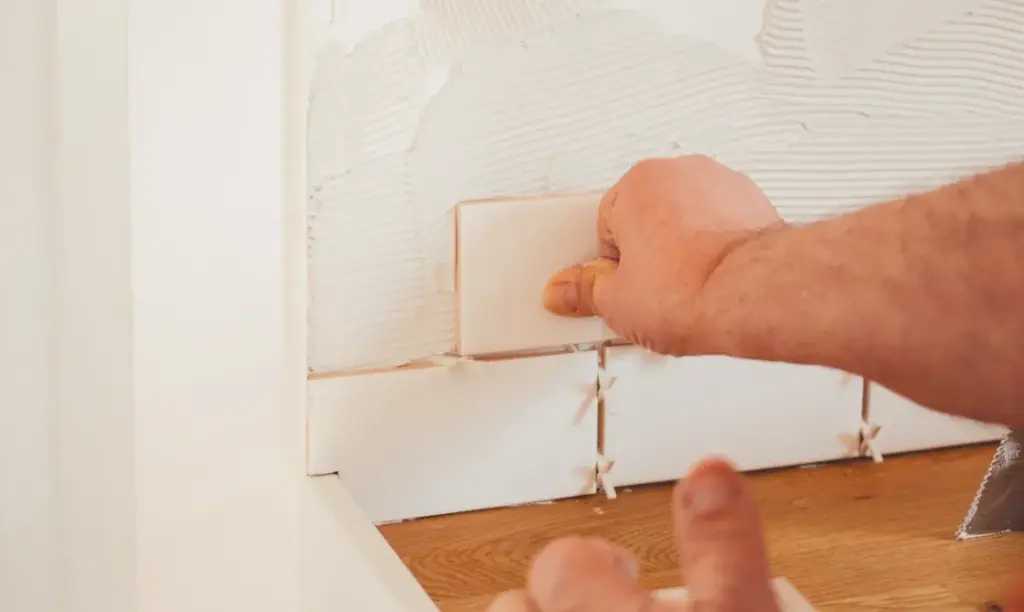
LONDON — As homeowners increasingly look for cost-effective ways to modernize and personalize their living spaces, home improvement experts are highlighting the transformative impact of updating kitchen walls and backsplashes. Replacing drab, outdated surfaces with fresh tile work has emerged as a premier interior design strategy, offering a blend of aesthetic appeal and functional durability that can dramatically elevate the heart of a home.
Industry specialists note that while tiling a kitchen wall may initially appear daunting to the uninitiated, achieving a professional, flawless finish is entirely within reach for those equipped with the proper guidance, materials, and patience. The process, which ranges from selecting the ideal tile composition to mastering the final stages of grouting and sealing, requires careful planning and execution to ensure long-lasting results.
Types of Tiles for Kitchen Walls
The foundation of any successful kitchen wall renovation begins with material selection. The market offers a diverse array of tile options, each bringing distinct aesthetic qualities and specific maintenance demands to the culinary space.
Ceramic tiles remain the most popular choice among homeowners and contractors alike. Manufactured from natural clay heated at high temperatures, ceramic options yield a durable and resilient surface capable of withstanding daily kitchen activities. Their widespread popularity is further bolstered by an extensive spectrum of colors, patterns, and dimensions, rendering them exceptionally versatile for virtually any interior design scheme.

For those requiring heightened durability, porcelain tiles present a robust alternative. Sharing similarities with ceramic, porcelain is crafted from refined clay fired at even greater temperatures, resulting in a denser, significantly less porous material. Available in finishes ranging from high gloss to matte, porcelain tiles excel in high-traffic zones where moisture and heavy use are constant factors.
Property owners seeking a sleek, contemporary aesthetic frequently turn to glass tiles. Beyond their modern visual appeal, glass surfaces offer straightforward cleaning and maintenance routines. Furthermore, their inherent reflective qualities can significantly enhance the perception of space, making them a preferred solution for more compact kitchens.
Conversely, natural stone options such as marble, granite, and slate introduce an organic, rustic character to the interior. While these materials demand a more rigorous maintenance regimen to preserve their integrity, their unique veining and textures impart unmatched depth and individuality to the kitchen environment.
Tools and Materials for Tiling Your Kitchen Wall
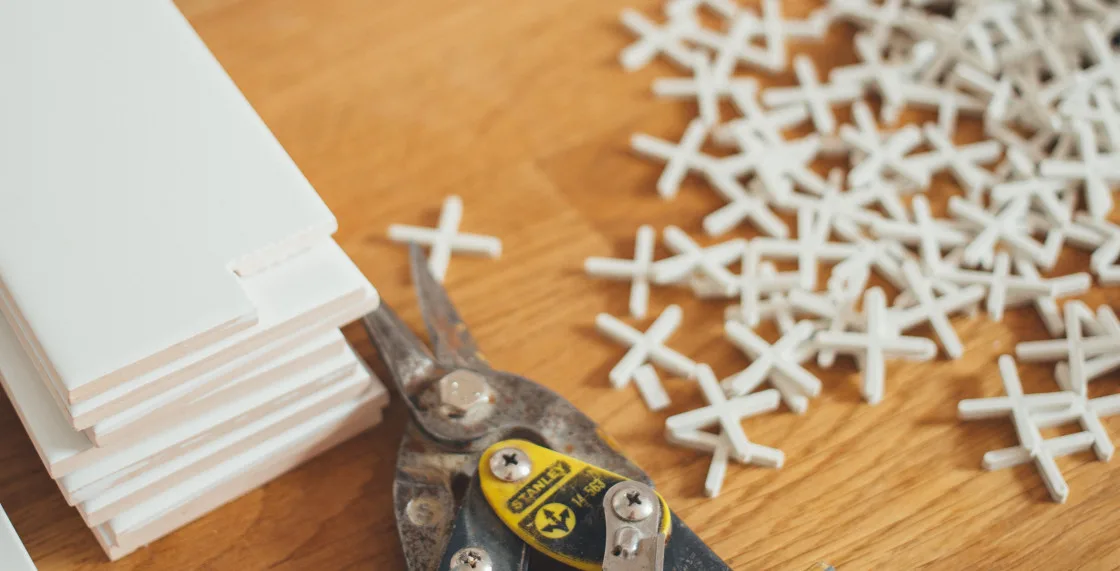
Before initiating any physical work on site, professionals emphasize the critical importance of assembling a comprehensive inventory of tools and materials. Securing high-quality implements—ranging from standard masonry trowels and tile cutters to specialized adhesives and spacers—is viewed as a fundamental prerequisite for achieving a professional grade finish. Experts caution against utilizing substandard supplies, noting that quality investments significantly streamline the installation process and mitigate the risk of structural flaws down the line.
Preparation Before Tiling – Cleaning, Measuring, and Marking
Surface preparation represents a crucial preliminary phase in the overarching tiling endeavor. Industry guidelines dictate that wall surfaces must undergo rigorous cleaning procedures to eliminate accumulated dust, dirt, and kitchen grease. Utilizing a damp cloth to wipe down the area, followed by an adequate drying period, ensures that the subsequent layers will bond securely.
Accurate measuring and marking form the next line of action. Using measuring tapes, spirit levels, and chalk lines, installers typically establish reference points beginning at the center of the wall, expanding outward while incorporating spacers to maintain uniform gaps between individual pieces. Additionally, when addressing surfaces previously covered with paint or wallpaper, the application of a specialized primer is recommended to optimize adhesive bonding according to manufacturer specifications.
Tiling Tips for a Flawless Finish
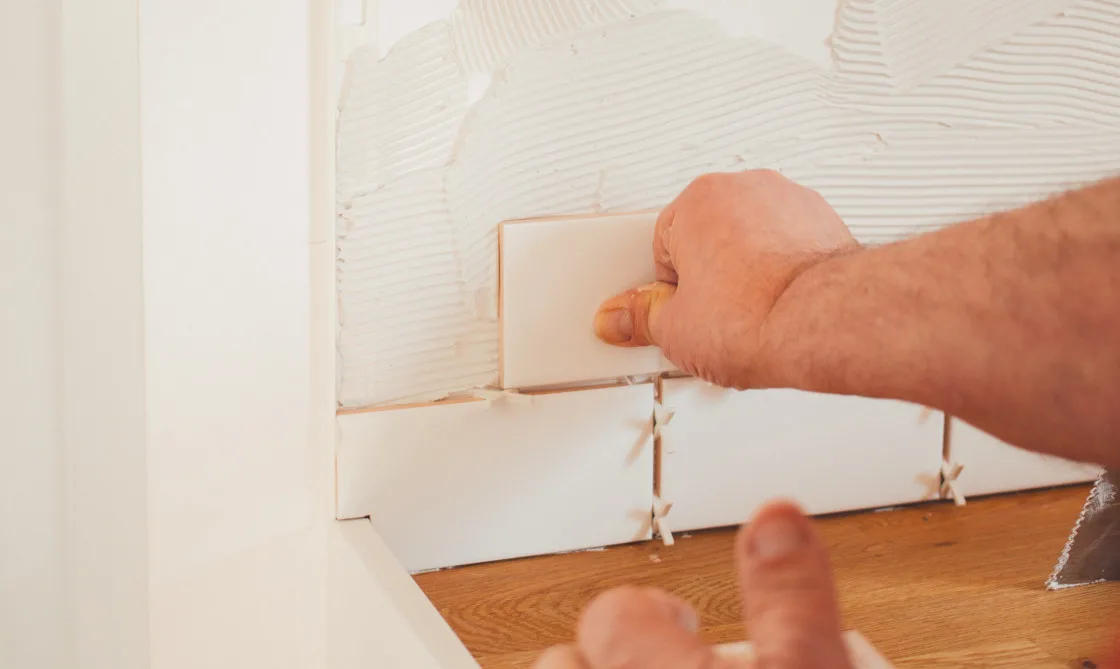
With the preparation complete, the physical installation of the tiles commences. Professionals advocate for the even distribution of adhesive across the designated wall area, utilizing the notched edge of a trowel to generate distinct ridges. This technique maximizes the surface area contact, ensuring that each tile maintains a secure hold once pressed into position.
Installers generally proceed outward from the central reference lines, incorporating spacers to preserve consistent spacing while continuously checking alignment with a level to guarantee that each tile remains flush with its neighbors. When encountering structural obstacles such as electrical outlets, cabinetry, or window frames, precise measurements and specialized cutting tools, including wet saws or manual tile cutters, are employed to shape the tiles for an exact fit. Once all components are secured, the adhesive must be granted adequate time to cure fully, a window that typically spans between 24 and 48 hours depending on the specific formulation used.
Grouting and Sealing Your Tiled Kitchen Wall
Following the curing phase, the installation transitions to grouting, a process that utilizes a cement-based compound to fill the interstitial gaps between tiles, thereby establishing a cohesive visual finish and safeguarding tile edges from chipping. Installers apply the mixture using a rubber grout float in manageable sections, subsequently employing a damp sponge and clean water to remove excess residue while taking care to prevent the dilution or displacement of the fresh grout lines. For installations utilizing natural stone, an additional sealing step is typically implemented to protect both the stone and the grout from moisture penetration and staining over time.
Common Mistakes to Avoid When Tiling Your Kitchen Wall
While kitchen wall tiling can prove to be a highly rewarding interior upgrade, trade professionals frequently warn against several recurring pitfalls that can compromise the final outcome. Inconsistent spacing, often resulting from the omission or misuse of tile spacers, remains a primary factor in creating an unpolished appearance. Similarly, improper adhesive application—such as failing to create ridges or applying the substance unevenly—can lead to poor adhesion and eventual displacement. Finally, neglecting to use a level during placement frequently results in uneven tiles, which disrupts the grouting process and detracts from the overall professional standard of the finished project.