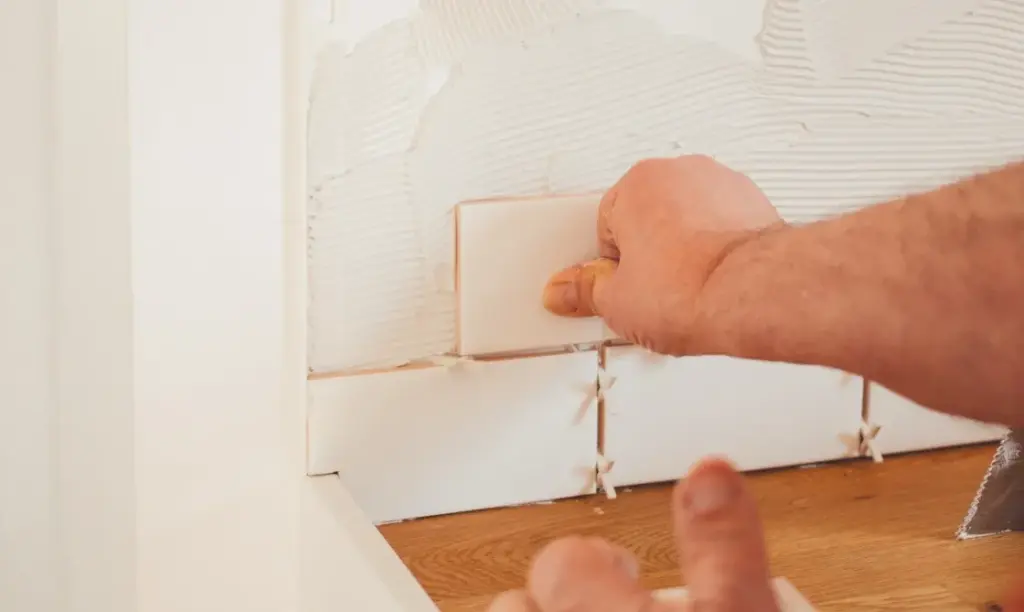
Homeowners embarking on kitchen updates are frequently faced with the challenge of transforming drab walls into stunning focal points, with wall tiling emerging as a premier method for elevating culinary spaces. While upgrading a kitchen backsplash or wall can initially appear to be a daunting undertaking for DIY enthusiasts, industry professionals emphasize that achieving a flawless, high-end finish is entirely attainable with proper preparation, the correct selection of materials, and meticulous execution.
The process of revitalizing a kitchen vertical surface begins well before the first tile is ever set against the wall. Industry standards dictate a comprehensive approach that starts with selecting the ideal tile variety, gathering professional-grade tools and materials, thoroughly preparing the substrate, and mastering the intricate phases of adhesive application, cutting, grouting, and sealing.
When evaluating options for kitchen walls, property owners must weigh aesthetic preferences against practical considerations such as maintenance and durability. Ceramic tiles remain the most widely chosen material due to their remarkable versatility and composition. Crafted from natural clay fired at elevated temperatures, ceramic tiles yield a long-lasting surface that accommodates an extensive array of colors, patterns, and dimensions.

For environments subject to heavier activity or moisture, porcelain tiles offer a superior alternative. Although similarly derived from clay, porcelain variations undergo firing at even higher temperatures, resulting in a denser, highly durable, and significantly less porous product than standard ceramic. Available in diverse finishes ranging from high-gloss lusters to subtle mattes, porcelain serves as an exceptional choice for high-traffic zones within residential kitchens.
Homeowners seeking a sleek, contemporary aesthetic frequently gravitate toward glass tiles. Beyond delivering a modern and sophisticated visual appeal, glass surfaces offer the distinct advantage of effortless cleaning and maintenance. Furthermore, the inherent reflective qualities of glass tiles can visually expand compact cooking spaces, creating an illusion of greater roominess.
Conversely, individuals aiming for a natural and rustic ambiance often turn to stone tiles, including selections such as marble, granite, and slate. While these natural materials demand a more rigorous maintenance routine compared to their manufactured counterparts, their unique, organic patterns and rich textures inject profound character and timeless elegance into a kitchen environment.
Before initiating the physical installation, securing the appropriate tools and materials is critical for preventing structural flaws and ensuring structural integrity. Professionals stress the importance of investing in high-end equipment rather than compromising on quality, as premium trowels, leveling devices, and cutting tools significantly streamline the workflow and contribute directly to a professional-grade outcome.
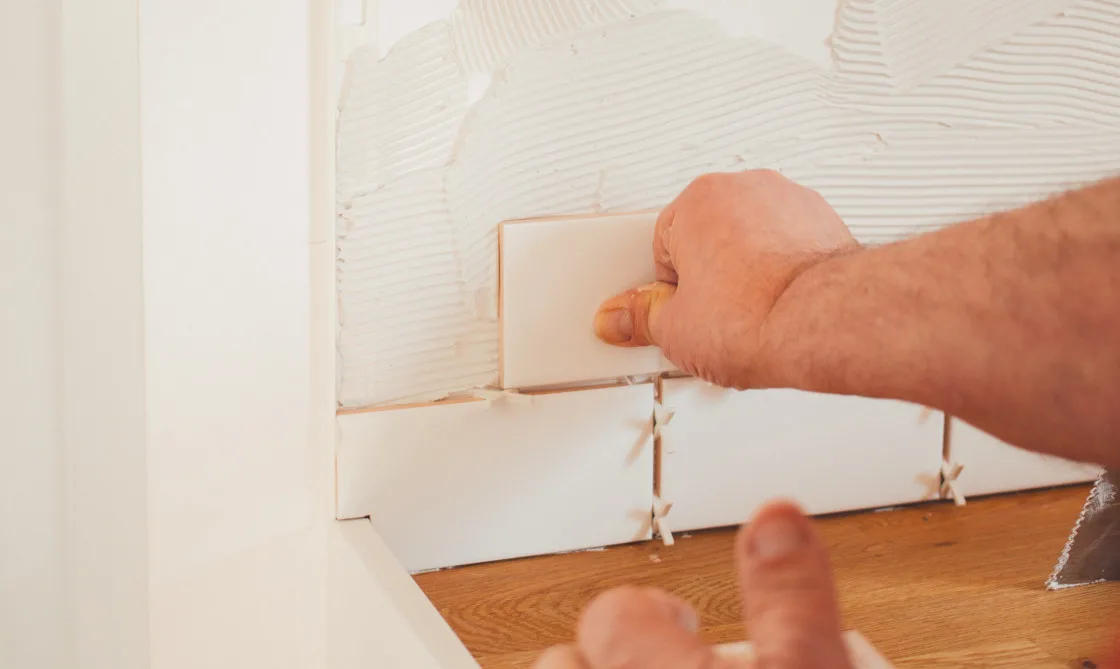
Surface preparation represents a foundational phase that directly influences the longevity of the installation. The process mandates thorough cleaning to eradicate any accumulated dust, dirt, or grease films that might compromise the bond between the wall and the adhesive. Once the wall surface is wiped down with a damp cloth and permitted to dry completely, meticulous measuring and marking must take place. Using measuring tapes, levels, and chalk lines, installers typically establish reference points starting from the center of the wall and expanding outward, incorporating tile spacers to guarantee uniform gaps between individual pieces. Additionally, when tiling over pre-existing painted or wallpapered surfaces, applying an appropriate primer is strongly recommended by manufacturers to optimize adhesive bonding.
Executing the physical installation requires precise technique, beginning with the uniform distribution of adhesive across the wall substrate. Installers utilize a notched trowel to spread the bonding agent, creating consistent ridges that maximize contact and adhesion when the tiles are pressed into place. Working systematically outward from the center, each tile must be firmly seated, leveled, and aligned flush with adjacent pieces while maintaining precise spacing.
Obstacles such as electrical outlets, cabinetry, and window frames necessitate meticulous measuring and accurate cutting using specialized tile cutters or wet saws. Once all tiles are successfully positioned, the installation must remain undisturbed to allow the adhesive to cure completely. Depending on the specific formulation of the bonding agent used, this crucial curing period typically ranges from 24 to 48 hours.
Following the complete drying of the adhesive, the project transitions into the grouting and sealing phase. Grout, a cement-based compound, serves the dual purpose of filling the residual gaps between tiles for a cohesive appearance and safeguarding the delicate edges against chipping and moisture infiltration. Applying the mixed grout requires a rubber grout float used across small, manageable sections, followed by careful cleaning with a damp sponge to remove residue without disturbing the joints. For installations featuring natural stone, applying a specialized sealer to the cured grout is imperative to protect against persistent staining and moisture-related deterioration.
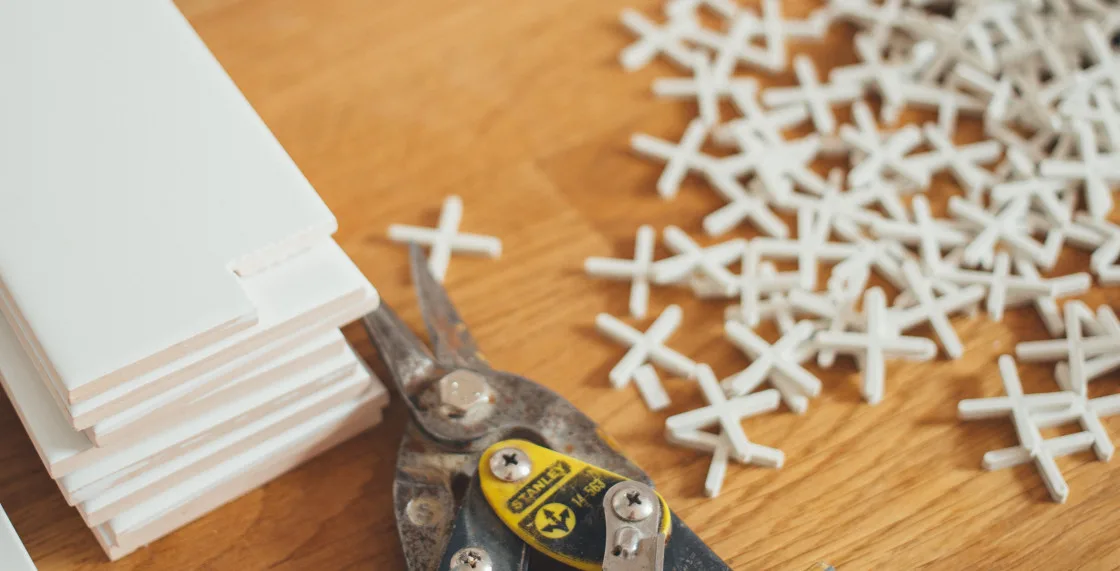
Throughout the entire renovation process, avoiding common pitfalls remains essential for achieving an immaculate outcome. Industry experts consistently warn against inconsistent spacing, which instantly detracts from the professional appearance of the wall. Other frequent errors include improper adhesive application that fails to create necessary ridges, and failing to maintain a level surface across adjacent tiles, which subsequently complicates the grouting process and compromises the visual harmony of the finished backsplash. By adhering strictly to professional methodologies—utilizing spacers, applying adhesives uniformly, and continuously checking alignment with a level—homeowners can successfully execute a transformative kitchen upgrade that enhances both the functionality and aesthetic value of their living space.