When it comes to home renovations, homeowners are constantly looking for ways to streamline their projects, save time, and cut down on labor costs. One popular shortcut frequently considered by do-it-yourself decorators is painting directly over existing wallpaper, avoiding the notoriously tedious and messy process of stripping the paper, prepping the bare plaster, and starting entirely from scratch. However, industry experts and home improvement specialists are advising property owners to exercise caution before picking up a roller, warning that skipping crucial preparatory steps can lead to severe structural and aesthetic pitfalls down the line.
Choosing to paint over wallpaper can indeed serve as a significantly faster method to revamp a tired room. Yet, beneath the surface convenience lies a series of critical considerations that must be evaluated to ensure a professional-looking and long-lasting finish. Experts emphasize that the success of the entire project hinges almost entirely on the initial inspection of the walls, as not all wallpaper is created equal and various underlying issues can sabotage a fresh coat of paint if left unaddressed.
Before making the final decision to paint over existing wallpaper, decorators must conduct a thorough physical check of the walls. The primary requirement is that the paper must be in sound, stable condition, completely free from any rips, tears, or significant damage. If the wallpaper is already compromised, battered, or severely worn, attempting to paint over it is rarely a viable option. In such cases, professionals strongly recommend taking the extra time to fully strip the paper and address the bare wall underneath to achieve a smooth and reliable surface.
Furthermore, painting over wallpaper that is actively peeling in multiple areas is heavily discouraged by decorators, even if the paper itself has not torn. When wallpaper begins to peel away from the wall in several different locations, it serves as a clear indicator that the underlying adhesive paste is failing. This failure can typically be attributed to two main factors: either a low-quality paste was used during the initial installation, or the adhesive has been progressively weakened and compromised by dampness or moisture accumulation within the room. Ignoring these warning signs and painting directly over lifting paper will almost certainly result in the paint bubbling, cracking, and pulling the wallpaper away from the wall entirely as it dries.
Despite these warnings, minor damage does not automatically rule out the technique. If peeling is strictly localized to one isolated area, homeowners may be able to successfully salvage the situation by carefully re-sticking the loose flap using dedicated wallpaper paste before introducing any paint. This remedial step must be executed with precision, ensuring that all trapped air is smoothed out to prevent unsightly bumps, and the patched area must be given adequate time to dry completely before any subsequent steps are taken.

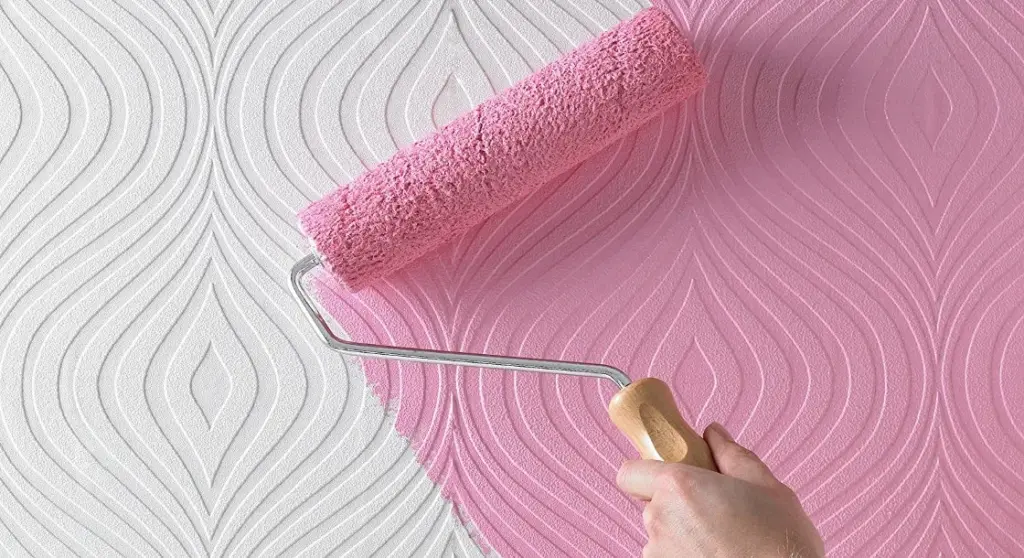
Regarding the type of paper, plain and flat wallpaper remains the most suitable candidate for a direct coat of paint. Nevertheless, textured and patterned paper can also be painted over, provided the homeowner is comfortable with the underlying texture remaining fully visible beneath the new color scheme, adding a distinct dimension to the finished wall.
Preparing Wallpaper for Painting
Assuming that a thorough inspection confirms the wallpaper is in strong, stable condition, the preparatory phase required before introducing color is relatively straightforward compared to traditional wall-stripping methods. However, rushing through this stage or ignoring the chemical composition of the materials involved can lead to disastrous results.
One of the most critical technical decisions in the painting process involves the selection of the primer. Even when dealing with light-coloured or completely unpatterned wallpaper, applying at least one coat of primer is heavily recommended by professionals. A quality primer helps achieve a uniform, clean finish when the final topcoat is applied while significantly improving the paper’s ability to hold and conceal the new pigments.
However, decorators must pay close attention to the formulation of the primer they choose. Standard water-based primers carry a significant risk when applied over wallpaper, as the moisture can soak too deeply into the paper layers, reactivate the old wallpaper paste, and ultimately ruin the adhesion of both the paper and the fresh paint. To mitigate this risk, industry professionals consistently recommend utilizing an oil-based primer whenever painting over wallpaper. Specialized products, such as all-in-one primer and sealer formulas designed for difficult surfaces, offer a reliable barrier that stabilizes the paper without dissolving the underlying paste.
Homeowners are advised to apply at least one coat—though preferably two—of an appropriate primer, allowing the product to dry completely and cure before moving forward with the project.

How to Paint Over Wallpaper
Once the primer has set and the walls have been adequately prepared, decorators can select their desired topcoat paint color and begin the transformation of the room. The actual application process mirrors standard interior painting, requiring steady hands, proper ventilation, and patience between coats to ensure an even, professional finish that enhances the space rather than highlighting underlying flaws.
Problems With Painting on Top of Wallpaper
Even when planners and decorators follow all recommended procedures and prepare the room with absolute care, certain unexpected challenges can still arise during the painting process. Fortunately, most of these potential issues can be successfully avoided or easily corrected with a small amount of additional effort and remediation.
One common issue that frequently surprises DIYers involves gaps appearing between individual strips of wallpaper. When wallpaper is originally hung, the strips are typically placed tightly edge-to-edge. However, as wallpaper dries and ages after being pasted, it can occasionally experience subtle shrinkage, leaving thin, noticeable gaps between the sheets. While this shrinkage is not an absolute dealbreaker for a painting project, it cannot be ignored, as paint will settle into the crevices and highlight the separations.
Assuming that the wallpaper as a whole remains sound and firmly affixed to the wall, homeowners can utilize standard interior filler to bridge and conceal the gaps between the sheets. Crucially, professionals advise performing this corrective step after the primer coats have been applied. Once the primer has fully set, the applied filler should be carefully and meticulously sanded back until it is perfectly flush and level with the surrounding paper. Any raised filler or uneven patches will show through the final topcoat quite severely, making patience and precision during the sanding phase essential for a polished outcome.