For many homeowners embarking on a home improvement journey, the prospect of transforming a room often comes with a daunting chore: stripping old wallpaper. Bypassing the laborious process of steaming, scraping, and washing down walls in favor of painting directly over existing wallpaper has long been considered a tempting shortcut. While this method can save considerable time and effort compared to starting from bare plaster, interior design and home renovation experts note that success depends heavily on careful inspection, proper preparation, and understanding the potential pitfalls along the way.
Choosing to paint over wallpaper can drastically cut down on the timeline of a room makeover. Instead of dealing with stubborn adhesive residues and potential wall damage caused by scraping, a well-chosen coat of paint can instantly modernize a dated space. However, this technique is far from a universal fix. Before picking up a paintbrush, property owners must thoroughly assess the current state of their walls to determine whether the wallpaper can actually handle a new layer of liquid color.
The primary factor in deciding whether to paint over wallpaper is the physical condition of the paper itself. Experts emphasize that the surface must be entirely free from rips, tears, and widespread damage. If the wallpaper is compromised, worn, or severely damaged, attempting to paint over it will usually only highlight the flaws and ruin the final aesthetic. In such cases, the conventional route of stripping the paper and painting the bare wall remains the superior choice.
Furthermore, inspecting how securely the wallpaper adheres to the wall is vital. If the wallpaper is peeling in multiple places, it is generally unwise to proceed with painting, even if there are no major rips. Widespread peeling typically indicates that the original paste is losing its strength. This failure in adhesion can stem from using low-quality paste during the initial installation or from underlying dampness and moisture issues within the room. Trapping compromised adhesive and damp walls beneath a layer of paint can lead to catastrophic bubbling and total failure of the new surface later on.
There are, however, minor exceptions for localized issues. If peeling is restricted to a single, isolated area, homeowners can often re-adhere the loose paper using standard wallpaper paste before moving forward with any painting plans. This repair must be executed carefully, smoothing out the paper to prevent unsightly air bubbles, and allowing the paste to dry completely to ensure a stable foundation for the paint layers.

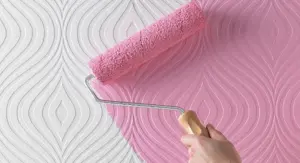
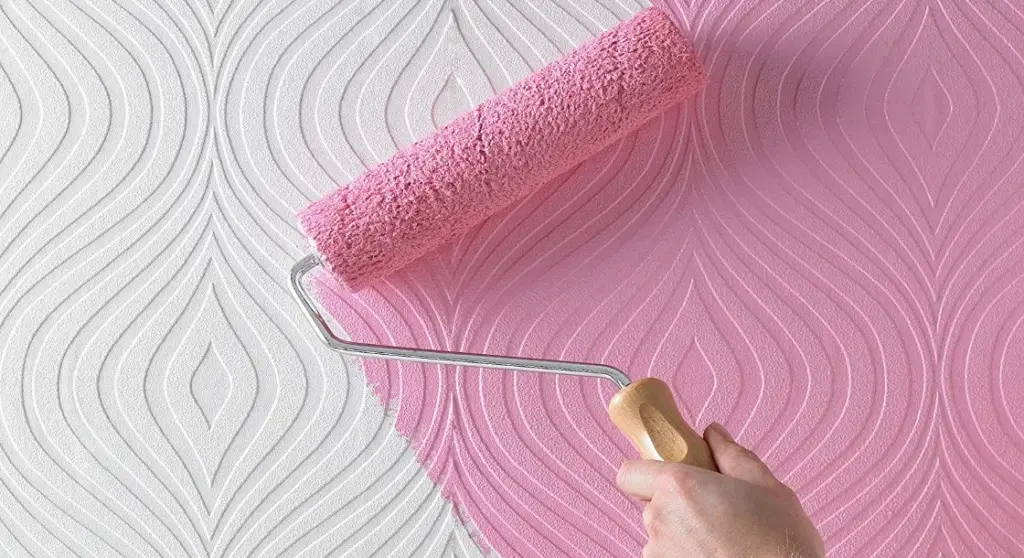
When it comes to the style of the wallpaper, flat and plain surfaces offer the smoothest canvas for a new coat of paint. Textured or heavily patterned designs can still be painted over, but decorators must accept that the underlying texture will remain visible beneath the paint, altering the tactile and visual finish of the room.
Preparing Wallpaper for Painting
Assuming a thorough inspection reveals that the wallpaper is structurally sound, clean, and firmly attached, the preparatory phase before actual painting is relatively straightforward. Ensuring the room is clean, free of dust, and protected with painter’s masking tape around trims and baseboards sets the stage for a smooth transition from old paper to a fresh coat of color. Taking these initial steps seriously prevents messy accidents and ensures clean lines once the painting begins.
Priming Wallpaper for Painting
Even when working with light-coloured or completely unpatterned wallpaper, applying a dedicated primer coat is strongly recommended before introducing the final topcoat. Primer acts as a bridge between the paper and the paint, helping to achieve an even, professional finish while making the original pattern and color much easier to conceal.
A critical technical consideration during this stage involves the choice of primer. Standard water-based primers carry a significant risk; if applied too heavily, the moisture can soak directly through the wallpaper and reactivate or compromise the underlying paste, causing the paper to lift from the wall. To circumvent this issue, professionals routinely recommend using an oil-based or shellac-based primer, such as specialized sealing products designed to lock out moisture and stabilize difficult surfaces before painting. Applying at least one, and preferably two, coats of this protective primer—allowing ample drying time between applications—ensures the wallpapered surface is adequately sealed and ready for the topcoat.
How to Paint Over Wallpaper
With the primer fully dried and cured, homeowners can proceed to select their preferred topcoat color and begin the transformation of the room. Using standard rollers and brushes suited to the chosen paint type, the application process mirrors traditional wall painting, relying on smooth, even strokes to build up the desired coverage.

Problems With Painting on Top of Wallpaper
While meticulous planning and preparation generally lead to a successful outcome, unexpected issues can occasionally arise when painting directly over wallpaper. Fortunately, most of these complications can be resolved or mitigated with some targeted remedial work.
Gaps Between Wallpaper Strips
Even when wallpaper was initially hung with precision, natural drying processes can cause wallpaper strips to shrink slightly over time, resulting in thin, unsightly gaps between the sheets. While this shrinkage does not automatically rule out painting over the paper, these gaps must be addressed to achieve a polished final appearance.
Assuming the rest of the wallpaper remains firmly affixed and structurally sound, standard wall filler can be employed to bridge the gaps between sheets. Experts advise performing this corrective step after the primer has been applied and fully set. Once the filler is dry, it must be carefully sanded down until it sits completely flush with the surrounding papered surface. Because any raised filler will stand out prominently once painted over, taking the extra time to achieve a seamless, level surface is essential for a professional finish.