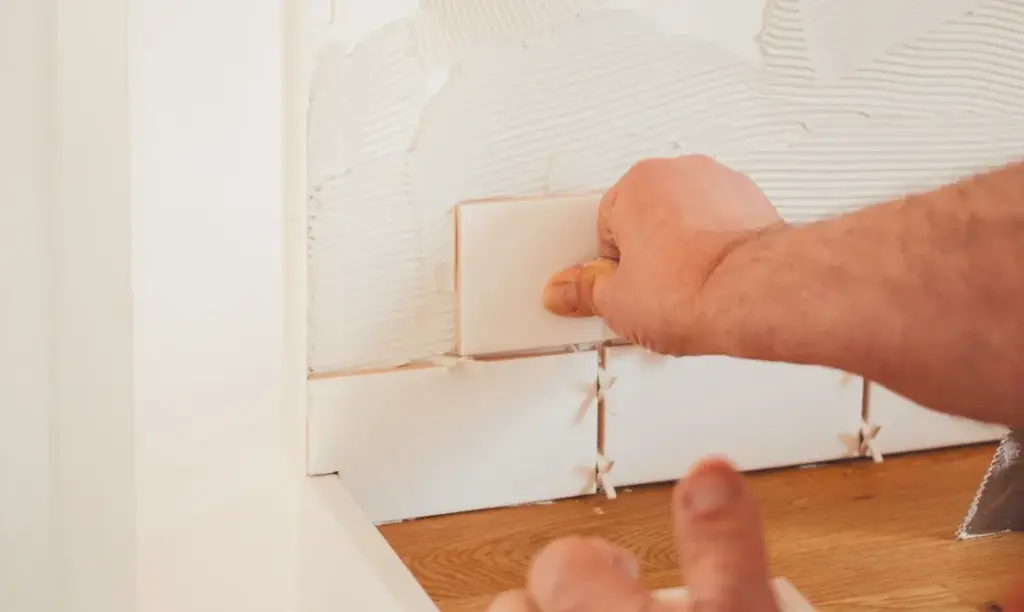
Tired of staring at the same old, drab kitchen walls day after day, homeowners across the country are increasingly turning their attention toward interior upgrades that combine aesthetic appeal with long-term durability. Dreaming of a stunning backsplash that elevates a cooking space to new heights is a common aspiration for those looking to refresh their interiors without undertaking a massive, whole-house renovation. While tackling a kitchen wall tiling project may initially seem like a daunting task reserved exclusively for seasoned contractors, industry professionals emphasize that with the right guidance, proper preparation, and quality tools, achieving a flawless finish that entirely transforms a home is well within reach of the dedicated DIY enthusiast.
Embarking on this kind of home improvement journey requires a careful blend of design vision and technical execution. From choosing the correct materials suited to a specific cooking environment to meticulously preparing the wall surface and mastering the fine art of grouting, transforming a kitchen vertical surface covers several distinct phases. Understanding each step ensures that the final result is not only visually striking but also structurally sound and capable of withstanding the daily demands of a busy culinary workspace.
Types of Tiles for Kitchen Walls
The foundational decision in any kitchen wall tiling project is selecting the appropriate type of tile. The market offers a wide variety of options, each bringing its own distinct design aesthetic, installation requirements, and ongoing maintenance profile to the room.
Ceramic tiles remain the most popular choice for kitchen walls due to their balance of affordability, versatility, and performance. Manufactured from natural clay that is fired at high temperatures, ceramic tiles offer a durable and long-lasting surface that resists the typical wear and tear of a domestic kitchen. Because they are available in an extensive array of colors, patterns, and sizes, ceramic options can easily adapt to virtually any interior design scheme, ranging from traditional country styles to crisp, contemporary aesthetics.
Porcelain tiles share a similar clay origin with ceramic counterparts but undergo a significantly higher firing temperature. This intensive manufacturing process renders porcelain tiles exceptionally dense, highly durable, and far less porous than standard ceramic options. Available in finishes ranging from high gloss to matte, porcelain tiles provide a resilient surface that performs exceptionally well in high-traffic or moisture-prone areas of the kitchen.
For homeowners pursuing a sleek, modern, and minimalist look, glass tiles present a compelling alternative. Beyond their clean architectural lines, glass tiles are remarkably easy to clean and maintain on a regular basis. Furthermore, their inherent reflective qualities can significantly enhance the perception of space, making smaller kitchens feel brighter, airier, and more expansive.

Alternatively, natural stone tiles—including varieties such as marble, granite, and slate—introduce an organic, rustic, and sophisticated character to a kitchen environment. While natural stone requires a more dedicated maintenance routine and careful sealing compared to manufactured alternatives, the unique natural variations, veining, and textures can add unmatched depth and personality to a space.
Tools and Materials for Tiling Your Kitchen Wall
Before any physical installation work begins, gathering the necessary tools and materials is a critical preliminary step. Industry standards dictate that investing in high-quality equipment pays significant dividends during the installation process, making the work substantially more efficient and yielding a far more professional final appearance. Skimping on basic tools can lead to uneven lines, poor adhesion, and unnecessary frustration.
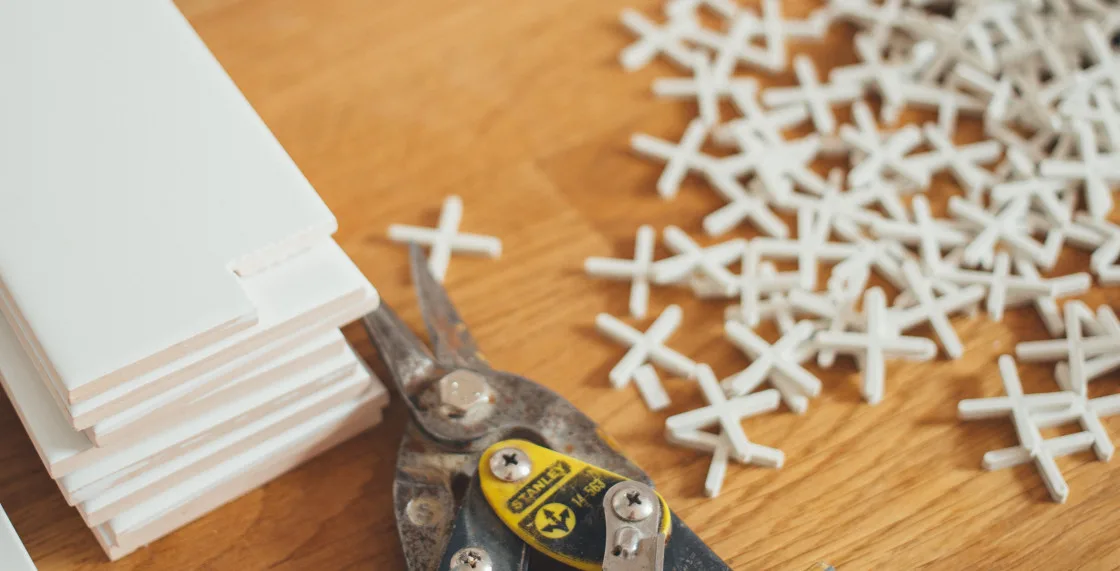
Essential equipment generally includes measuring tools, levels, chalk lines, notched trowels for spreading adhesive evenly, a rubber grout float, clean sponges, and a reliable tile cutter or wet saw capable of handling precise cuts around obstacles. On the material side, the project requires a sufficient quantity of chosen tiles, matching tile spacers to guarantee uniform gaps, an appropriate wall adhesive, compatible grout, and, depending on the wall substrate and tile selection, a surface primer and sealer.
Preparation Before Tiling – Cleaning, Measuring, and Marking
A successful tiling project relies heavily on the quality of the preparation work performed before a single tile touches the wall. This crucial phase involves thoroughly cleaning the target surface, taking precise measurements, establishing clear reference lines, and applying primers where necessary to ensure optimal bonding.
Surface cleanliness is non-negotiable. Before commencing installation, the wall must be wiped down thoroughly with a damp cloth to eliminate all traces of dust, dirt, grease, and cooking residue. The wall must then be allowed to dry completely before any adhesive is applied.
Once the surface is clean, accurate measuring and marking set the geometric foundation for the layout. Using a measuring tape, spirit level, and chalk line, installers typically begin measuring from the center of the wall and working outward. This balanced approach ensures that any necessary cuts at the edges of the wall remain symmetrical and visually pleasing. Spacers are integrated from the outset to maintain uniform gaps between individual tiles.
Substrate conditions also dictate whether additional preparation is required. When tiling over previously painted or wallpapered surfaces, applying a compatible primer is strongly recommended. This chemical preparation improves the bonding strength of the adhesive, ensuring that the tiles remain securely anchored to the wall over years of environmental temperature fluctuations and humidity changes.
Tiling Tips for a Flawless Finish
With the surface fully prepared and materials assembled, the physical installation of the tiles can proceed. Achieving a professional-grade finish requires strict attention to technique during adhesive application, tile placement, and cutting.
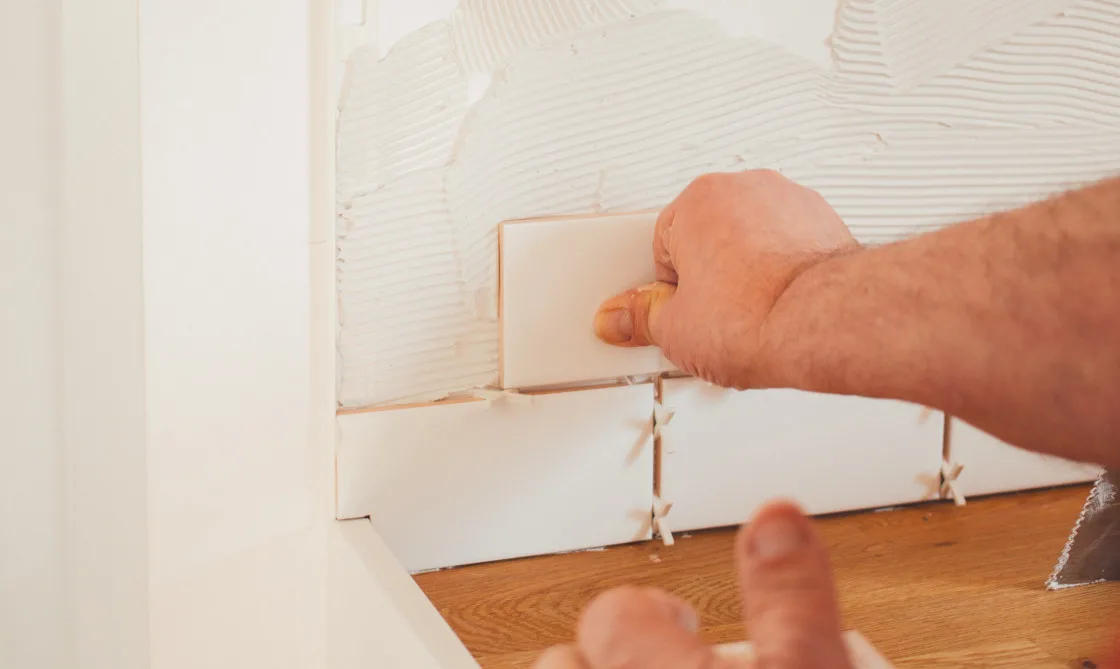
Spreading the adhesive evenly across the wall is the first major milestone. Using a trowel, the installer covers the designated work area, employing the notched side of the trowel to form consistent ridges in the adhesive bed. These ridges are essential because they collapse under pressure when the tile is pressed into place, ensuring maximum surface contact and strong mechanical adhesion.
Tile placement should always begin at the established center reference lines and progress outward. Each tile is pressed firmly into the combed adhesive, with spacers inserted continuously to preserve even grout lines. Every placed tile must be checked frequently with a level to guarantee it remains flush and coplanar with its neighbors, preventing uneven lips that disrupt the tactile and visual flow of the wall.
Kitchen walls are rarely uninterrupted expanses; they feature electrical outlets, cabinetry intersections, and window frames that require careful customization of the tiles. Utilizing a specialized tile cutter or a wet saw allows for precise, clean cuts around these obstacles. Careful measurement and gradual trimming help prevent costly mistakes and ensure a snug, professional fit.
Once all tiles are correctly positioned, the entire assembly must be left undisturbed to cure. Depending on the specific formulation of the adhesive and ambient humidity levels, allowing the adhesive to dry completely typically requires anywhere from 24 to 48 hours before any grouting work can begin.
Grouting and Sealing Your Tiled Kitchen Wall
When the structural adhesive has cured fully, the focus shifts to grouting and sealing the installation. Grout—a cement-based compound designed to fill the interstitial gaps between tiles—provides a finished visual appearance while sealing the vulnerable edges of the tiles against chipping, moisture infiltration, and debris accumulation.
Mixing the grout according to the manufacturer’s precise instructions ensures optimal consistency and color integrity. Using a rubber grout float, the installer works the compound diagonally across the tile joints, packing the gaps solidly in manageable sections.
Promptly cleaning off excess grout is vital to preventing permanent haze formation on the tile faces. Using a damp sponge and clean water, the surface is wiped down carefully, with the sponge rinsed frequently to avoid smearing diluted grout back into the joints. If natural stone tiles have been utilized, applying a specialized sealer to both the stone and the grout lines is essential to protect the porous surfaces from staining, grease absorption, and moisture damage over time.
Common Mistakes to Avoid When Tiling Your Kitchen Wall
While updating a kitchen with new tile is a deeply satisfying undertaking, avoiding common pitfalls ensures the project maintains its professional look for years to come. Inconsistent spacing is one of the most frequent errors made by inexperienced installers; failing to use reliable tile spacers results in uneven gaps that immediately detract from the overall craftsmanship.
Another common misstep involves incorrect adhesive application. Skipping the notched trowel method or applying adhesive haphazardly leads to weak spots where tiles may eventually hollow out, crack, or detach from the wall. Similarly, neglecting to use a spirit level during placement creates uneven tiles that complicate the grouting phase and produce an irregular, unprofessional surface plane.
Ultimately, updating a kitchen wall with new tile represents an effective way to revitalize the heart of the home. By carefully selecting materials, respecting preparation protocols, and adhering to sound installation techniques, homeowners can achieve a durable, professional-grade finish that transforms their living space.