Wallpapering has long held a reputation as a frustrating home improvement task, often abandoned in favor of simpler coats of paint. However, industry specialists and interior renovation experts emphasize that with the correct preparation and a methodical approach, hanging wallpaper can be significantly easier than it first appears. By following established rules of measurement, surface preparation, and precise application, decorators can achieve a professional finish with minimal fuss. Understanding the fundamentals—from calculating material requirements to diagnosing common application errors—remains the key to mastering the craft.
Calculating Material Requirements Accurately
One of the most critical phases of any wallpapering project occurs long before the paste touches the wall. Estimating how many rolls are needed requires careful consideration beyond the basic length and width of the room. Patterned wallpapers, in particular, demand a higher volume of material due to the inherent waste generated when aligning motifs across adjacent strips.
Standard rolls of wallpaper typically measure 53 centimeters in width and 10 meters in length. Determining the exact quantity required begins with measuring the vertical height of the walls from the skirting board up to the ceiling or the bottom edge of the coving. Dividing the total length of a standard roll by this wall height reveals how many full wall lengths can be harvested from a single roll. For instance, in a room with a standard height of 2.4 meters, a single 10-meter roll yields four vertical strips.
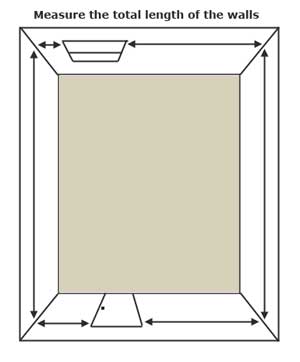
The next step involves measuring the total perimeter of the walls while subtracting the widths of doors and windows. Dividing this aggregate wall measurement by the width of the selected wallpaper establishes how many vertical widths are necessary to encircle the space. By dividing that resulting figure by the number of usable lengths per roll, decorators arrive at the baseline number of rolls required. Because calculating exact fractions can lead to shortages, professionals universally recommend purchasing additional rolls—often rounding up significantly—to account for human error, cutting mistakes, and necessary trim margins. Alternatively, digital wallpaper calculators provide a reliable shortcut for complex room layouts.
Selecting the Right Paste and Preparing Tools
Selecting the correct adhesive is just as vital as measuring accurately. Wallpaper pastes are generally sold as powders or flakes that require mixing with water, offering an economical and customizable solution. Alternatively, pre-mixed pastes are available on the market; while they carry a higher price tag, their consistent viscosity often appeals to novices seeking a streamlined application process.
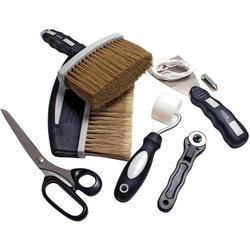
While the market offers hundreds of specialist gadgets, a successful wallpapering project rarely requires an extensive arsenal. Essential equipment generally includes a sturdy pasting table, a sharp utility knife or trimming shears, a reliable plumb line or chalk for establishing straight edges, a smoothing brush or plastic smoother, and a seam roller to secure edges firmly.
Before applying any adhesive, thorough surface preparation dictates the ultimate success of the installation. Walls must be completely clean, dry, and free of dust, loose debris, protruding nails, or old fixtures. When working with newly plastered surfaces, installers must ensure that the plaster skim coat has cured and dried entirely before any paper is introduced. Measurements should be taken carefully, adding a generous margin of approximately 100 millimeters to account for top and bottom trimming. For heavily patterned designs, extra allowance at both ends ensures adequate room for alignment adjustments.
Executing the Hang and Navigating Complex Spaces
Establishing the correct starting point sets the trajectory for the entire room. Rooms featuring a dominant architectural focal point, such as a chimney breast, naturally dictate that the process begin there. By measuring the chimney breast and marking a vertical plumb line down its exact center, an installer creates a reliable baseline to work outwards symmetrically. In rooms without a prominent feature, work typically commences on the wall closest to the primary window source. This strategic placement minimizes the visibility of shadows cast by microscopic overlaps between adjacent paper strips.
The mechanics of pasting require careful timing. Paste must be applied evenly across the reverse of the paper, taking care to coat the edges thoroughly to prevent future lifting. Once pasted, the paper requires a designated soaking period to allow the material to expand and relax fully. During this phase, sheets can be draped over a temporary pole system, such as a broom handle resting across chair backs, while subsequent sheets are prepared.
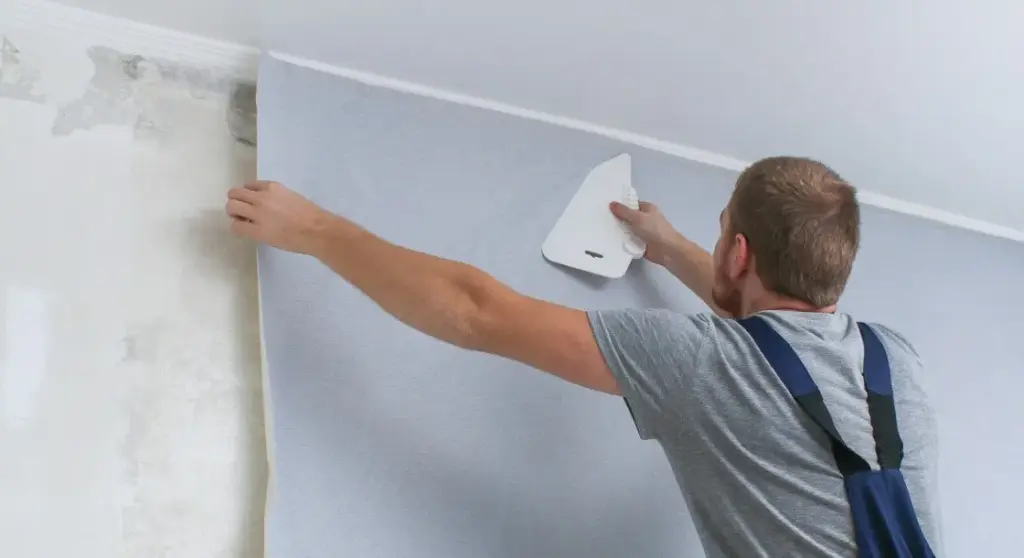
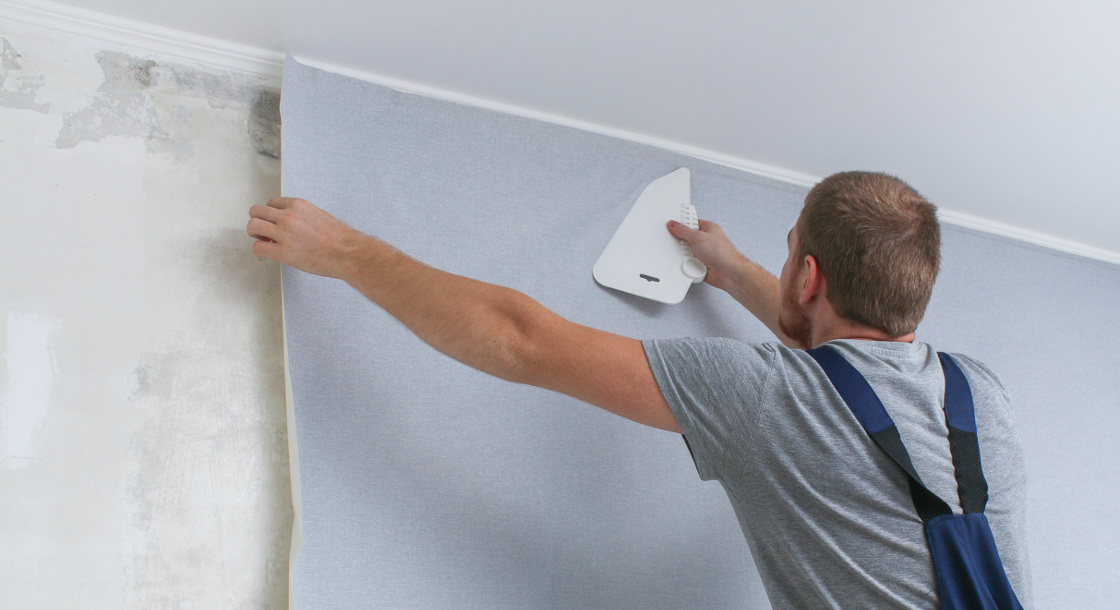
Hanging the first strip precisely against a plumb line ensures that subsequent pieces remain vertical. Each new strip is gently slid into position, butted tightly against the edge of its predecessor. A seam roller is then employed with light pressure to seal the edges permanently without squeezing out excessive adhesive.
Navigating architectural obstacles such as doors and windows requires specialized techniques rather than brute force. When reaching a doorframe, the paper is pressed firmly into the angle between the wall and the wooden architrave, creased using the blunt edge of a pair of scissors, pulled back slightly for trimming, and brushed smoothly back into place. Windows present a unique challenge due to apparent shortages of material around recesses. The professional solution involves cutting specific patches for the upper corners of the window recess, applying them independently after the vertical sides of the recess have been fully covered.
Diagnosing and Preventing Common Wallpapering Flaws
Even with careful planning, certain complications can arise during or after the installation process. Recognizing these issues allows decorators to apply immediate corrections and avoid recurrence.
Paper tearing during handling or hanging typically indicates that too much paste has been applied or that the adhesive mixture is overly diluted. Thickening the paste and applying a lighter, more uniform coat generally resolves this structural weakness. Tearing during the cutting phase simply signals the need for a sharper utility blade or fresh scissors.
Visible white seams appearing after the paper has dried point to improper butt joints or natural shrinkage during the drying process. Ensuring that sheets are firmly abutted, rolling the seams with a dedicated tool, and utilizing lining paper underneath the decorative layer effectively mitigates this aesthetic flaw.
Bubbles trapped beneath the surface often stem from uneven paste distribution or inadequate soaking times. Minor bubbles can be resolved by carefully piercing the paper with a sharp blade to release trapped air or excess paste, flattening the area, and smoothing it with a lightly dampened brush.
Seam lifting and overall peeling are frequently caused by failing to apply adhesive right to the edges of the paper, or by the presence of underlying chemical residues such as distemper from old paints. Remedying lifting seams involves gently peeling back the edge, applying fresh paste underneath with a fine artist’s brush, rolling it flat, and wiping away surface residue with a damp sponge. Where entire sheets detach due to contaminated wall substrates, the affected paper must be removed, the wall thoroughly washed and dried, and the surface properly re-prepared before hanging new material.