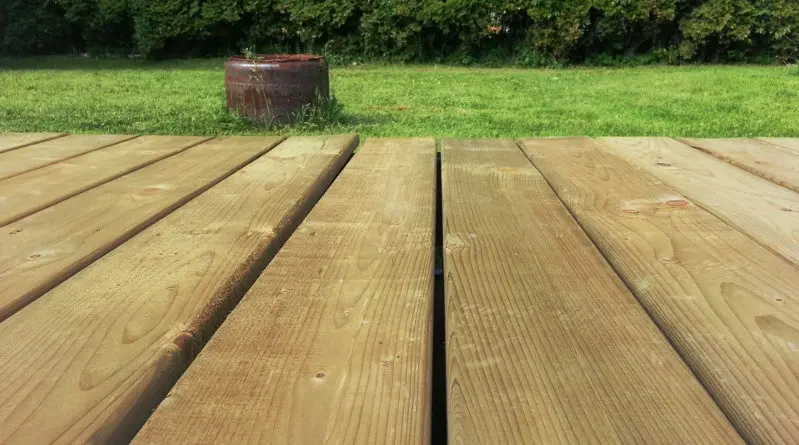
As homeowners increasingly look for ways to maximize their living space by extending it outdoors, the appeal of a well-crafted garden deck remains as strong as ever. For those with a flat and sound available space, constructing a ground-level deck stands out as the most accessible and efficient option for a weekend DIY project. Unlike elevated platforms, this approach requires no complex foundations, no load-bearing posts, and typically eliminates the need for safety-compliant steps or balustrades. With careful organization and solid planning, an individual can successfully complete a standard square or rectangular ground-level deck from start to finish, creating an attractive and functional addition to the property that could even be dismantled and taken along when moving house.
Despite offering a more straightforward installation than multi-level or elevated alternatives, building timber decking still presents a notable test for those with limited woodworking experience. Success relies heavily on thorough preparation, patience, and strict attention to detail. Rather than rushing through the process, taking the time to measure accurately, cut cleanly, and treat materials properly ensures a professional finish that enhances the surrounding landscape.
Creating the Decking Frame
The foundation of any successful deck lies in the precision of its outer frame and internal supports. The process begins by verifying measurements and cutting all necessary bearers to form the perimeter. Laying these four components flat on the floor in their correct positions allows builders to join them securely using sturdy butt joints at the corners. Professionals recommend employing screws measuring at least 150mm in length, driving a minimum of two fasteners into each corner to guarantee structural integrity.
To ensure the structure remains true, builders must measure diagonally across the frame in both directions to verify squareness, temporarily nailing a timber batten diagonally across one corner to lock the shape in place. Once the outer perimeter is secure, the next phase involves measuring and marking points at 400mm intervals along two opposite sides of the frame. These designated spots dictate the placement of internal support bearers, which provide rigidity and crucial load-bearing support for the surface boards.
For those utilizing specialized decking tiles rather than traditional planks, the spacing between support bearers must be adapted to match the exact width of the tiles. After calculating the necessary gap and cutting the required number of internal supports, they are positioned against the marked points and fastened securely using 150mm screws. With the skeleton complete, the robust frame is ready to be transferred onto its designated site footings.
Preparing the Site for Decking
Site preparation varies depending on the underlying surface. When building over a flat concrete expanse or an established area of paving slabs, complex footings are unnecessary, though minor adjustments using thin timber off-cuts may be required to level out uneven corners. However, constructing a deck over grass or soil demands a more rigorous groundwork phase to prevent shifting, moisture damage, and weed growth over time.
The process starts by utilizing a tape measure and wooden pegs to outline the perimeter of the deck. String tied tightly between the pegs creates a clear boundary guide for excavation, while diagonal measurements confirm that square or rectangular layouts maintain precise ninety-degree corners. When working over a lawn, a straight-edged spade helps slice through the turf layer, allowing the ground-cover to be divided into manageable strips, rolled up, and relocated. For rough soil areas, large stones must be cleared before the earth is flattened using a heavy plank. Because ground-level installations sit flush with or very close to the earth, achieving an accurately leveled surface verified by a spirit level is paramount.
Drainage assessment dictates the next phase of foundation work. In areas with good natural drainage and minimal dampness, installing a weed-proof membrane cut slightly larger than the cleared footprint, followed by a 40mm to 50mm layer of gravel, provides adequate stabilization. Conversely, damp or poorly drained locations require solid foundational anchor points. Placing paving slabs at the corners and at strategic intervals along the interior matrix—resting directly on the gravel base—creates a reliable foundation network. Builders must check these slabs with a long spirit level to ensure they sit at uniform heights, tapping them down or adding gravel as needed.
An alternative preparation method involves excavating an additional 25mm to 30mm of soil beneath the planned locations of the support slabs after marking their outlines. Filling these shallow depressions with fine gravel and compacting it provides a stable bed for the slabs to sit flush with the surrounding earth. Once the weed-proof membrane is laid between the slabs and covered with gravel up to the same grade, the heavy wooden frame can be maneuvered into position. Ensuring the structure rests evenly without rocking under pressure confirms the site is fully prepared to receive the surface boards.
Fixing the Decking Boards
The distinction between an average DIY project and a stunning, professionally finished deck often comes down to the precision with which the surface boards are laid. Careful measuring, deliberate cuts, and patience are essential virtues during this stage. Allocating extra time to ensure every cut is accurate prevents unsightly gaps and alignment errors. Standard best practices dictate cutting multiple boards simultaneously and treating all exposed end-grain with a quality wood preservative prior to installation.
Decking boards are installed perpendicular to the underlying support bearers. Starting at the outermost edge—ideally the side furthest from an adjacent house wall—the initial board is aligned flush with the exterior face of the frame. Using appropriate length decking screws, the board is anchored to each intersecting bearer, with fasteners positioned neatly within the surface grooves if textured timber is used.
Maintaining consistent expansion gaps between individual boards—typically ranging from 3mm to 10mm—is crucial for proper drainage and natural wood movement. Using uniform timber offcuts as spacers ensures these gaps remain even as installation progresses toward the structure’s boundary.
Inevitably, the final board will require custom trimming to fit the remaining space accurately. By measuring the exact gap, factoring in the required expansion spacing, transferring those dimensions to a final board, and treating the newly cut edge with preservative, builders can achieve a seamless fit before securing it with final screws.
To complete the transformation, matching fascia boards are attached along the visible exterior edges of the frame, effectively concealing the structural bearers and raw end-grains of the decking surface. Utilizing square-edged treated timber that complements the primary materials, builders secure the fascia using exterior-grade screws. Mitre-cutting the corners provides a clean, professional aesthetic that elevates the final appearance of the entire outdoor installation, seamlessly blending the new timber structure into the surrounding garden landscape.