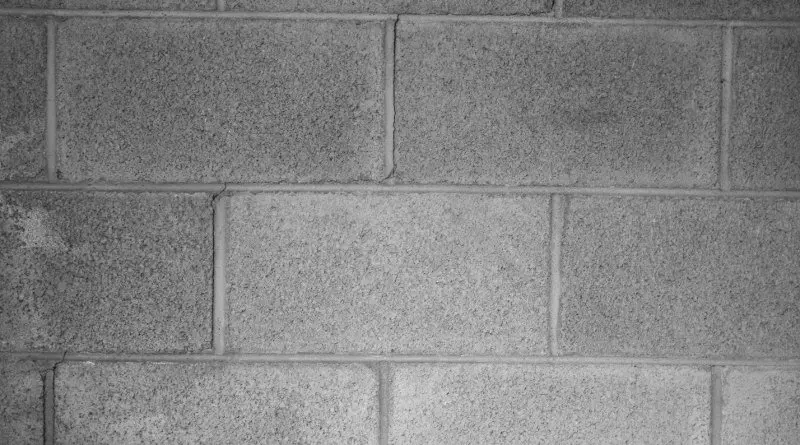
When property owners and construction professionals look for a fast, efficient, and cost-effective method to line a masonry wall, the dot and dab technique frequently emerges as a primary solution. Also widely known as dry lining or direct bonding, this technique involves applying adhesive dots directly to bare block or brick walls and pressing plasterboard firmly onto them. The process creates a secure, enduring bond between the structural masonry and the interior surface, making it an enduringly popular choice for both ambitious do-it-yourself enthusiasts tackling home renovations and professional builders working on tight commercial schedules.
While the fundamental concept of direct bonding appears relatively straightforward, executing a successful installation requires a thorough understanding of the correct preparation, materials, and potential pitfalls. The technique bypasses the traditional and more time-consuming requirement of constructing a timber or metal stud framework, allowing projects to move forward at a significantly accelerated pace. Furthermore, the finished surface often delivers a more solid acoustic and physical feel compared to plasterboard mounted onto an isolated frame, eliminating the hollow echo sometimes associated with stud-wall construction.
However, industry experts emphasize that mastering the process requires careful attention to detail. Achieving a perfectly flat finish can present challenges, as uneven application of adhesive dots may cause minor undulations or bumps across the wall plane. Additionally, failing to apply the adhesive correctly or neglecting proper environmental precautions can create vulnerabilities to dampness and mould over time. Contractors also note that dot and dab is fundamentally incompatible with foil-backed plasterboard; the bond between the metallic foil and the plasterboard core lacks the structural integrity required, creating a serious risk that the boards could pull away from the adhesive over time.

Before commencing any direct bonding installation, both trade professionals and DIY decorators must assemble the necessary materials and equipment. A standard setup requires appropriate plasterboard sheets, specialized dry-lining adhesive, mixing buckets, a paddle mixer, a notched trowel, a spirit level for accuracy, and a long straight edge, particularly if the underlying masonry surface is notably irregular. Proper surface preparation remains paramount. Many experienced tradespeople advocate for lightly dampening the masonry surface prior to applying the adhesive dots and dabs. This crucial step prevents extremely dry bricks or blocks from aggressively drawing the moisture out of the adhesive mixture too quickly, which would otherwise compromise the curing process and weaken the overall bond. When utilizing this moistening technique, workers must apply the adhesive swiftly, and many find that brushing on a diluted PVA and water mixture offers a more forgiving and manageable working window.
Executing the installation requires a systematic approach, beginning with a clean, sound, and structurally stable masonry wall free from loose debris, dust, or grease. The layout of the plasterboard must be planned carefully in advance to minimize awkward joints and ensure proper alignment around windows, doors, and electrical socket boxes. Once the dry-lining adhesive is mixed to a smooth, workable consistency—following the manufacturer’s precise instructions regarding water ratios—it is applied to the wall in vertical rows of heavy dabs, accompanied by continuous ribbons of adhesive around the perimeter of where each board will sit.
The plasterboard is then carefully lifted into place against the masonry, pressed firmly into the adhesive, and adjusted using a long straight edge and a spirit level to ensure the entire surface is plumb and flush. Temporary wedges or support blocks are frequently placed at the base of the boards to keep them slightly elevated off the floor, preventing moisture wicking from the subfloor during the drying phase. Once the adhesive has cured completely, workers can proceed to finish the surface by taping and filling the joints between adjacent boards before applying a final skim coat of finishing plaster or preparing the bare boards directly for decoration.
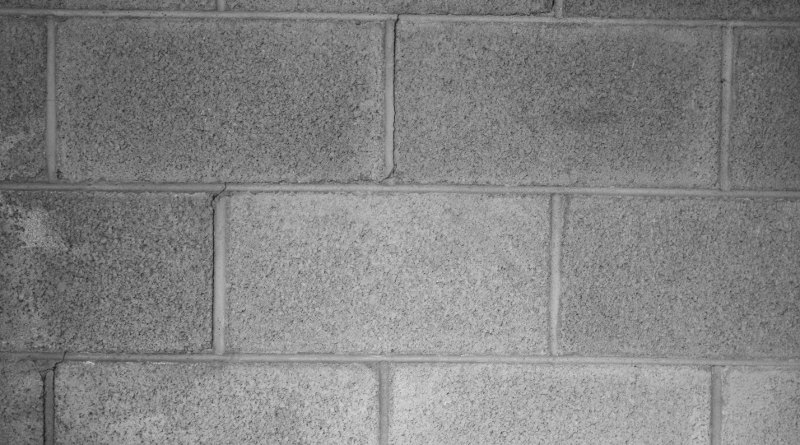
When evaluating dry lining against traditional wet plastering, professionals often weigh distinct operational trade-offs. For individuals lacking formal training or extensive hands-on experience, plastering a bare masonry wall to a high standard is notoriously difficult, making dry lining a far more accessible alternative. That said, traditional wet plastering applied directly to brick or block typically yields a significantly more solid, robust surface than adhesive-fixed plasterboard. Furthermore, traditional plastering avoids the creation of awkward structural cavities, which can occasionally complicate the process of fixing heavy shelving or fixtures to the wall in the future.
Ultimately, whether chosen for its speed, cost efficiency, or relative simplicity, the dot and dab method remains a cornerstone technique in modern interior construction. By adhering strictly to proper preparation, material limitations, and meticulous installation practices, builders and renovators can achieve durable, professional-grade results across a wide variety of residential and commercial masonry projects.