Choosing this route requires a careful evaluation of the current state of the walls. Before any painting supplies are unboxed, homeowners must verify that the existing wallpaper is structurally sound, securely adhered, and completely free from rips, tears, or extensive damage. If the paper is in a deteriorated condition, professionals universally advise stripping it entirely and starting fresh on the bare plaster beneath.
A major warning sign to look for is widespread peeling. Even if the paper is not visibly ripped, peeling edges or bubbling sections suggest that the underlying adhesive paste is failing. This loss of adhesion is frequently caused by either poor-quality initial installation or moisture issues within the room. Attempting to paint over widespread peeling paper is never advisable, as the moisture and weight of the new coats of paint will almost certainly cause the old wallpaper to buckle and detach completely from the wall.
However, if the peeling is strictly localized to a single, small area, there is a viable workaround. Homeowners can carefully re-adhere the loose paper using appropriate wallpaper paste. This repair must be executed meticulously to prevent trapped air bubbles, and the patched area must be allowed to dry completely before any further work begins.

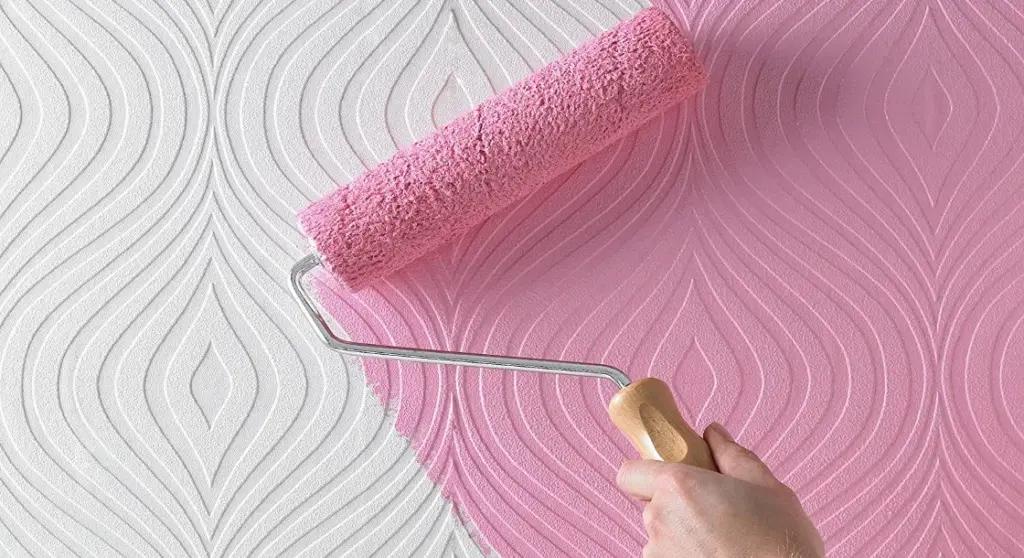
When evaluating paper types, plain and flat wallpaper serves as the most suitable canvas for a fresh coat of paint. Textured and patterned papers can also be painted over, but decorators must accept that the underlying texture or embossed design will remain clearly visible beneath the new color, altering the final aesthetic.
Assuming the wallpaper passes initial inspections and is found to be in solid condition, the required preparation work is relatively straightforward. With the room cleared and surfaces protected with decorator’s masking tape, attention must shift to priming the walls properly.
Even when dealing with light-colored or unpatterned wallpaper, applying at least one coat of primer is strongly recommended by painting professionals. A quality primer helps achieve a clean, uniform finish when the topcoat is finally applied and makes the underlying pattern much easier to mask and cover.
A critical technical consideration during this phase involves the choice of primer. Water-based primers can penetrate too deeply through the paper and compromise the remaining integrity of the wallpaper paste beneath, leading to bubbling and failure. To mitigate this risk, professionals recommend utilizing an oil-based primer or specialized sealing products, such as an all-in-one primer and sealer combination, to properly lock down the surface. Experts suggest applying at least one, and ideally two, thorough coats of primer, ensuring that each layer dries completely before moving forward with the topcoat application.

Once the priming stage is successfully completed and thoroughly dried, homeowners can select their preferred topcoat paint color and begin transforming the space. Yet, even with meticulous planning and preparation, minor issues can occasionally surface as the project progresses.
One common complication involves gaps forming between individual strips of wallpaper. When wallpaper is originally installed, it can sometimes shrink slightly as the paste dries, resulting in thin, unsightly gaps between the sheets. While this shrinkage does not completely ruin the plan to paint over the paper, it requires deliberate intervention.
Assuming the rest of the wallpaper remains firmly affixed to the wall, standard wall filler can be deployed to bridge the gaps between the sheets. To achieve a seamless look, this filling process should be carried out after the primer coats have been applied and set. Once the filler has cured, it must be carefully sanded down so that it is perfectly flush with the surrounding paper surface. Because any raised filler will stand out prominently and detract from the final appearance once painted over, taking the time to sand the area down smoothly is essential for a professional finish.