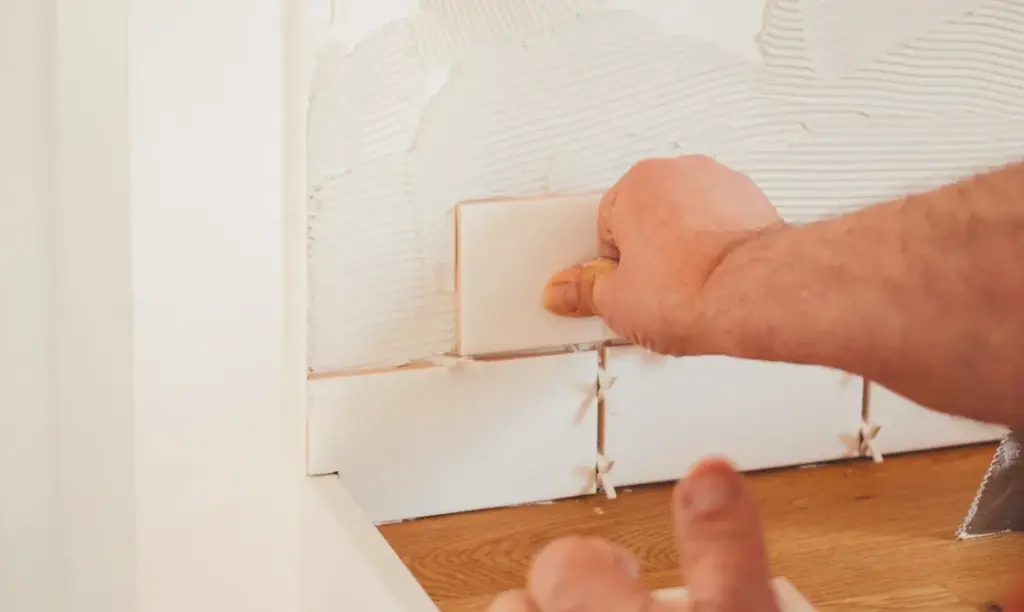
LONDON — Home improvement trends continue to focus heavily on interior spatial upgrades, with residential property owners increasingly turning their attention toward kitchen wall transformations. Upgrading a cooking area’s vertical surfaces with a striking backsplash or decorative tiling has emerged as a primary method for elevating the aesthetic value of an entire home. However, industry professionals emphasize that achieving a pristine, professional finish requires meticulous preparation, careful material selection, and strict adherence to foundational installation techniques.
Transforming a drab kitchen wall from a neglected surface into a stunning visual centerpiece involves navigating a series of critical phases, starting with the careful evaluation of available materials. Interior design specialists note that the market offers a diverse array of tile types, each carrying distinct physical properties, aesthetic qualities, and maintenance demands that suit different household lifestyles.
Ceramic tiles remain the most widely utilized option for kitchen vertical surfaces. Fabricated from natural clay and subjected to high-temperature firing, ceramic alternatives provide a robust, long-lasting barrier against daily wear and tear. Their immense popularity is further bolstered by a vast spectrum of available colors, dimensions, and decorative patterns, rendering them exceptionally adaptable to various interior design schemes.

For environments subject to heavier daily use or moisture exposure, porcelain tiles present an elevated alternative. Manufactured from refined clay compositions and fired at even greater temperatures than their ceramic counterparts, porcelain products boast superior durability and significantly reduced porosity. Available in finishes ranging from high-gloss sheens to subdued matte textures, they offer resilient performance in high-traffic zones of the culinary workspace.
Property owners seeking a sleek, contemporary aesthetic frequently gravitate toward glass tiles. Beyond delivering a modern visual appeal, glass surfaces offer straightforward maintenance routines and effortless cleaning. Furthermore, their inherent reflective properties can dramatically alter the perception of spatial dimensions, making compact kitchens appear considerably more open and luminous.
Conversely, natural stone options—including marble, granite, and slate—introduce an organic, rustic character to domestic cooking areas. While these materials demand a more rigorous maintenance and sealing regimen compared to manufactured alternatives, their unique mineral veining and tactile textures inject a high degree of individuality and warmth into residential interiors.
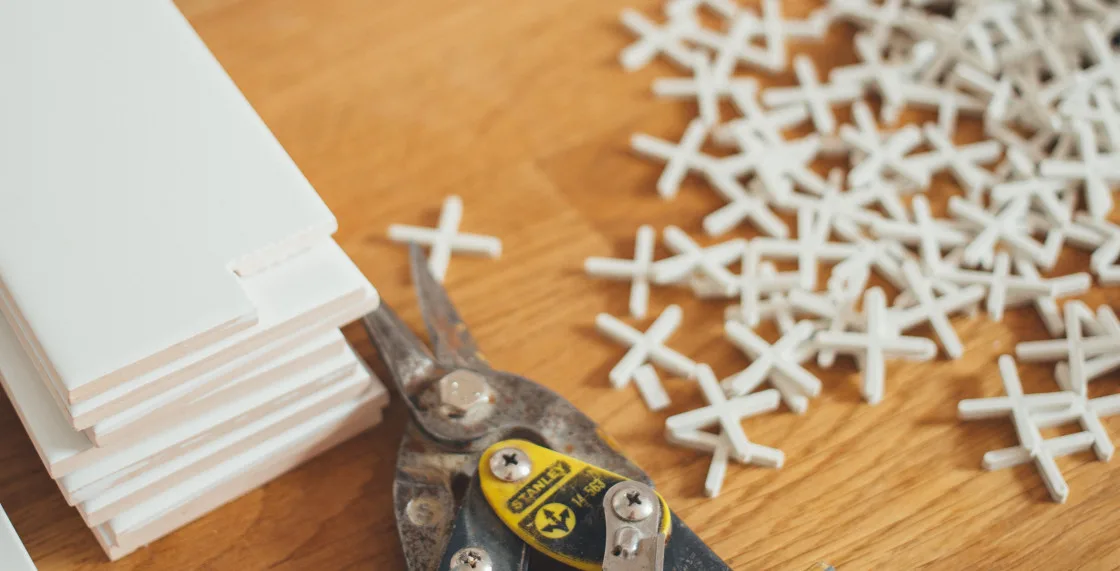
Regardless of the chosen material, successful implementation hinges upon assembling the appropriate suite of tools and installation supplies before commencing work. Industry veterans stress that utilizing high-quality adhesives, trowels, leveling instruments, and cutting equipment significantly streamlines the installation process, preventing structural flaws that compromise both aesthetics and longevity.
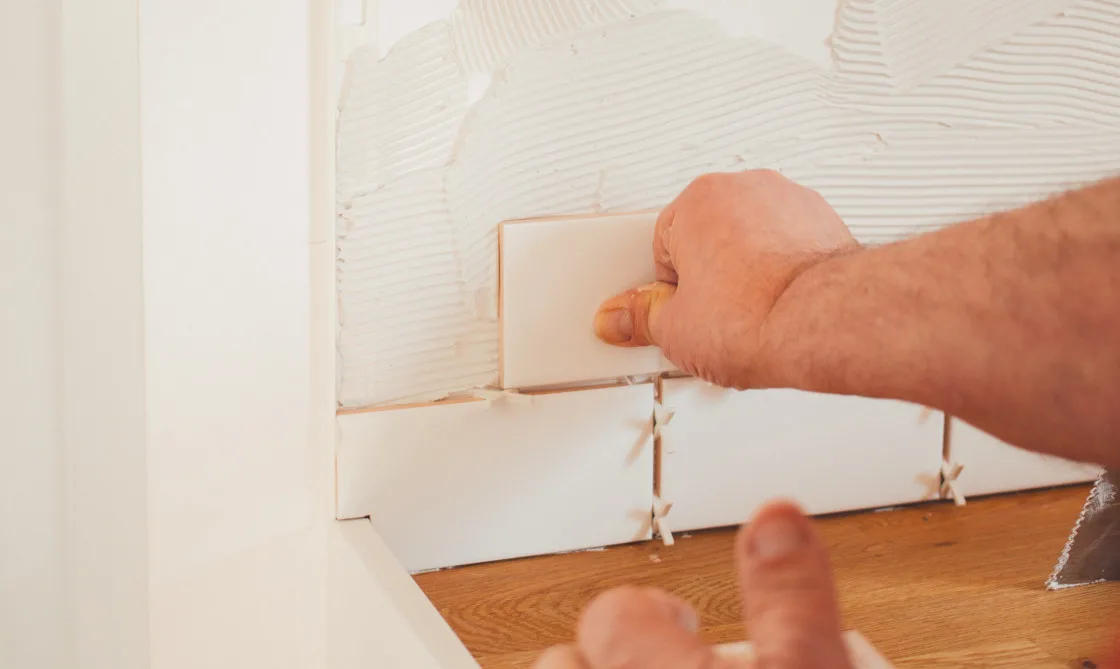
Before any adhesive is applied, the foundational wall surface must undergo rigorous preparation. This preparatory phase involves thoroughly cleansing the vertical plane to eradicate accumulated dust, cooking oils, and airborne grease using a damp cloth, followed by a complete drying period. Once cleaned, accurate measuring and marking utilizing a measuring tape, spirit level, and chalk line establish the layout parameters. Installers typically begin at the center of the wall layout and progress outward, inserting consistent tile spacers to maintain uniform grout lines. Additionally, applying a specialized primer over previously painted or wallpapered surfaces is often recommended to maximize the bonding strength of the installation adhesive.
The physical application of the tiles requires precision and steady pacing. Installers use a notched trowel to distribute the adhesive uniformly across the target area, combing the material to form consistent ridges that optimize tile adhesion. Pressing each piece firmly into the setting bed ensures that it remains flush and level with neighboring units. Where vertical surfaces meet architectural obstacles such as electrical outlets, cabinetry, or window frames, professionals utilize tile cutters or wet saws to execute precise, measured cuts for a seamless fit. Once the mosaic or field tiles are fully positioned, the installation must remain undisturbed for a period ranging from 24 to 48 hours to allow the adhesive to cure completely.
The final major phase of the renovation process involves grouting and sealing the newly surfaced wall. Grout, a cement-based compound, fills the interstitial voids between individual tiles, delivering a cohesive visual finish while safeguarding tile edges from chipping and moisture infiltration. Applying the mixed compound via a rubber grout float in manageable sections, followed by the careful removal of surface haze with a damp sponge, completes the primary installation. For installations utilizing porous natural stone, applying a specialized sealer provides crucial protection against staining and moisture degradation over time.
Throughout the process, avoiding common pitfalls remains essential for securing a professional outcome. Installers frequently caution against inconsistent spacing, improper adhesive coverage, and failing to verify that individual tiles sit flush within the plane. Addressing these variables safeguards the structural integrity of the upgrade, ensuring that the finished backsplash withstands the rigors of daily culinary activity while maintaining its visual impact.