Across residential housing sectors, interior design professionals and homeowners are increasingly turning their attention to kitchen walls and splashbacks, viewing the area as a primary canvas for home improvement. Upgrading a cooking space with new tiles has quickly evolved from a simple maintenance task into a transformative home renovation project capable of redefining the aesthetic of an entire household.
For many residents, staring at drab, outdated kitchen walls has become the catalyst for undertaking ambitious do-it-yourself renovations. The appeal lies in the dramatic visual impact a well-chosen backsplash can provide, elevating an ordinary cooking environment into a polished, high-end culinary space. However, industry experts note that achieving a flawless finish requires careful planning, precise preparation, and a thorough understanding of the various materials and techniques involved in modern wall tiling.
Navigating the Diverse Landscape of Kitchen Wall Tiles
The journey toward a successful kitchen makeover begins with selecting the appropriate tile material. The market offers a broad array of choices, each bringing distinct aesthetic qualities and specific maintenance demands to a residential renovation project.
Ceramic tiles remain the most popular choice for kitchen walls among homeowners and contractors alike. Manufactured from natural clay fired at high temperatures, ceramic options offer exceptional durability and longevity. Their widespread appeal is further enhanced by an extensive spectrum of colors, patterns, and dimensions, making them adaptable to virtually any interior design scheme.

For areas subject to heavier wear and tear, porcelain tiles present a robust alternative. While also derived from clay, porcelain is subjected to significantly higher firing temperatures, rendering it denser, less porous, and exceptionally durable compared to standard ceramic. Available in finishes ranging from high gloss to matte, porcelain tiles provide a resilient solution for high-traffic zones within the busy kitchen environment.
Homeowners seeking a sleek, contemporary aesthetic frequently gravitate toward glass tiles. Beyond their modern visual appeal, glass surfaces offer straightforward cleaning and maintenance routines. Furthermore, their inherent reflective qualities can effectively bounce light around the room, creating an optical illusion of greater space in smaller kitchens.
In contrast, natural stone tiles—including marble, granite, and slate—introduce a rustic, organic character to residential interiors. While these materials demand a more rigorous maintenance regimen to preserve their appearance, their unique veining, textures, and natural variations impart a distinct personality that synthetic materials often struggle to replicate.
Essential Preparation and Material Selection
Before applying any adhesive or mortar to a kitchen wall, thorough preparation of the workspace is widely recognized as a critical factor in determining the final outcome. Professionals emphasize that investing in high-quality tools and materials from the outset prevents complications and ensures greater efficiency throughout the installation process.
Preparation begins with an exhaustive cleaning of the wall surface. Accumulated dust, cooking grease, and microscopic debris must be entirely eliminated by washing the area with a damp cloth, followed by adequate time for the surface to dry completely. For walls featuring existing paint or wallpaper, applying a specialized primer is often recommended to enhance the bonding capabilities of the tile adhesive.
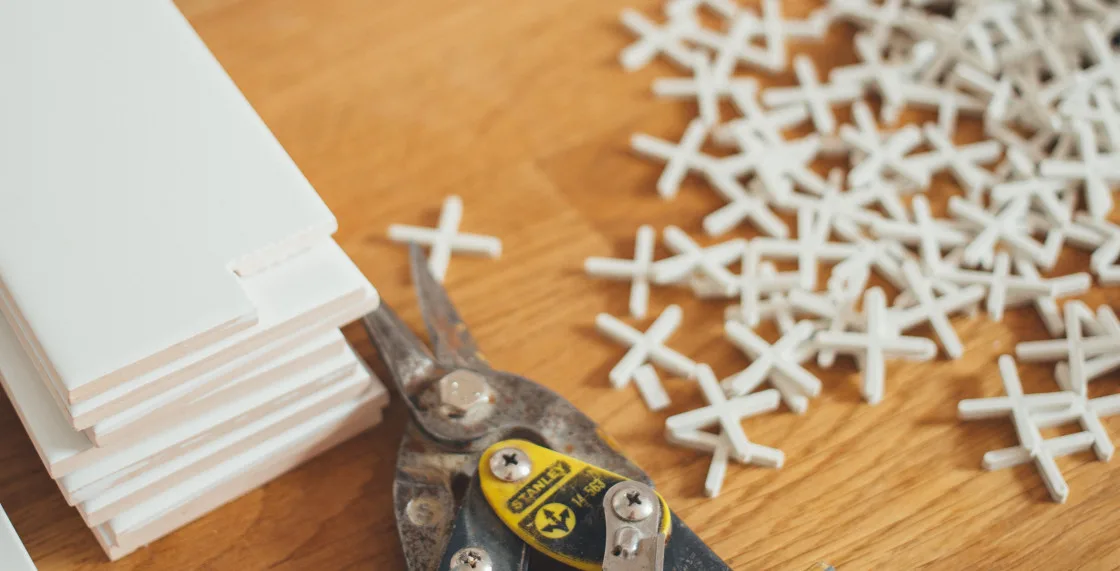
Precision in layout planning is equally vital. Installers rely on measuring tapes, spirit levels, and chalk lines to map out the designated tiling zone. Working outward from the absolute center of the wall helps maintain symmetry, while plastic spacers ensure uniform gaps between individual tiles.
Master Techniques for Installation and Surface Adhesion
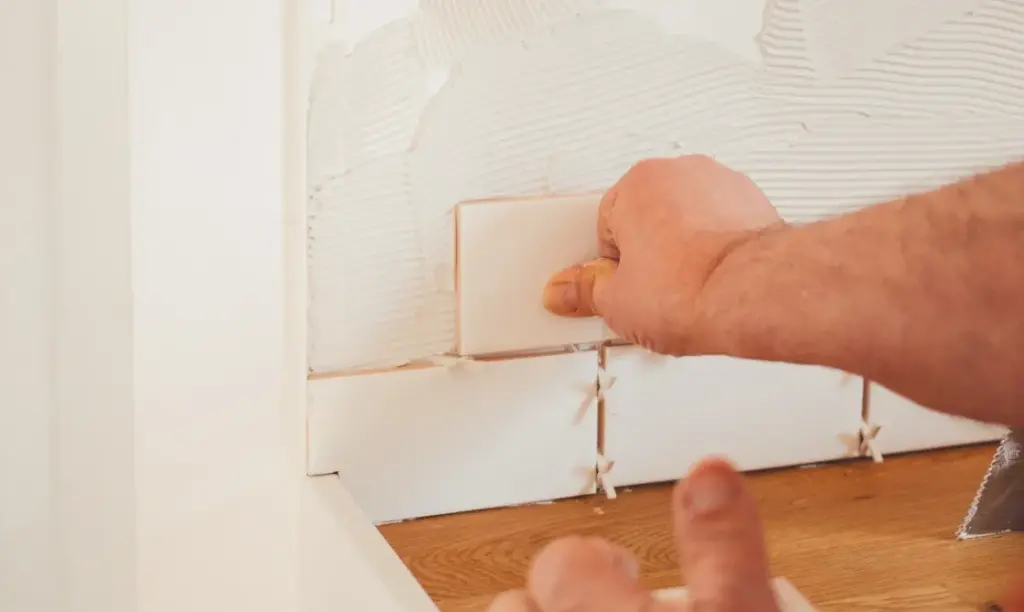
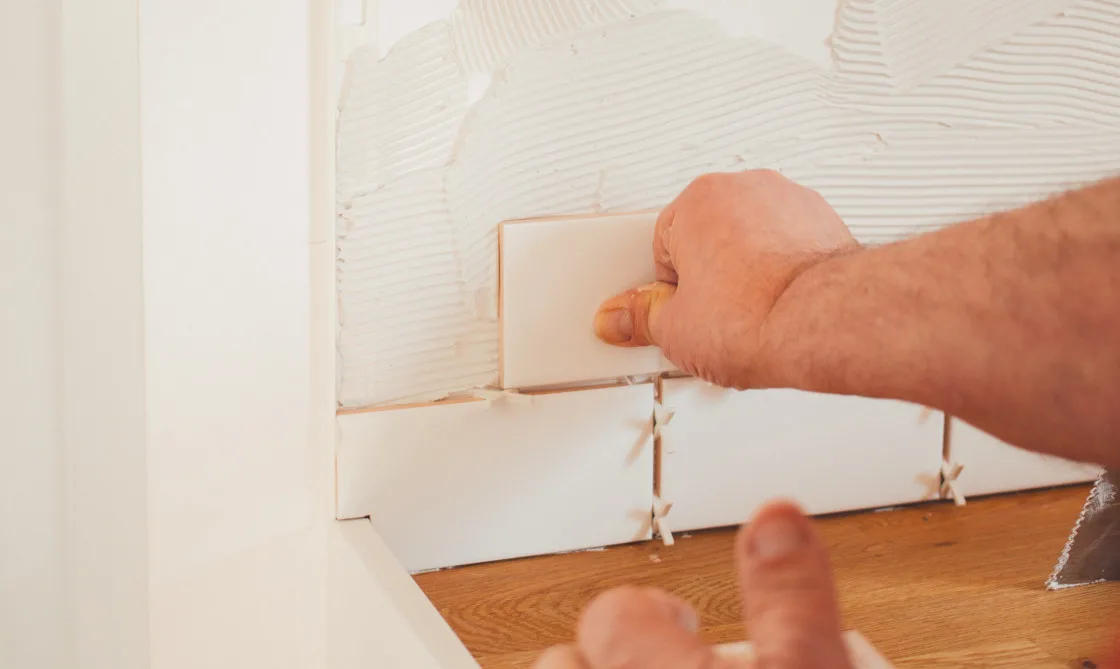
Once the preparatory phase is complete, the physical installation of the tiles commences. The process demands meticulous attention to detail, starting with the uniform application of adhesive using a notched trowel. Creating consistent ridges in the adhesive bed promotes optimal contact and bonding when tiles are pressed into place.
Installers press each tile firmly into the mortar bed, continually checking alignment with a level to guarantee that every piece sits flush with its neighbors. Navigating architectural obstacles such as electrical outlets, cabinetry, and window frames requires careful measurement and specialized cutting equipment, including manual tile cutters or wet saws, to achieve clean and accurate fits.
Following placement, the adhesive requires adequate time to cure fully—typically ranging between 24 and 48 hours depending on the specific formulation—before any grouting can take place.
Grouting, Sealing, and Avoiding Common Pitfalls
The final stages of a kitchen wall renovation involve applying grout to fill the interstitial gaps between tiles, providing both a finished visual cohesion and vital edge protection against chipping. Cement-based grout is worked into the joints using a rubber float, after which excess material is carefully cleaned away with a damp sponge, taking care not to disturb the fresh joints. For installations featuring natural stone, applying a protective sealer is essential to guard against moisture penetration and staining.
Throughout the process, avoiding frequent procedural errors remains paramount for achieving professional results. Common pitfalls that can compromise the final appearance include inconsistent spacing caused by omitting tile spacers, improper adhesive application that leads to weak bonding, and failure to keep tiles level and flush. By adhering to established installation standards and exercising patience during preparation, execution, and finishing, homeowners can successfully complete a kitchen renovation that significantly enhances the value and appeal of their living space.