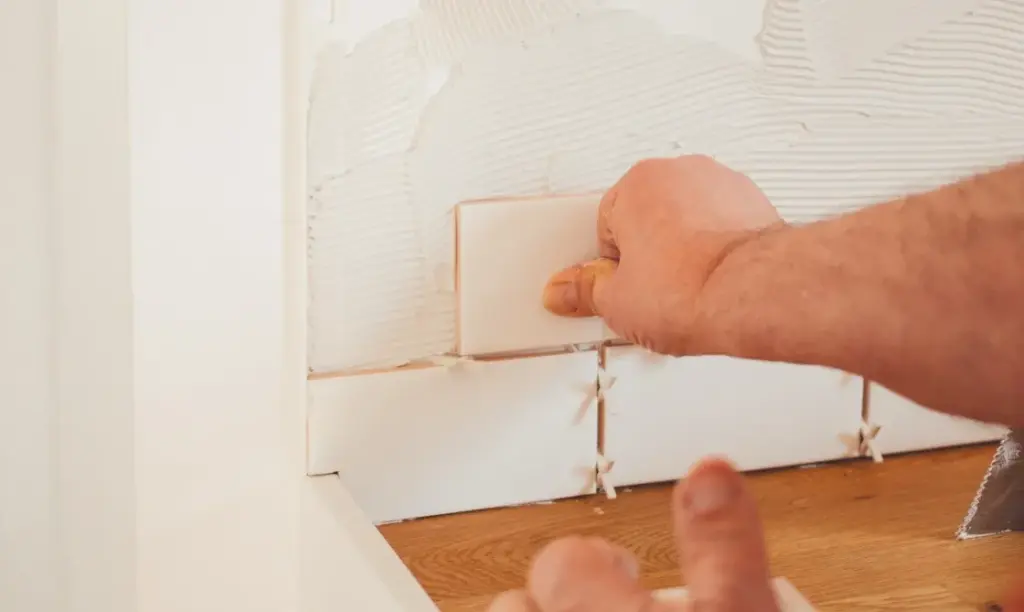
The humble kitchen wall is undergoing a major lifestyle and design revival, with homeowners increasingly turning to home improvement projects to elevate their living spaces. Tired of drab, outdated walls and eager to create stunning focal points through new backsplashes, residents across the country are discovering that a thoughtful tiling project can completely transform the heart of the home. While taking on a wall tiling project might initially seem like a daunting undertaking, interior design and home renovation experts emphasize that with the correct guidance, proper preparation, and the right set of tools, achieving a professional-grade finish is well within reach for dedicated DIY enthusiasts.
Transforming a cooking space begins long before the first tile is ever pressed against a wall. The initial and perhaps most crucial phase of any successful kitchen renovation involves selecting the ideal material to match both the aesthetic desires of the homeowner and the practical demands of a busy culinary environment. The market offers a wide array of tile varieties, each bringing distinct characteristics, visual styles, and maintenance requirements to the table.
Ceramic tiles remain the perennial favorite for kitchen walls, crafted from natural clay fired at high temperatures to yield a durable, long-lasting surface. Their immense popularity is driven largely by an expansive spectrum of available colors, patterns, and dimensions, offering unmatched versatility for virtually any interior design scheme. Porcelain tiles share a similar clay foundation but undergo firing at even higher temperatures, resulting in a denser, highly durable, and significantly less porous product. Available in finishes ranging from high gloss to matte, porcelain stands out as an exceptional choice for the busiest, high-traffic zones of a modern kitchen.

For those aiming for a sleek, contemporary aesthetic, glass tiles have emerged as a prominent trend. Prized for their clean lines, ease of maintenance, and reflective qualities, glass tiles can bounce light around the room, making even the most compact kitchens feel noticeably more spacious and airy. Alternatively, homeowners seeking a more organic, rustic ambiance often gravitate toward natural stone tiles such as marble, granite, and slate. While these natural materials demand a higher level of ongoing maintenance compared to their manufactured counterparts, their distinct natural veining, unique patterns, and tactile textures introduce an immense amount of character and warmth to the space.
Achieving a professional-looking result requires meticulous preparation well before the adhesive is mixed. Experts stress the importance of gathering high-quality tools and materials from the outset rather than opting for cheaper alternatives that can compromise the efficiency and quality of the work. The preparation phase centers heavily on thorough surface cleaning, precise measuring, and careful marking of the work area. Wall surfaces must be entirely free of accumulated dust, dirt, and kitchen grease, usually achieved by wiping them down with a damp cloth and allowing adequate time for complete drying.
Once the walls are pristine, renovators rely on measuring tapes, reliable levels, and chalk lines to map out the exact tiling boundaries, typically initiating the layout from the center of the wall and working outward. Tile spacers are deployed simultaneously to maintain uniform gaps. Furthermore, applying a specialized primer is strongly recommended if the tiling is to be installed directly over previously painted or wallpapered surfaces, ensuring that the adhesive maintains a secure and lasting bond with the wall structure.
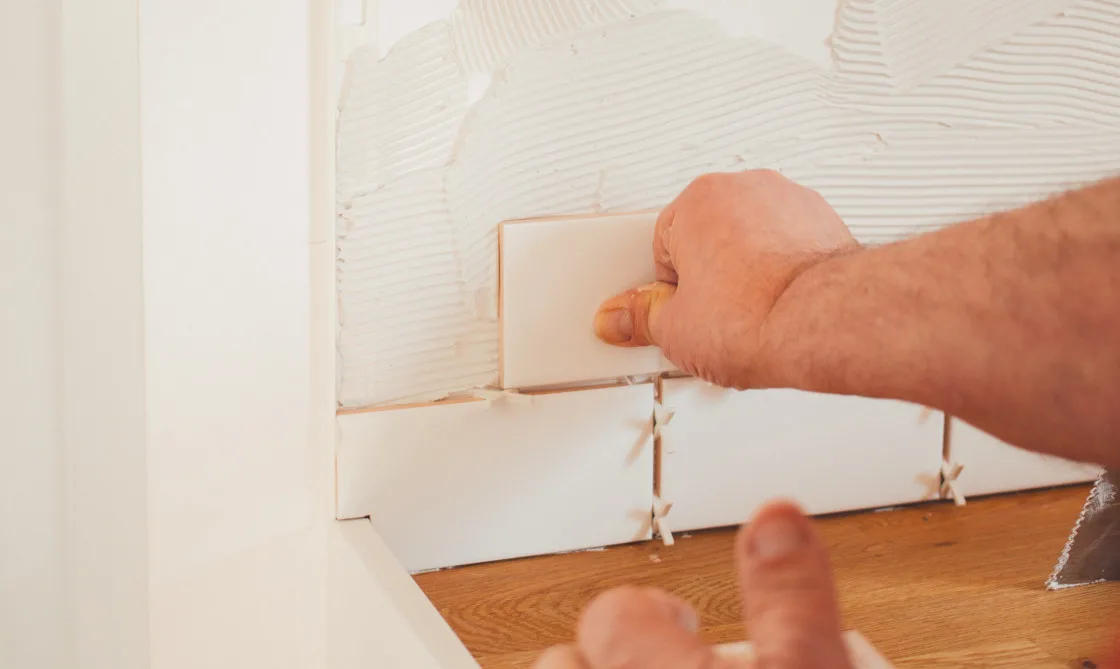
The actual installation process demands patience and precision, beginning with the even application of adhesive using a notched trowel. The notched edge creates a series of parallel ridges in the adhesive bed, which is vital for maximizing suction and ensuring that the tiles securely anchor to the wall. Installers press each individual tile firmly into place, checking constantly with a level to guarantee that it rests flush and even with its neighbors. Navigating around architectural obstacles such as electrical outlets, cabinetry, and window frames requires careful measuring and accurate cutting using dedicated tile cutters or wet saws to achieve a seamless fit. Once the tiles are secured, the entire assembly must be left undisturbed to cure completely, a drying window that can span anywhere from 24 to 48 hours depending on the specific adhesive formulation used.
Grouting and sealing represent the final structural phases of the renovation. Grout, a durable cement-based compound, is worked into the cured joints between the tiles using a rubber grout float, serving both to lock in the finished visual appearance and to shield the delicate tile edges from chipping and moisture infiltration. Excess grout is carefully cleaned away with clean water and a sponge, taking care not to disrupt the fresh grout lines. For kitchens incorporating natural stone, applying a protective sealer to the grout is an essential final measure to defend against accidental staining and moisture-related deterioration.
Throughout the process, renovators must remain vigilant against common pitfalls that can undermine the final aesthetic. Inconsistent spacing resulting from omitted or improperly placed spacers, uneven adhesive application that creates hollow spots beneath the tiles, and failing to keep the surface level can all lead to an unprofessional finish. By adhering to meticulous measurement, proper preparation, and careful execution, homeowners can successfully navigate these challenges, resulting in a stunning, durable kitchen backsplash that revitalizes the entire living space.