For many homeowners, the kitchen remains the beating heart of the household, yet staring at the same old, drab walls day after day can drain the inspiration out of any culinary space. Increasingly, property owners are turning to custom wall tiling and sophisticated backsplashes to elevate their cooking environments and breathe new life into their interiors. While transforming a kitchen wall may initially appear to be a daunting undertaking, industry professionals and seasoned renovators emphasize that achieving a flawless, high-end finish is entirely within reach for those equipped with the proper guidance, materials, and tools.
Transforming a kitchen through wall tiling requires a careful balance of aesthetic vision and technical precision. Industry experts report that a successful renovation project relies heavily on a structured approach—beginning with thoughtful material selection, moving through meticulous surface preparation, and culminating in careful adhesive application, cutting, grouting, and sealing.
Types of Tiles for Kitchen Walls
The foundational decision in any kitchen tiling project is selecting the appropriate tile type, as each material brings a distinct visual character and specific maintenance demands to the space.
Ceramic tiles remain the most popular choice for kitchen walls across residential properties. Manufactured from natural clay heated at high temperatures, ceramic tiles offer a durable and long-lasting surface capable of withstanding the daily wear and tear of a busy kitchen. Their widespread appeal is further bolstered by a vast array of available colors, patterns, and sizes, making them an exceptionally versatile option for virtually any interior design scheme.
For homeowners seeking an even higher level of durability, porcelain tiles present a robust alternative. While similarly derived from clay, porcelain tiles undergo firing at significantly higher temperatures, rendering them denser, less porous, and more resilient than standard ceramic options. Available in finishes ranging from high gloss to matte, porcelain tiles excel in high-traffic kitchen zones where moisture and heavy use are constant factors.
Property owners aiming for a sleek, contemporary aesthetic frequently gravitate toward glass tiles. Beyond offering a modern visual appeal, glass surfaces are exceptionally easy to clean and maintain. Furthermore, their inherent reflective qualities can dramatically alter the perception of space, helping smaller kitchens feel significantly more open and spacious.

In contrast, natural stone tiles—including marble, granite, and slate—introduce an organic, rustic elegance to culinary spaces. While stone requires more rigorous maintenance and protective sealing compared to manufactured alternatives, its unique, one-of-a-kind patterns and rich textures infuse a kitchen with unmatched character and depth.
Tools and Materials for Tiling Your Kitchen Wall
Before breaking ground on any installation, professionals stress the importance of gathering all necessary equipment and supplies. Investing in high-quality tools and materials is critical to securing a professional-grade finish, as inferior supplies often complicate the installation process and compromise the final appearance.
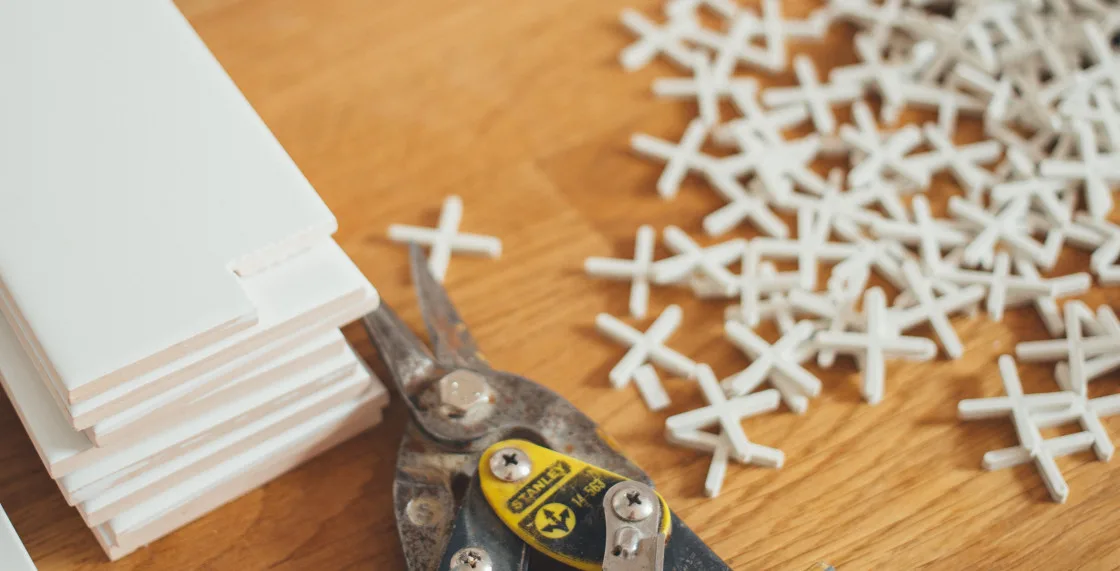
Essential requirements typically include the tiles themselves, a reliable tile adhesive designed for wall applications, a notched trowel for spreading the adhesive evenly, tile spacers to maintain uniform gaps, a measuring tape, a spirit level, a chalk line, a tile cutter or wet saw for precise trimming around obstacles, a rubber grout float, grout, sponges, and appropriate sealers for natural stone installations.
Preparation Before Tiling – Cleaning, Measuring, and Marking
Before a single tile is set against the wall, proper surface preparation is paramount. This initial phase involves thorough cleaning, precise measuring and marking, and surface conditioning to ensure optimal adhesion.
Surface cleaning is an essential first step. Over years of food preparation, kitchen walls accumulate microscopic layers of grease, dust, and dirt that can prevent adhesives from bonding correctly. Wiping down the entire work area with a damp cloth and allowing the surface to dry completely creates a clean canvas for the project.
Once the wall is pristine, precise measuring and marking take center stage. Installers generally use a measuring tape, spirit level, and chalk line to map out the tiling grid, typically starting from the center of the wall and working outward. Spacers are integrated into this planning phase to guarantee consistent, even gaps between individual tiles.
For walls that feature existing paint or wallpaper, applying a primer is strongly recommended. The primer enhances the bonding capability of the wall surface, ensuring the adhesive grips securely and supports the weight of the tiles over the long term.
Tiling Techniques for a Flawless Finish
With the surface fully prepared, the physical installation begins. Achieving a professional finish requires deliberate execution during the adhesive application and tile placement stages.
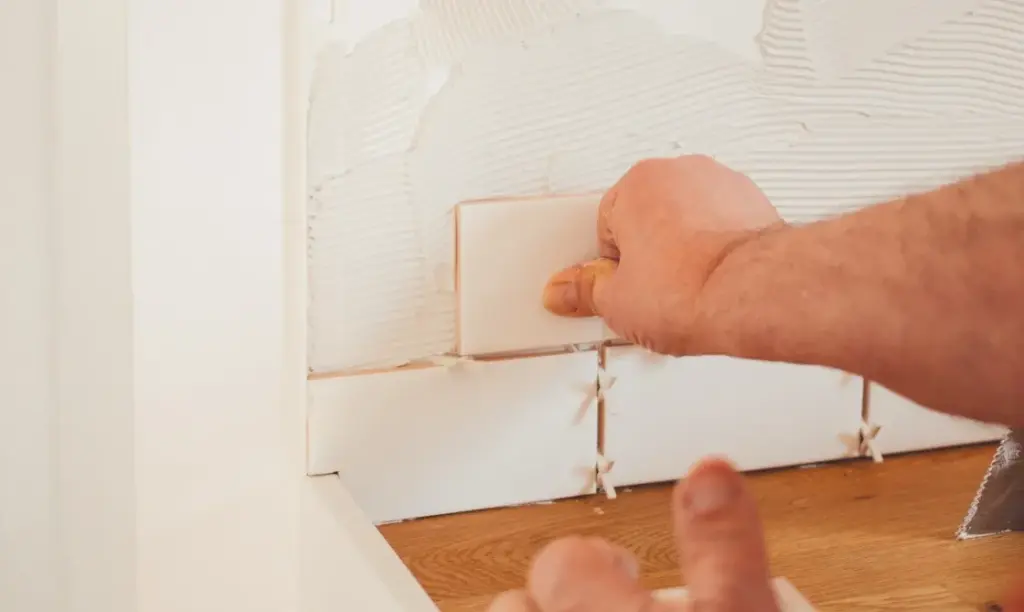
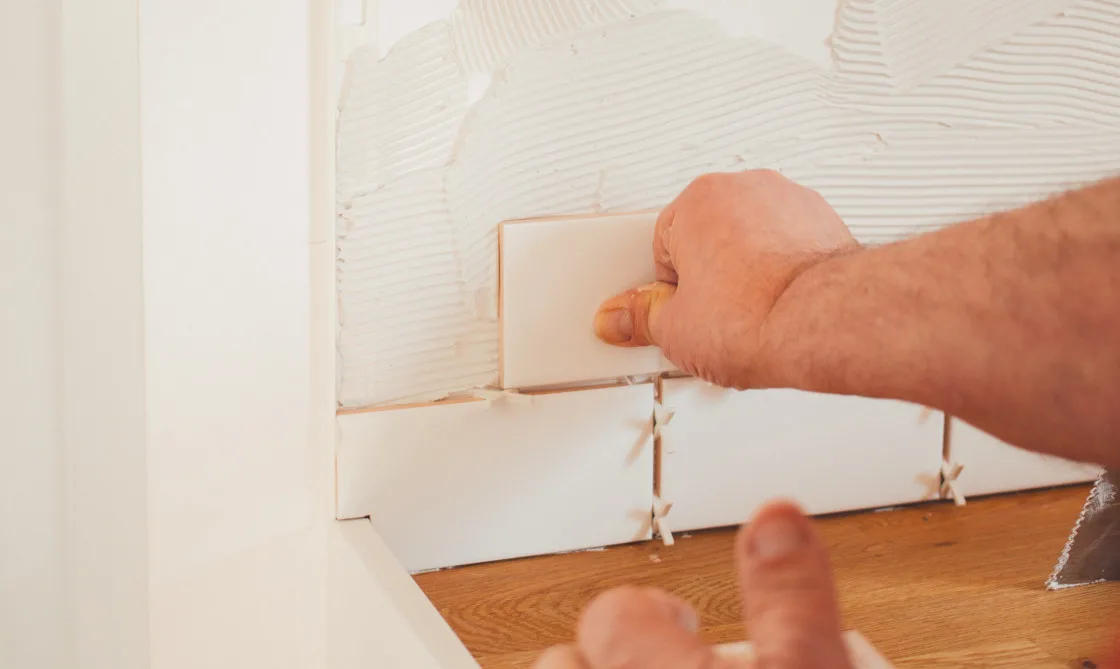
Adhesive must be spread evenly across the wall using a trowel, covering the entire designated work zone. Using the notched side of the trowel creates distinct ridges within the adhesive bed, which significantly improves the grip and ensures each tile beds down securely.
Working outward from the center point, installers press each tile firmly into the adhesive bed, checking constantly with a spirit level to ensure the piece is flush and aligned with adjacent tiles. Spacers maintain uniform lines throughout the field.
A critical test of skill in any kitchen tiling project involves navigating obstacles such as electrical outlets, cabinetry, and windows. Using a manual tile cutter or a wet saw allows installers to trim tiles to precise dimensions, ensuring a snug, professional fit around architectural fixtures.
Once all tiles are secured, the installation must remain untouched to allow the adhesive to cure completely. Depending on the specific adhesive product utilized, this curing phase typically spans between 24 and 48 hours.
Grouting and Sealing Your Tiled Kitchen Wall
After the adhesive has fully cured, the next major phase involves grouting the gaps between the tiles. Grout is a specialized cement-based material designed to fill joint spaces, lock the tiles firmly in place, and protect their delicate edges from chipping or moisture penetration.
Mixing and applying the grout requires following manufacturer specifications precisely. Installers use a rubber grout float to press the mixture into the joints, working in manageable sections. Promptly cleaning away excess grout from the tile faces using a clean damp sponge prevents the material from drying onto the decorative surfaces. For natural stone installations, applying a specialized sealer over the cured grout is vital to protect against stains and moisture damage over time.
Common Mistakes to Avoid When Tiling Your Kitchen Wall
Even with careful planning, DIY renovators and even inexperienced installers can fall into common traps that detract from the final result. Industry experts highlight several frequent missteps to watch out for during the process.
Inconsistent spacing remains one of the most visible indicators of a rushed job. Failing to use tile spacers consistently results in uneven grout lines that immediately signal an amateur installation. Similarly, improper adhesive application—such as failing to create ridges with a notched trowel or applying adhesive unevenly—can lead to poor bonding and loose tiles over time.
Another common pitfall involves uneven tile placement. If individual tiles are not checked with a level as the work progresses, lips or uneven edges can occur. These irregularities not only create complications during the grouting phase but also severely compromise the aesthetic appeal of the finished splashback.
By adhering to industry best practices, selecting materials suited to the specific environment, and dedicating sufficient time to preparation and execution, property owners can successfully execute a kitchen wall renovation that enhances both the functionality and visual appeal of their living space.