For homeowners and property renovators looking to refresh an interior space, the decision of how to handle existing wall treatments often comes down to a choice between painstaking removal or seeking a more expedited route. Choosing to paint directly over wallpaper has long been debated within the home improvement community as a quicker way to revamp a room compared to the laborious process of stripping the paper, preparing the bare plaster, and painting from scratch. However, industry experts and interior specialists emphasize that taking this shortcut requires careful consideration of several critical factors, alongside a clear understanding of the potential pitfalls that can derail a project if ignored.
Before committing to a paintbrush and a can of topcoat, homeowners must evaluate the fundamental condition of the current wall covering. The primary rule of thumb in this process is ensuring that the paper is structurally sound, securely adhered to the wall, and completely free from significant rips or tears. When wallpaper is in a severely degraded state, attempting to paint over it is rarely a viable solution. In such instances, professionals almost universally recommend taking the time to strip the compromised paper entirely and treating the bare wall underneath to guarantee a durable and professional finish.
The integrity of the underlying adhesive is another vital diagnostic step. Painting over wallpaper that is already peeling in multiple locations is strongly discouraged, even if the material itself has not suffered major rips. Widespread peeling indicates that the adhesive paste is failing, a deterioration that can stem from the use of inferior-grade paste during the initial installation or from chronic dampness and moisture issues within the room. Ignoring these warning signs and applying heavy coats of paint will only add weight to the paper, accelerating the failure of the underlying paste and causing the entire surface to bubble, sag, or pull away from the wall entirely.
Conversely, if peeling is localized to a small, isolated area, remedial action may salvage the project. In such cases, homeowners can carefully re-stick the loose edge using appropriate wallpaper paste. This delicate repair work must be executed with precision to prevent air bubbles from forming beneath the surface. Furthermore, the repaired section must be allowed to dry completely before any primers or paints are introduced to the area.
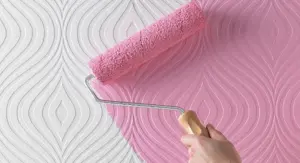
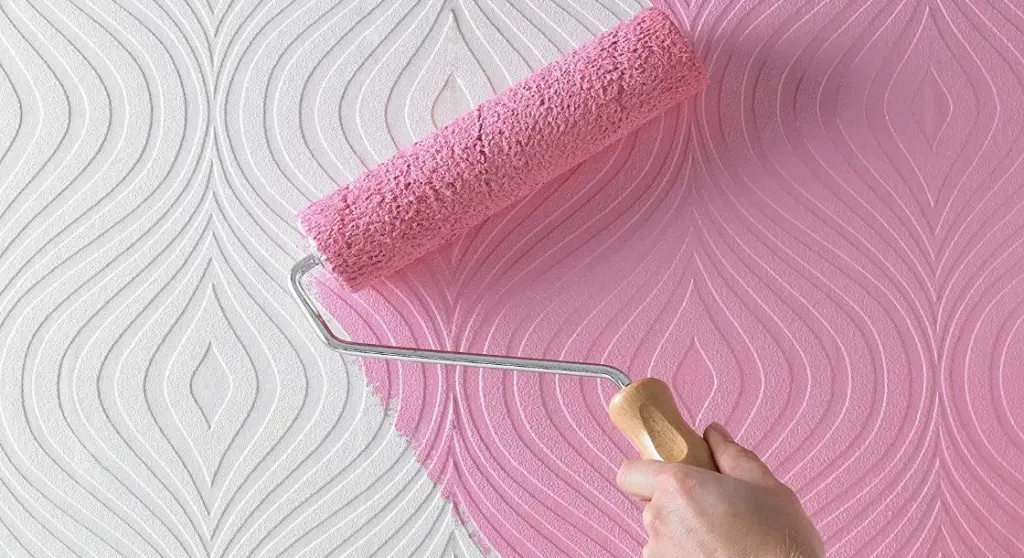
When evaluating the texture of the walls, flat and plain wallpapers naturally present the most straightforward canvas for painting. Nevertheless, it remains entirely feasible to paint over patterned and textured papers, provided the homeowner accepts that the underlying physical texture, embossing, or pattern relief will remain distinctly visible beneath the new coats of paint.

Preparing Wallpaper for Painting
Assuming a thorough inspection confirms that the wallpaper is in good condition, firmly attached, and structurally sound, the necessary preparation phase prior to painting is relatively straightforward. Unlike the intensive scraping and plaster patching required when wallpaper is completely removed, painting over an intact surface shifts the focus toward surface cleaning, degreasing, and ensuring optimal adhesion for the upcoming coatings.
Once the room has been cleared and protected with drop cloths and decorator’s masking tape around baseboards, fixtures, and trim, the workspace is officially ready for the application of liquid coatings. Skipping or rushing this preparatory phase can compromise the final aesthetic, making meticulous attention to detail essential before opening any paint cans.
Priming Wallpaper for Painting
Even when working with light-coloured, unpatterned, or seemingly cooperative wallpaper stocks, industry guidelines strongly advise applying at least one dedicated coat of primer before introducing the final colour scheme. A quality primer serves a dual purpose: it creates a uniform surface that allows the topcoat to achieve a clean, professional finish, and it seals the substrate to make the pattern and colour of the old paper much easier to hide.
Selecting the correct type of primer is perhaps the most critical technical decision in the entire process. Standard water-based primers carry a distinct risk when applied to wallpaper; the moisture can soak too deeply into the paper substrate, reactivate the old wallpaper paste, and cause the paper to loosen or bubble away from the wall. To circumvent this chemical vulnerability, specialists recommend utilizing an oil-based primer or specific solvent-based sealing formulas whenever painting over wallpaper. Products such as the Zinsser all-in-one primer and sealer have become popular choices for this exact application, providing a reliable barrier that locks down the surface without destabilizing the paste beneath.
Best practices dictate applying at least one thorough coat of primer, with two coats providing optimal coverage and protection. As with previous stages, adequate drying time is mandatory, and the primer must be allowed to set completely before any further work commences.

How to Paint Over Wallpaper
With the priming phase successfully completed and the underlying surface fully sealed and stabilized, renovators can proceed to select their preferred topcoat paint colour and finish. The application of the topcoat follows standard interior painting methodologies, utilizing a combination of synthetic brushes for cutting in around edges and rollers for broader wall surfaces.
Applying the paint evenly and allowing proper drying times between successive coats ensures a rich, uniform color depth. Because the wallpaper substrate behaves differently than bare plaster or drywall, maintaining a consistent wet edge during application helps prevent lap marks and ensures the finish looks deliberate and professional rather than rushed.
Problems With Painting on Top of Wallpaper
Even with meticulous planning and thorough preparation, undertaking a paint-over-wallpaper project can occasionally present unexpected challenges. Fortunately, most of these issues are manageable and can be successfully avoided or corrected with a modest amount of remedial work.
Gaps Between Wallpaper Strips
Under ideal circumstances, wallpaper is hung edge-to-edge with seamless precision. However, as wallpaper dries and ages following its initial installation, the paper can occasionally experience minor shrinkage, leaving thin, distinct gaps between adjacent strips. While this structural imperfection is not an absolute dealbreaker for a painting project, it cannot be ignored, as the gaps will become glaringly obvious once a uniform coat of paint is applied over them.
Assuming the surrounding wallpaper is otherwise sound and firmly bonded to the wall, standard wall filler can be deployed to bridge and conceal these narrow gaps between sheets. Industry best practices suggest performing this corrective step after the initial coats of primer have been applied. Once the primer has completely set, any applied filler must be carefully sanded back until it is perfectly flush with the level of the surrounding paper. Because any raised or uneven filler will show up prominently under a fresh coat of paint, taking the extra time to sand the repaired joints smooth is essential for achieving a polished final result.