For many homeowners, the kitchen remains the true center of domestic life, a space where meals are prepared, conversations are shared, and memories are continuously forged. Yet, it is also an area that can easily suffer from visual fatigue, leaving residents staring at drab, uninspiring walls that fail to reflect their personal style or the broader aesthetic goals of their living space. In response to this common design dilemma, interior styling and home improvement experts are increasingly turning attention toward kitchen wall tiling and backsplash installation as one of the most effective methods for elevating a cooking space without undertaking a full-scale structural renovation. While the prospect of applying tiles to a kitchen wall can initially appear daunting, industry professionals emphasize that achieving a pristine, high-end finish is entirely within reach for those equipped with the proper guidance, appropriate materials, and a methodical approach.
The renewed focus on kitchen aesthetics comes as interior renovation projects continue to command significant interest from homeowners seeking to maximize both functionality and visual appeal within their properties. Revitalizing a tired kitchen wall not only modernizes the immediate cooking zone but can dramatically alter the perception of space and light throughout the entire open-plan home. Achieving this transformation, however, relies heavily on a foundational understanding of the materials available on the market, the precise preparation of the work environment, and the technical execution required during installation and finishing.
Understanding the Spectrum of Kitchen Wall Tiles
The journey toward a revamped kitchen wall invariably begins with the selection of the tile itself. The market offers a diverse array of options, each defined by distinct aesthetic properties, manufacturing processes, and maintenance demands that must be carefully weighed against the practical realities of a busy cooking environment.
Among the most enduringly popular choices for residential kitchens are ceramic tiles. Manufactured from natural clay that is fired at high temperatures, ceramic options yield a durable and long-lasting surface capable of withstanding the daily rigors of food preparation. Furthermore, ceramic tiles offer an extraordinary range of colors, patterns, and physical dimensions, rendering them an exceptionally versatile choice that can seamlessly integrate into virtually any interior design scheme, whether traditional or contemporary.

For areas subject to even heavier wear and tear, porcelain tiles present a robust alternative. While also derived from clay, porcelain variations are fired at significantly higher temperatures than their ceramic counterparts. This intensive manufacturing process renders porcelain substantially denser, less porous, and markedly more durable. Available in finishes ranging from high gloss to understated matte, porcelain tiles are frequently recommended for high-traffic zones within the kitchen where moisture and heavy use are constant factors.
Homeowners seeking a sleek, modern aesthetic often gravitate toward glass tiles. Prized for their contemporary look, glass surfaces are exceptionally straightforward to clean and maintain. Crucially, their inherent reflective qualities possess the optical capability to bounce light around the room, making a compact or confined kitchen feel considerably more expansive and airy.
In contrast, those aiming for a more natural, rustic ambiance frequently explore stone tiles, including varieties such as marble, granite, and slate. While natural stone requires a more dedicated maintenance regimen compared to manufactured alternatives, the unique patterns, organic textures, and rich character they impart can elevate a kitchen’s design to a level of distinct luxury.
Equipping for the Task and Preparing the Surface
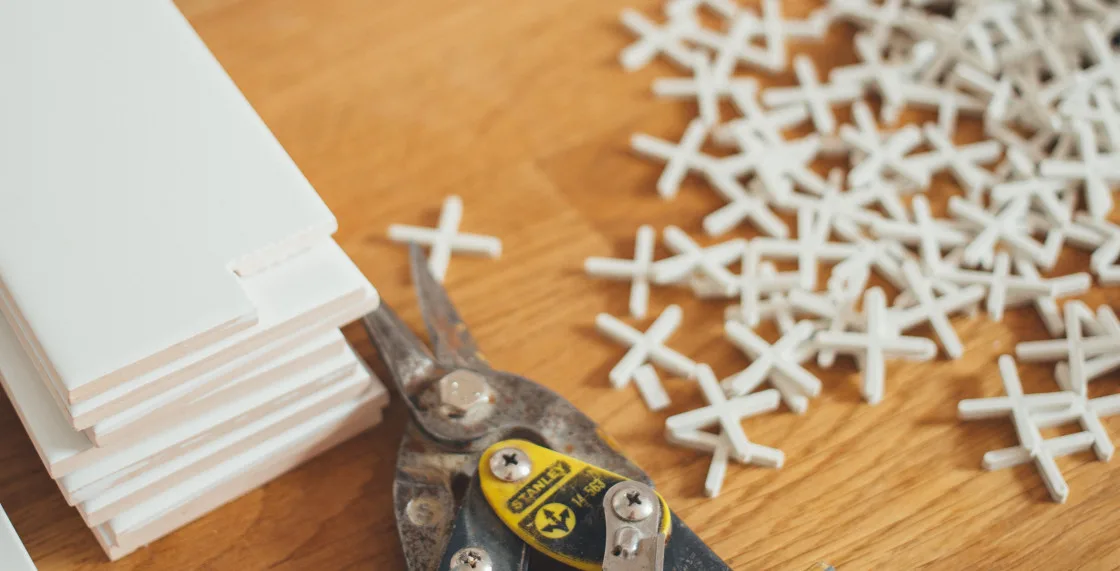
Professionals in the home improvement sector consistently stress that a successful tiling project hinges on the quality of the tools and materials brought to the job. Attempting to economize on foundational items such as trowels, levels, tile cutters, high-grade adhesives, and appropriate grouting compounds frequently leads to inefficiencies and compromised results. Investing in reliable equipment ensures that the physical labor of cutting, placing, and aligning tiles proceeds with precision.
Before any adhesive touches the wall, however, meticulous surface preparation is required. The preliminary phase begins with thorough cleaning. Kitchen walls are routinely exposed to microscopic airborne grease, cooking oils, and everyday dust, all of which can severely undermine the bonding strength of tile adhesive. Cleaning the target area with a damp cloth and allowing the surface to dry completely establishes a clean canvas for the project.
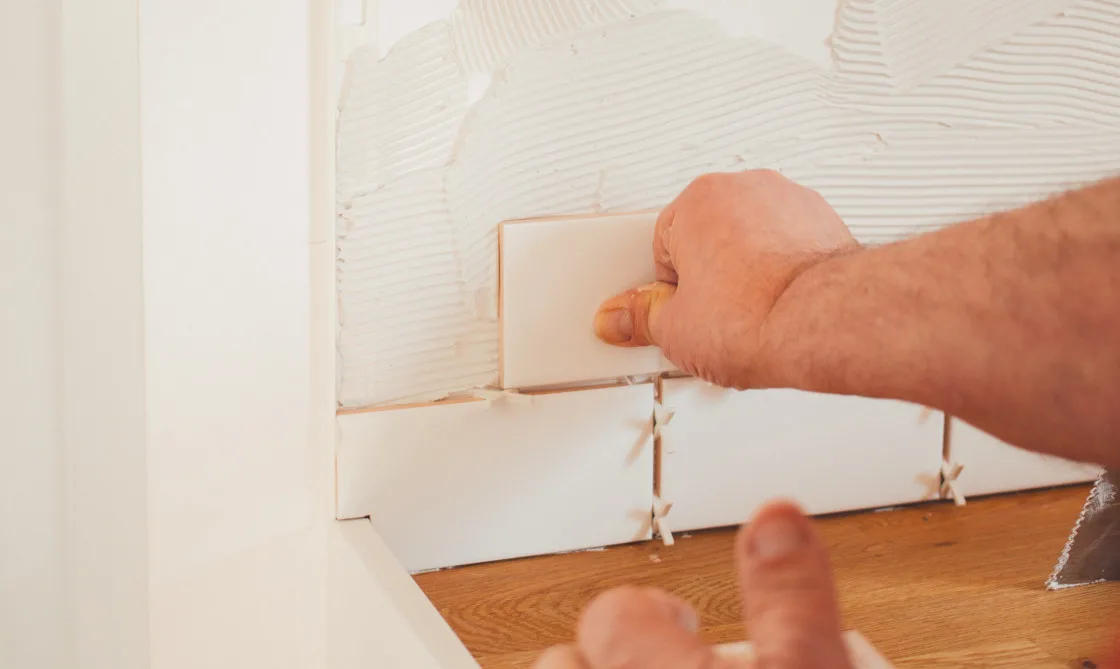
Following the cleaning stage, precise measuring and marking dictate the geometric layout of the installation. Using a measuring tape, spirit level, and chalk line, installers typically locate the center of the wall to establish a balanced starting point, working outward while incorporating spacers to guarantee uniform gaps between individual pieces. Additionally, where walls have been previously painted or covered with wallpaper, the application of a specialized primer is often necessary to promote optimal adhesion between the wall substrate and the mortar or mastic, strictly following the specifications outlined by the manufacturer.
Execution and the Pursuit of a Flawless Finish
With the surface properly primed and marked, the physical installation of the tiles begins. The process requires a disciplined adherence to technique to avoid common pitfalls that can undermine the final appearance.
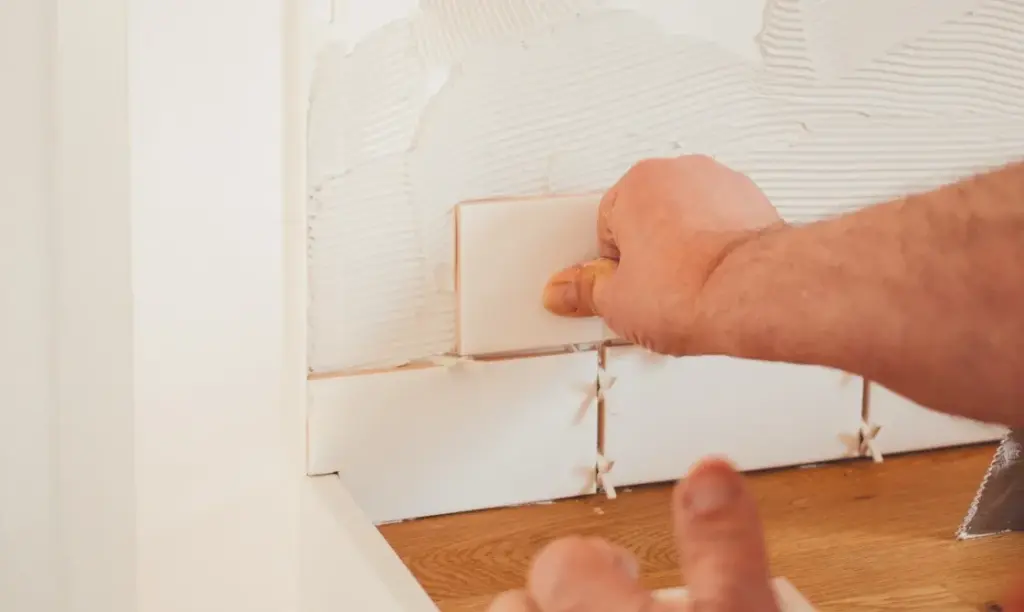
The application of adhesive demands an even hand. Using a trowel to spread the bonding agent across the wall ensures full coverage of the designated zone, while utilizing the notched edge of the trowel creates essential ridges. These ridges are critical because they allow the adhesive to compress uniformly when the tile is pressed into place, maximizing the bond between the wall and the ceramic, porcelain, glass, or stone.
Placement proceeds systematically from the center outward. Each tile must be firmly pressed into the adhesive bed, checked with a level to guarantee it is flush with adjacent pieces, and separated using spacers to maintain consistent joint widths. Where walls meet architectural obstacles such as electrical outlets, cabinetry, or window frames, tiles must be customized using a specialized tile cutter or wet saw. Careful measurement at this stage prevents awkward gaps and ensures a professional, tailored fit around complex kitchen fixtures.
Once the tiling array is fully assembled, a mandatory curing period is required. Depending on the specific formulation of the adhesive, allowing the installation to rest undisturbed for 24 to 48 hours is vital to ensure structural stability before any subsequent weight or pressure is applied during the grouting phase.
Grouting, Sealing, and Preventing Common Errors
The final structural phase of the wall transformation involves grouting and sealing. Grout, a cement-based compound, serves the dual purpose of filling the residual gaps between tiles to create a cohesive finished appearance and protecting the vulnerable edges of the material from chipping and moisture ingress.
The application process requires mixing the grout according to manufacturer guidelines and working it into the joints in small sections using a rubber grout float. Excess material is subsequently cleared from the tile faces using a damp sponge, with care taken to rinse the sponge frequently to prevent smearing the compound across the newly installed surface. For installations utilizing natural stone, an additional sealing step is typically implemented to safeguard the porous stone and grout lines against staining and moisture damage over time.
Throughout the entire process, industry veterans note that avoiding classic installation errors is the key to distinguishing an amateur attempt from a professional result. Inconsistent spacing, resulting from a failure to use tile spacers religiously, immediately draws the eye and disrupts the geometric harmony of the wall. Similarly, improper adhesive application or failing to keep individual tiles level can create uneven ledges that complicate the grouting process and degrade the overall visual standard of the project.
By combining careful planning, appropriate material selection, and disciplined execution, homeowners can successfully navigate the complexities of kitchen wall tiling, resulting in a durable, refined upgrade that revitalizes one of the most heavily utilized spaces in the home.