When investing in a new outdoor structure, the longevity and structural integrity of the building depend almost entirely on what lies beneath it. Experts at Outdoor Living Today have emphasized that a solid, level foundation is the single most critical factor in ensuring a shed stands the test of time, weathering seasonal changes without shifting, sagging, or developing structural defects. To eliminate the common confusion and guesswork often associated with site preparation, builders and homeowners alike are encouraged to follow established protocols for clearing, measuring, and selecting the right base for their specific project.
Whether the builder is an experienced do-it-yourself enthusiast taking on a weekend project for the first time or a homeowner hiring local assistance, establishing a sturdy base requires a methodical approach. Proper preparation prevents doors from sticking, walls from warping, and moisture from accumulating prematurely. According to Outdoor Living Today, the process can be successfully navigated by breaking the preliminary work down into essential phases: site clearance, precise measuring and squaring, and the selection of an appropriate foundation type tailored to the landscape and the intended use of the structure.
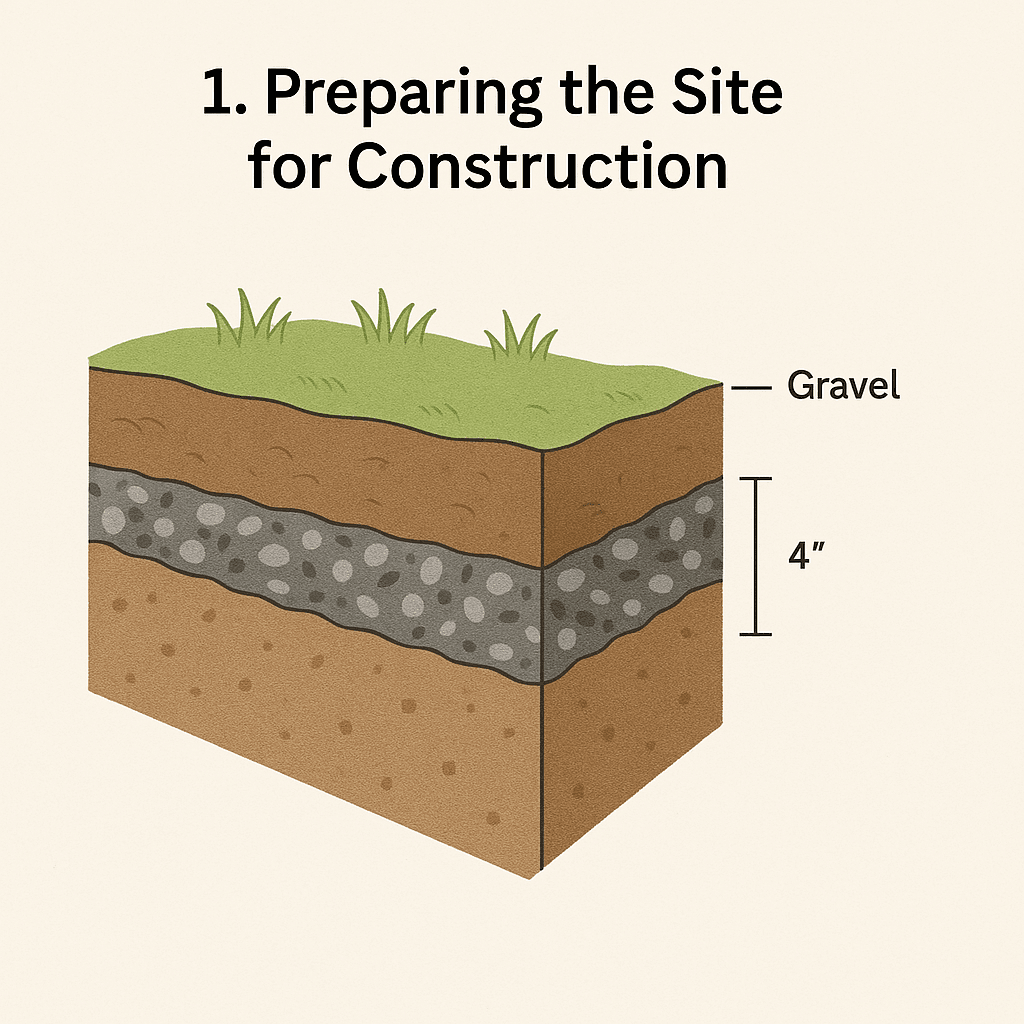
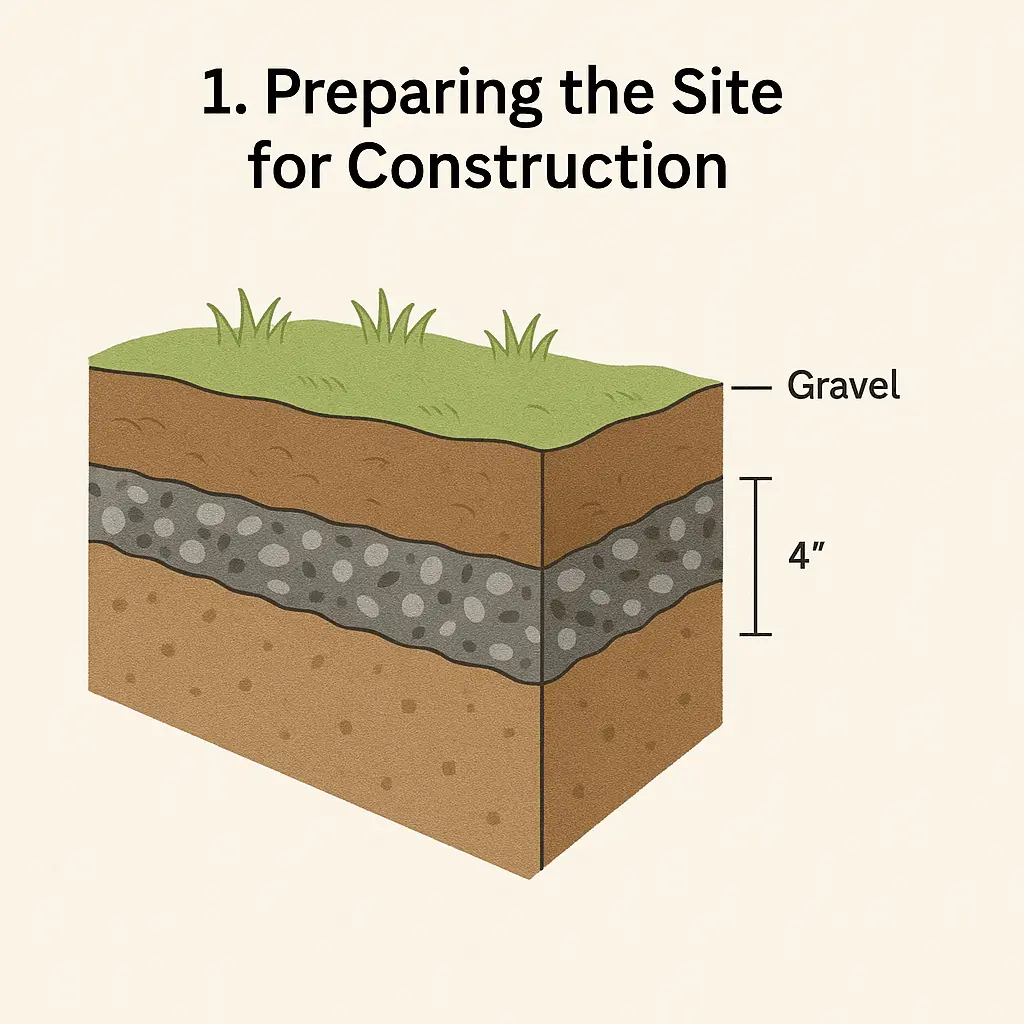
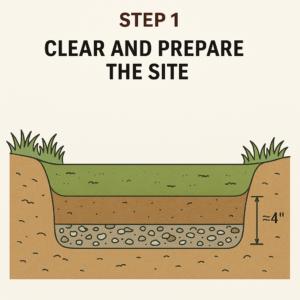
Before any shed kit arrives at a property, the designated installation area must undergo thorough clearing and preparation. This initial phase involves removing all grass, weeds, roots, and organic debris from the footprint of the planned structure. Leaving organic matter beneath a heavy outdoor building is a frequent mistake, as decaying material will eventually compress, causing the ground to settle unevenly and destabilizing the entire structure. Once the topsoil is cleared, the site must be leveled meticulously. Any low spots should be filled with compacted gravel or crushed stone rather than loose dirt, ensuring a firm, load-bearing surface.
Landscape professionals frequently recommend an additional preventive measure during this phase: laying down a heavy-duty landscape fabric before applying a final layer of gravel. This simple addition serves a dual purpose, acting as a barrier against persistent weed growth that might otherwise push up through the floor joists while also preventing the underlying soil from shifting or eroding over time due to heavy rain or drainage issues. Taking the time to grade and compact the earth properly lays the groundwork for a trouble-free assembly process later on.
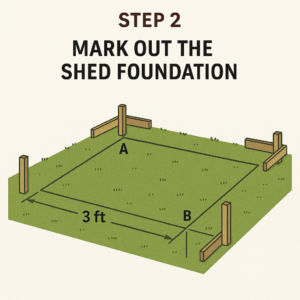
Once the site is cleared and leveled, the next critical task involves marking out the exact dimensions of the shed foundation. Precision at this stage is paramount, as even a minor error in alignment can result in a skewed frame that complicates wall and roof installation. Builders must measure out the exact perimeter, driving stakes into the four corners and running mason’s string tightly between them to create a clear visual boundary. Checking the diagonals of the layout is essential to ensure the shape is perfectly square; measuring from corner to corner diagonally across the rectangle should yield identical measurements. For those who find manual squaring challenging, various digital tools, smartphone applications, and online calculators are readily available to assist in verifying right angles based on specific shed dimensions.
With the site prepared and accurately outlined, builders face the decision of choosing the most suitable foundation type for their property, budget, and structural needs. Outdoor Living Today highlights three primary foundation options recommended for outdoor shed kits, each offering distinct advantages depending on soil conditions and intended use.
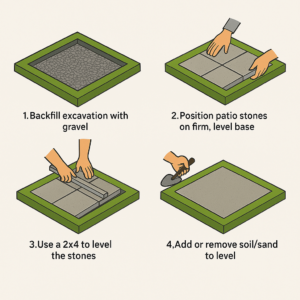
The first option, a patio stone foundation, is widely favored for its simplicity and cost-effectiveness. This method typically involves laying a bed of crushed gravel and leveling individual concrete patio stones or pavers across the footprint to support the shed floor framing. A patio stone foundation is quick to install, relatively inexpensive, and offers the distinct advantage of being easy to move, modify, or adjust if minor settling occurs over time in regions experiencing freeze-thaw cycles.
The second recommended option utilizes four-by-four pressure-treated timber beams. This approach raises the shed slightly off the ground, creating a dependable timber grid that distributes the weight of the structure evenly. One of the primary benefits of a beam foundation is the empty space it leaves underneath the floor joists, which promotes crucial air circulation and ventilation. This continuous airflow helps keep the framing dry, significantly reducing the risk of premature wood rot and moisture damage, particularly in humid or damp climates.
The third and most permanent choice is a poured concrete slab foundation. Offering unbeatable durability and structural strength, a concrete slab provides a completely flush, solid, and rodent-resistant base that can support heavy storage loads without flexing. While it requires more labor, materials, and curing time than gravel or timber alternatives, a concrete slab represents a long-term investment that maximizes the lifespan of the outdoor building, making it an ideal choice for permanent installations that will see heavy use.
Regardless of the foundation style selected, builders are reminded that while general best practices provide a reliable framework for site preparation, individual product designs may have unique engineering requirements. For a tailored approach that aligns perfectly with a specific model, homeowners should always consult the comprehensive product assembly manual included with their kit or available through official manufacturer resources before beginning construction.