Before committing to a paint-over strategy, homeowners must conduct a rigorous inspection of the current wallpaper’s condition. The paper must be structurally sound, firmly adhered to the wall surface, and completely free of major rips, tears, or extensive damage. If the existing wallcovering is heavily compromised, professional consensus dictates that it is almost always better to strip the material entirely and treat the bare walls underneath.
A critical warning sign during this initial assessment is widespread peeling. Even if the paper is not physically torn, peeling edges or sections indicate that the underlying adhesive is failing. This loss of adhesion is frequently attributed to the use of inferior paste during the original installation or the presence of hidden dampness within the room. Attempting to paint over failing wallpaper will only accelerate the detachment process, as the added weight of the primer and topcoat frequently pulls the paper completely away from the wall.
However, minor issues do not necessarily mean the project must be abandoned. If peeling is strictly localized to a small, isolated area, it is often possible to salvage the situation by carefully re-securing the loose edges with wallpaper paste. Homeowners are advised to execute this repair meticulously, smoothing out any trapped air bubbles and allowing the adhesive to cure completely before moving forward with any painting procedures.

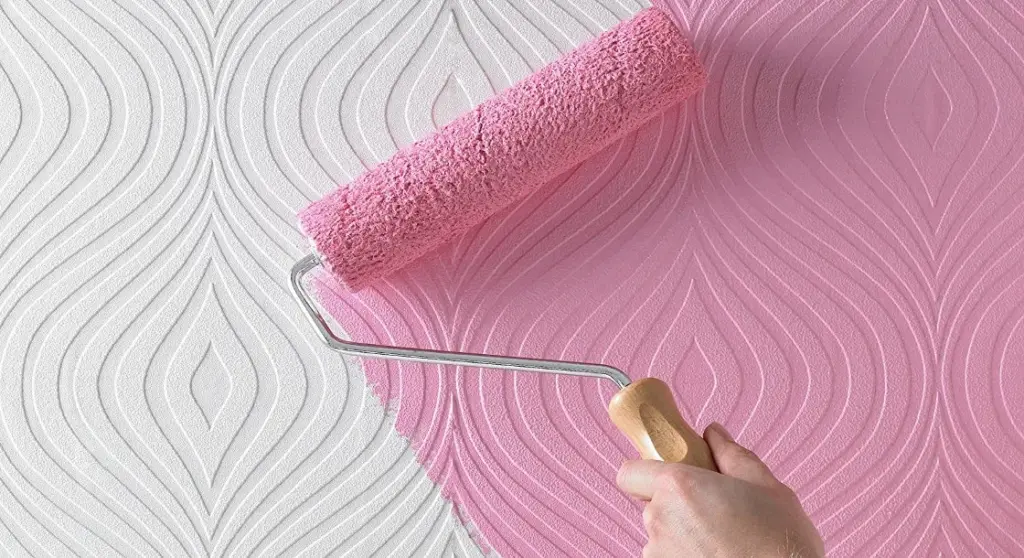
Regarding the aesthetic suitability of the wallcovering, plain and flat wallpaper offers the most straightforward canvas for a successful paint job. Textured and patterned papers can indeed be painted over, but decorators must accept that the underlying texture or embossed design will remain visible beneath the new color, altering the final visual impact of the room.
Assuming the wallpaper passes initial inspections and is found to be in good condition, the necessary preparation work is relatively minimal compared to a complete stripping job. The primary focus shifts immediately to priming the surface, a step that industry experts consider non-negotiable regardless of the wallpaper’s original color or pattern. Applying at least one coat of primer ensures a clean, uniform finish for the final topcoat and assists in sealing the paper to prevent bubbling.
A common and costly mistake made by inexperienced DIY decorators is the selection of water-based primers for this specific task. Water-based formulas can easily saturate the wallpaper, reactivating the old paste underneath and causing the paper to bubble, wrinkle, or detach entirely. To circumvent this risk, professionals consistently recommend utilizing an oil-based primer or a specialized sealing formula specifically designed to prepare wallpaper for painting. Products such as all-in-one oil-based primers provide the necessary moisture barrier while securing the paper firmly to the wall. Decorators are generally advised to apply one or two thorough coats of primer, ensuring the product dries completely before the chosen topcoat is introduced.
Once the priming phase is successfully completed, homeowners can select their preferred topcoat paint color and begin the application process over the prepared wallpapered surfaces. While careful planning and execution typically yield professional-looking results, certain complications can still arise as the project progresses.

One of the more frequent challenges encountered when painting over wallpaper involves gaps forming between individual strips of paper. Even when a wallpaper installation is executed correctly, the paper can occasionally shrink slightly as it dries out over time, leaving thin, noticeable gaps between the seams. While this occurrence is not a dealbreaker for a painting project, it requires careful remediation before the final aesthetic can be achieved.
Assuming the rest of the wallpaper remains completely sound and securely affixed, standard wall filler can be employed to bridge and conceal the gaps between the sheets. Industry best practices dictate that this remedial filling work should take place strictly after the application of the primer coats. Once the primer has set and cured, the filled areas must be carefully sanded down until they are perfectly flush with the level of the surrounding paper. Because any raised filler will stand out prominently and create an unsightly blemish once the final paint is applied, taking adequate time to achieve a smooth, even surface is essential for a polished outcome.