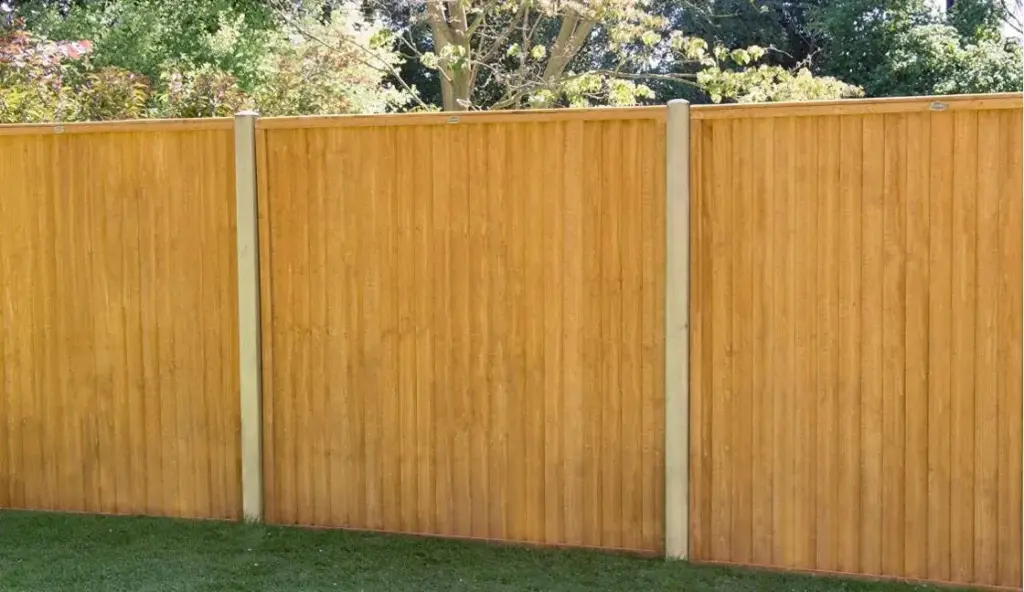
When it comes to property boundaries and garden enclosures, the longevity and resilience of a fence rely entirely on the foundation beneath it. Industry experts and experienced builders continue to emphasize that setting wooden fence posts in concrete remains the definitive method for achieving a robust, enduring structure. While alternative installation methods, such as metal post spikes, offer speed and convenience, they frequently fall short of providing the necessary stability—particularly in regions characterized by loose or light soil compositions.
Opting for concrete secures fence posts with a firm, immovable footing that withstands heavy winds, seasonal ground shifts, and the general wear and tear of outdoor elements. However, embarking on a concreting project requires careful planning and a realistic timeline. Homeowners and builders must factor in additional days for project completion, as the concrete requires adequate time to cure and set completely before any weight or tension from fence panels can be introduced.

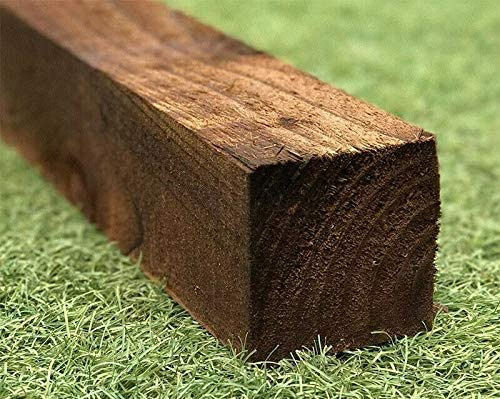
The process begins long before the first shovel breaks the earth, starting with the careful selection and treatment of the timber itself. To ensure that a fence stands the test of time, professionals strongly recommend utilizing pressure-treated timber. Within this category, choosing posts crafted from heartwood rather than sapwood yields superior durability, though this often comes at a higher financial cost. Dimensional planning is equally critical; for a standard six-foot-high fence, experts advise selecting posts that are at least 25 percent longer—translating to roughly eight feet in total length—to allow for deep subterranean anchoring.
Environmental exposure constantly threatens the integrity of outdoor wood, particularly at the ground line where moisture accumulates. To mitigate the risk of premature decay and rot, builders treat the lower section of the post—the portion that will be permanently buried—with a dedicated wood preservative, allowing it to dry thoroughly before installation. Many professionals also recommend treating the bottom edges of the adjacent fence panels during this phase to establish a comprehensive defense against moisture damage.
Once the timber has been selected and treated, the focus shifts to site preparation and excavation. The spacing between individual post holes is dictated by the dimensions of the fencing materials, with standard panels typically measuring six feet in width. Precise measurements ensure that the structural framework aligns correctly with the panels.
Preparing the binding agent offers a choice between convenience and large-scale efficiency. For minor repairs or installations involving only one or two posts, ready-mix post-mix products provide a straightforward solution requiring minimal preparation. For larger projects involving numerous holes, however, mixing raw materials on-site proves more economical and practical. A standard, structurally sound concrete mixture typically follows a strict ratio of one part cement, two parts sand, and three parts aggregate. When combining these components, maintaining a relatively dry mix is essential. Unlike overly wet mixtures, a drier concrete consistency provides immediate physical support to the post as it is adjusted and held in place, preventing unwanted shifting while the material hardens.
The final phase involves positioning and securing the posts within the excavated holes. Having an extra pair of hands to steady the post and handle the concrete placement significantly streamlines the operation, ensuring the timber remains perfectly vertical. As the concrete is introduced around the base, continuous checks using a spirit level are vital to guarantee absolute alignment, safeguarding the aesthetic and structural integrity of the entire fencing project.