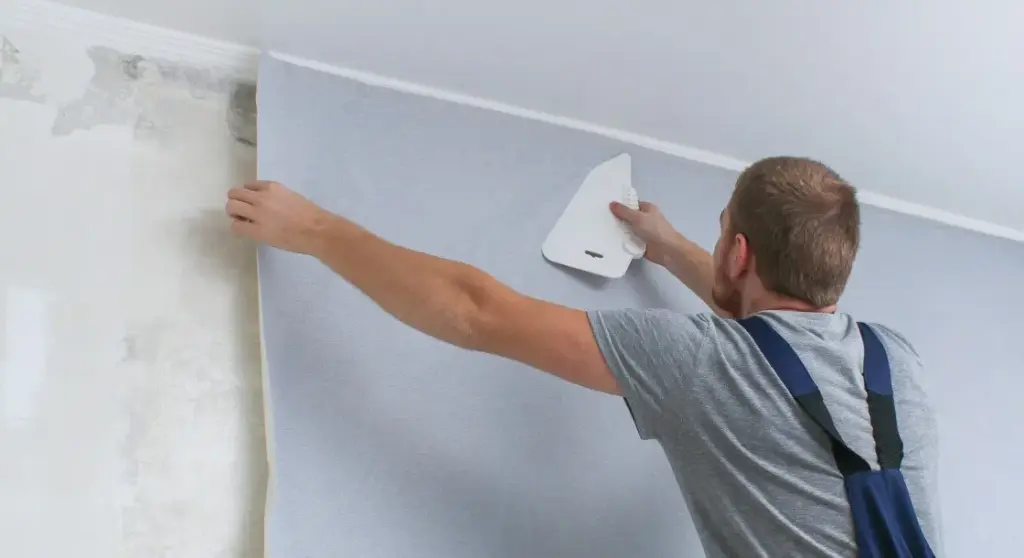
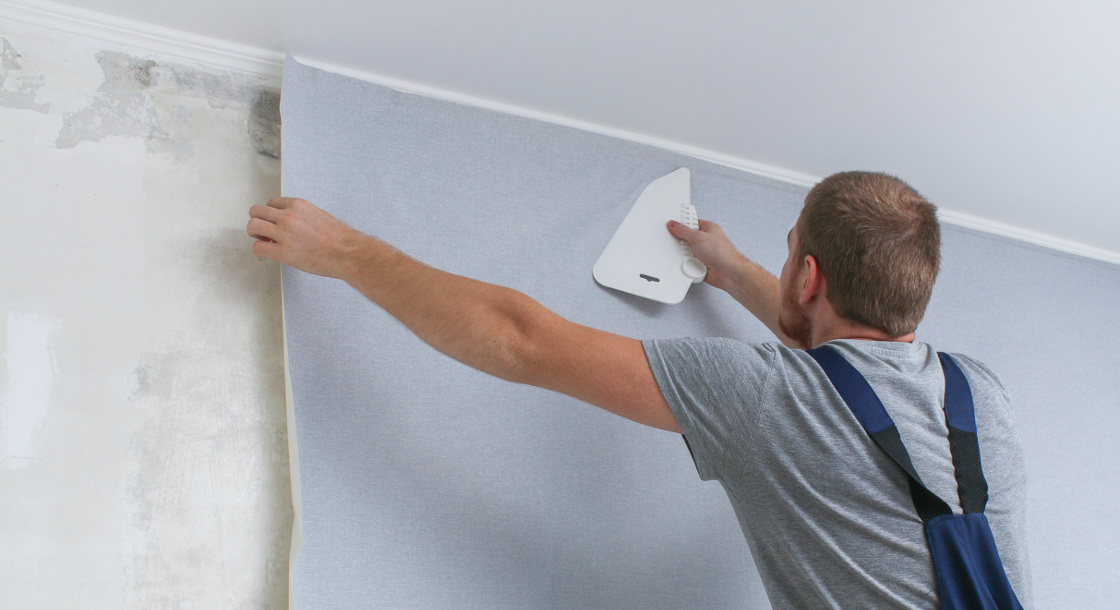
Wallpapering has long held a reputation as one of those home improvement projects that can either transform a living space with elegance or turn into a frustrating weekend ordeal. Yet, professionals and seasoned decorators maintain that with the correct preparation and a methodical approach, hanging wallpaper can be a remarkably straightforward undertaking. By following a few fundamental rules, homeowners can tackle the task of planning, preparing, and papering a room with minimal fuss, ensuring a professional-looking finish while avoiding the common pitfalls that often trip up beginners.
Before a single strip of paper is cut, the most critical phase of any wallpapering project begins with accurate estimation. Determining how much wallpaper is required to finish a room involves much more than simply measuring the basic length and width of the chosen rolls. Patterned wallpaper, for instance, naturally demands a higher volume of material because additional allowance must be made for waste as the designer motifs are carefully matched across the seams.
A standard roll of wallpaper typically measures 53 centimeters wide and 10 meters long. Once the dimensions of a room are established, calculating the required quantity follows a reliable mathematical process. Decorators start by measuring the height of the walls from the skirting board to the ceiling, or to the bottom edge of any existing coving, and adding a 100-millimeter margin for final trimming. Dividing the 10-meter roll length by this wall height reveals how many usable wall lengths can be harvested from a single roll. For example, a room with a 2.4-meter wall height will yield four full wall lengths from a standard roll.
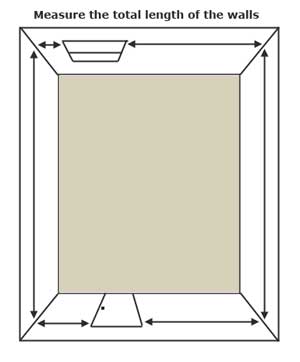
The next step requires measuring the perimeter of the room while subtracting the dimensions of windows and doors to find the total wall length. Dividing this total perimeter measurement by the 53-centimeter width of the wallpaper indicates how many individual vertical strips are needed. Finally, dividing that number by the wall lengths obtained per roll provides the exact baseline figure of rolls required. Because mistakes happen and trim margins must be accommodated, industry experts consistently recommend purchasing an extra roll or two beyond the mathematical calculation. Alternatively, homeowners who prefer to bypass manual calculations can utilize digital wallpaper calculators widely available through home improvement platforms.
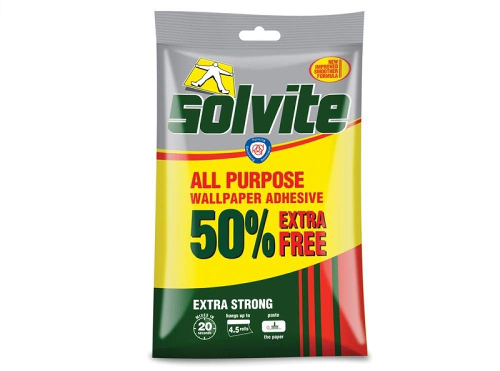
Choosing the right wallpapering adhesive is another pivotal decision that influences the success of the project. Most conventional wallpaper pastes are sold as dry powders or flakes that require mixing with water, offering a cost-effective and adjustable solution. Pre-mixed pastes are also available on the market; while they carry a higher price tag, their ready-to-use consistency often appeals to novices who want to avoid the potential for lumps during the mixing phase.
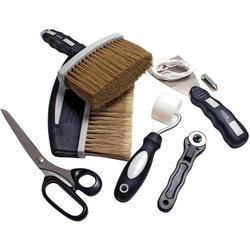
Equally important is gathering the proper equipment before commencing the work. While the market features hundreds of specialist gadgets, a standard wallpapering project generally requires only a core set of tools: a pasting table, a sharp trimming knife or scissors, a plumb line or spirit level, a smoothing brush, a seam roller, and clean damp sponges.
Preparation sets the definitive boundary between amateur results and a professional finish. The wall surfaces must be meticulously cleaned, dried, and freed from dust, old nails, and lingering imperfections. For rooms featuring newly plastered walls, it is vital to ensure the plaster skim coat is completely dry before any paper is applied. When cutting the paper, decorators measure the wall height plus the necessary top and bottom margins, ensuring extra allowance is made if working with prominent, heavily patterned designs that require careful alignment. The initial strips are then laid face down on the pasting table, ready for adhesive application.
Applying the paste requires a careful touch to ensure an even coating right out to the edges, preventing future lifting. Once the adhesive is applied, the paper must be allowed to rest so the moisture can properly soak into the paper fibers. Moving the pasted sheet out of the way—often by draping it over a clean broom handle suspended between two chairs—allows the paper to expand fully before it is hung on the wall. While the first sheet absorbs the paste, the decorator can prepare the second sheet, creating a seamless workflow.
Determining where to start hanging the wallpaper depends entirely on the architectural layout of the room. If the space features a dominant focal point, such as a chimney breast, decorators generally begin there. By measuring the chimney breast and marking a straight vertical line down the center with a pencil or chalk, the first strip can be aligned precisely, allowing the work to progress outward symmetrically.
In rooms without a dominant feature, the ideal starting point is the wall closest to the primary window. This strategic placement helps minimize the visibility of shadows if minor overlaps occur between the strips. By measuring out from the corner by a distance equal to the wallpaper’s width minus 50 millimeters, and utilizing a plumb line to mark a true vertical, the first strip can be positioned so it wraps neatly around the internal corner onto the window wall.
As hanging gets underway, subsequent strips are aligned edge-to-edge with the previous sheet. Gently sliding the new strip to butt up against its predecessor, followed by a light pass with a seam roller, ensures the edges are firmly anchored without squeezing excessive adhesive out onto the visible surface of the paper.
Navigating architectural obstacles such as corners, doors, and windows requires specific techniques. For internal corners, paper is wrapped around the bend with a small overlap rather than attempting to force a single wide sheet into a sharp 90-degree angle. External corners are handled by wrapping the paper continuously around the protrusion or creating a clean overlap to maintain pattern alignment and structural durability.
When reaching a doorframe, the paper is pressed firmly into the angle between the wall and the wooden architrave, creased neatly with the blunt edge of a pair of scissors, pulled back slightly for trimming, and brushed smoothly back into place. Windows present a unique challenge because the paper must be maneuvered into the reveals. Decorators typically cover the sides of the window recess first, then apply separate custom-cut patches to the top corners to ensure complete coverage without unsightly gaps or stretching.
Despite careful planning, wallpapering can occasionally present challenges, particularly when preparation is rushed. Recognizing these common issues helps decorators diagnose and rectify them swiftly. Paper tearing during handling or hanging, for instance, frequently indicates that too much paste was applied or the mixture was too thin, causing the paper to become overly saturated and weak. Thickening the paste and applying a lighter coat usually resolves the issue, while tearing during cutting simply points to the need for a sharper blade.
Visible white seams after the paper has dried generally occur when sheets were not butted together tightly enough, or when the paper has shrunk during the drying process. Utilizing a seam roller and ensuring adequate soaking time prior to hanging helps prevent this, as does the proactive step of applying lining paper to the walls beforehand.
Bubbles trapped beneath the paper are another common frustration. While minor bubbles can often be ignored as they tend to disappear during drying, excessive bubbling signals uneven paste distribution or inadequate soaking time. For stubborn bubbles, a careful puncture with a sharp knife allows trapped air or excess paste to escape, after which the paper can be smoothed down flat.
Seams and sheets lifting away from the wall are typically caused by failing to apply adhesive right out to the extreme edges of the paper, or by neglecting to line uneven walls prior to installation. Fixing a lifting seam involves carefully peeling back the edge, applying fresh paste to the underside with a fine artist’s brush, rolling it flat, and wiping away any residue with a damp sponge. By adhering to these foundational techniques and troubleshooting strategies, decorators can achieve a clean, enduring finish that elevates the entire interior space.