Choosing to paint over wallpaper has long been debated among interior designers and property renovators as a convenient shortcut to revamping a room. Rather than enduring the arduous, time-consuming process of stripping old paper, preparing crumbly plaster, and applying multiple coats of paint to bare walls, slapping a fresh coat of paint directly over existing wallpaper can seem remarkably appealing. However, industry specialists emphasize that while this method saves considerable time upfront, it requires careful evaluation of current wall conditions and an understanding of several potential pitfalls that can compromise the final aesthetic.
Before committing to this shortcut, property owners must conduct a thorough inspection of the existing wallpaper to determine whether it can actually support a new layer of liquid coating. The primary prerequisite is that the underlying paper must be in sound structural condition, completely free from major rips, tears, or extensive damage. If the wallpaper is already compromised, fragile, or heavily worn, attempting to paint over it will usually backfire, making the eventual stripping process even more difficult. In such cases, professionals strongly advise taking the time to completely remove the old paper and address the bare wall underneath.
A critical warning sign during this preliminary inspection is widespread peeling. Even if the paper is not physically ripped, wallpaper that is lifting away from the wall in multiple areas indicates that the original adhesive paste is failing. This failure is frequently triggered by two main factors: either low-quality paste was used during the initial installation, or lingering dampness within the room has degraded the adhesive bond over time. Painting over compromised paste will only add weight to the paper, accelerating its detachment and ruining the newly painted surface.
Nevertheless, minor localized issues do not automatically rule out the painting option. If peeling is restricted to a single, isolated area, it is often possible to carefully re-secure the loose section using fresh wallpaper paste before moving forward with any painting preparations. When executing this quick fix, decorators must work with precision to smooth out air bubbles and allow the adhesive to cure completely. Ramping up the timeline and painting over damp or tacky paste will inevitably lead to bubbling and blistering down the road.
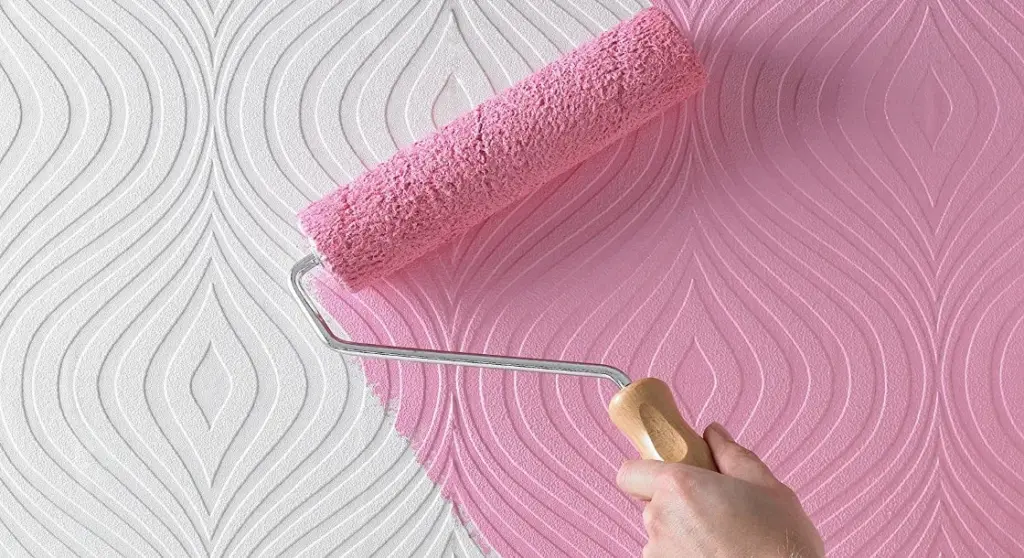
Regarding wallpaper styles, plain and flat designs remain the most compatible candidates for direct painting. Textured or heavily patterned papers can still be painted over, provided the homeowner is comfortable with the underlying relief remaining visible beneath the new color. For those seeking a completely smooth, modern finish, textured paper will present an obstacle, but for individuals embracing a tactile, dimensional look, it can add unique character to a room.

Preparing Wallpaper for Painting
Assuming an inspection reveals that the wallpaper is firmly affixed and structurally sound, the preparatory phase leading up to the actual painting process is relatively straightforward. With the surrounding room cleared and protected, the focus shifts entirely to surface conditioning. While minor surface dust should be wiped away, the integrity of the underlying paper dictates that traditional, moisture-heavy washing techniques should be minimized to avoid reactivating old adhesive layers.
Priming Wallpaper for Painting
Even when working with light-colored or unpatterned wallpaper, applying a dedicated primer before introducing the final color coat is a strongly recommended step in the process. Priming ensures a uniform surface porosity, helping the topcoat achieve a clean, professional finish while making the underlying pattern significantly easier to conceal.
A vital technical consideration during this stage involves the chemical composition of the primer itself. Water-based primers can easily penetrate porous wallpaper, seeping deep enough to compromise the integrity of the original wallpaper paste beneath. To prevent this adhesive failure, industry experts consistently recommend utilizing an oil-based primer or a specialized moisture-blocking formulation when painting over papered surfaces. Products designed for dual priming and sealing duties are particularly effective at locking down the wallpaper substrate without destabilizing the wall structure. Professionals advise applying at least one thorough coat—and ideally two—allowing adequate drying time for the primer to set completely before introducing the topcoat.
How to Paint Over Wallpaper

Once the priming phase is successfully completed and the surface is fully cured, homeowners can select their preferred topcoat color and begin transforming the space. Standard painting techniques apply, though care must be taken not to overload the rollers or brushes with excessive liquid, which could once again introduce too much moisture to the aging wall structure below. Maintaining a steady, even hand ensures the new pigment melds cleanly with the primed wallpaper surface, delivering the desired visual refresh without disturbing the layers hidden beneath.
Problems With Painting on Top of Wallpaper
Even with meticulous planning and thorough preparation, painting directly over wallpaper can occasionally present unexpected challenges. Fortunately, most of these issues can be successfully resolved or mitigated with targeted corrective work.
One of the most common issues involves visible gaps appearing between individual strips of wallpaper. While a flawless initial installation prevents this phenomenon, wallpaper naturally undergoes slight shrinkage as it dries out over time, occasionally leaving thin fissures between adjacent sheets. While this shrinkage does not automatically derail a painting project, it must be properly addressed before the final aesthetic is ruined.
Assuming the surrounding wallpaper remains firmly anchored to the wall, standard wall filler can be deployed to bridge and conceal these narrow gaps between sheets. Crucially, timing dictates the success of this repair. Professionals recommend applying filler only after the initial coats of primer have been applied and set. Once dry, the filled areas must be carefully sanded down until they are completely flush with the level of the surrounding paper. Because any raised filler will stand out prominently once coated with paint, investing the necessary time into precise sanding ensures a seamless, professional final appearance.