Homeowners looking to revitalize the heart of their living spaces are increasingly turning to kitchen wall tiling as a transformative weekend project that marries aesthetic appeal with long-term functionality. Whether addressing tired, drab walls or seeking to install a striking new backsplash, updating kitchen tiles remains one of the most effective ways to elevate an interior cooking space without undertaking a full-scale architectural remodel. Industry experts emphasize that while the prospect of tiling a kitchen wall may initially appear daunting to the amateur DIY enthusiast, achieving a professional-grade finish is entirely attainable through careful preparation, the selection of appropriate materials, and the mastery of fundamental installation techniques.
The foundational phase of any successful kitchen wall update begins with choosing the correct tile material, a decision that significantly dictates both the overall visual style and the ongoing maintenance requirements of the space. Ceramic tiles have long maintained their status as the most popular choice for kitchen walls. Manufactured from clay fired at high temperatures, ceramic options offer exceptional durability and longevity, alongside a vast array of colors, patterns, and sizes that accommodate virtually any interior design vision.

For environments experiencing heavier daily use, porcelain tiles present an advanced alternative. While similarly derived from clay, porcelain is subjected to even higher firing temperatures, resulting in a denser, significantly less porous material with superior durability. Available in finishes ranging from high gloss to matte, porcelain is exceptionally well-suited for high-traffic zones within the busy kitchen.
Meanwhile, homeowners gravitating toward a sleek, contemporary aesthetic frequently select glass tiles. Beyond their modern visual appeal, glass surfaces are celebrated for their ease of cleaning and maintenance. Furthermore, their inherent reflective qualities can dramatically alter the perception of spatial dimensions, making smaller kitchens appear considerably more open and luminous.
For those seeking a more organic, rustic ambiance, natural stone tiles—including marble, granite, and slate—introduce unmatched character and texture into the room. Although these natural materials demand a higher level of ongoing maintenance compared to their manufactured counterparts, their unique veining and earthy tones provide a timeless elegance that synthetic options struggle to replicate.
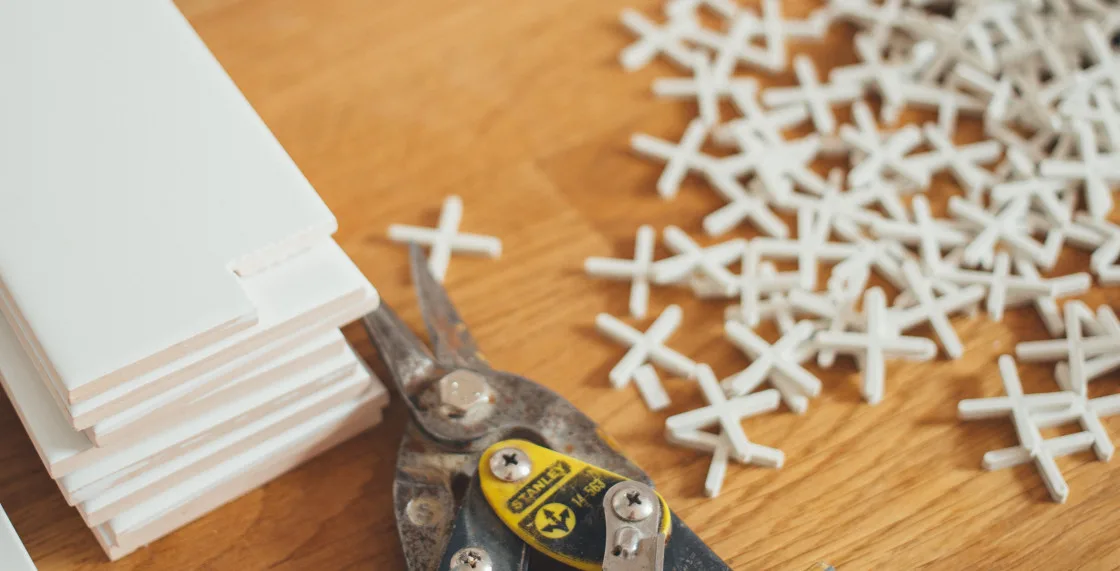
Once the appropriate tile is selected, gathering high-quality tools and materials is critical to ensuring an efficient workflow and a professional-looking result. Professionals consistently advise against skimping on adhesive, grout, trowels, and cutting equipment, noting that investing in superior supplies substantially simplifies the installation process and prevents structural failures down the line.
Before a single tile is applied, meticulous surface preparation sets the stage for a lasting installation. This crucial phase begins with thoroughly cleaning the existing wall surface. Dust, accumulated grease, and everyday kitchen residue must be completely eradicated by wiping down the walls with a damp cloth and allowing them to dry fully. Following cleanliness, precise measuring and marking dictate the structural integrity and visual symmetry of the project. Using measuring tapes, levels, and chalk lines, installers typically establish a baseline starting at the center of the wall and working outward, incorporating spacers to guarantee uniform gaps between individual tiles. Additionally, when tiling over previously painted or wallpapered substrates, applying a specialized primer is widely recommended to enhance adhesive bonding strength according to manufacturer specifications.
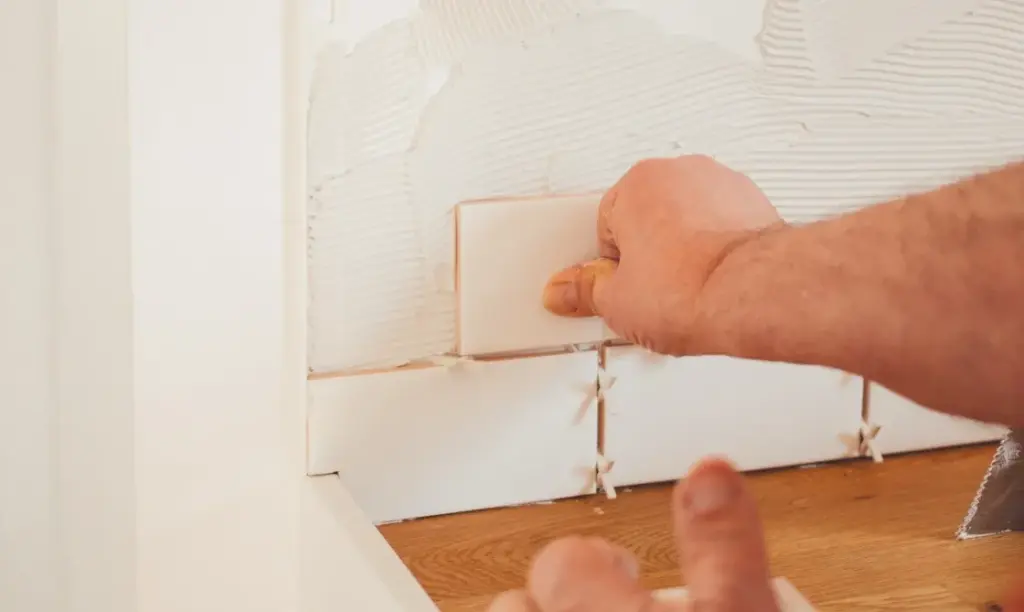
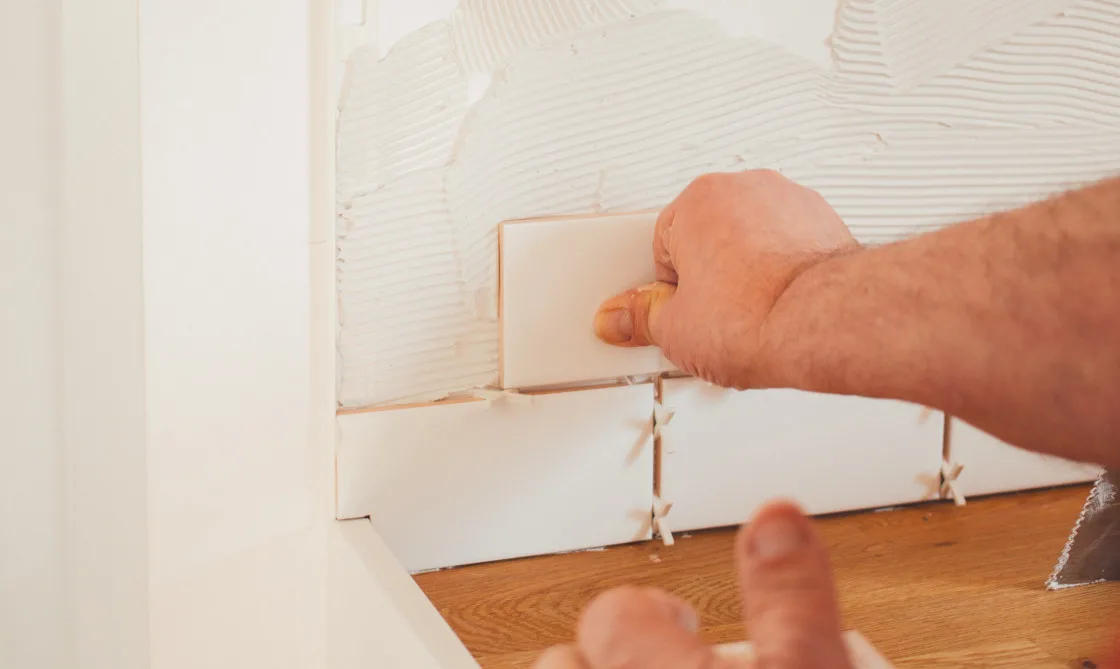
The physical installation demands patience and precision, starting with the even distribution of adhesive across the designated wall space using the notched side of a trowel. These notches create ridges that maximize adhesion when tiles are pressed firmly into place. Working systematically from the center outwards, installers must constantly monitor alignment to ensure that each tile remains level and flush with its neighbors. Obstacles such as electrical outlets, cabinetry, and window frames require careful measurement and precise cuts using specialized tile cutters or wet saws to maintain a seamless appearance. Once the layout is complete, the adhesive must be granted adequate drying time—typically ranging from 24 to 48 hours depending on the specific product formulation—before any grouting operations can commence.
Grouting represents the critical transition from raw installation to a polished, finished surface. As a cement-based material, grout fills the interstitial gaps between tiles, locking the assembly together while protecting vulnerable edges from chipping and moisture infiltration. Using a rubber grout float, the mixture is worked into the joints in manageable sections, followed by careful cleaning with a damp sponge to remove excess residue without eroding the fresh grout lines. For installations utilizing porous natural stone, applying a specialized sealer to both the stone and the grout is an essential final step to guard against stubborn stains and moisture-related deterioration.
Industry professionals frequently point to several common pitfalls that can compromise an otherwise well-executed tiling project. Inconsistent spacing, often resulting from the omission of tile spacers, immediately betrays amateur execution. Similarly, improper adhesive application—such as failing to create uniform ridges or leaving gaps—can lead to loose tiles over time. Finally, neglecting to use a level continuously during placement can result in uneven surfaces that complicate grouting and detract from the clean lines expected in modern kitchen design. By understanding these challenges and adhering to meticulous preparation and installation standards, homeowners can successfully execute a transformative kitchen upgrade that enhances both the utility and aesthetic value of their home for years to come.