For homeowners looking to refresh a tired interior space, painting directly over existing wallpaper can often appear to be an appealing shortcut. Rather than enduring the laborious, time-consuming process of stripping old paper, scraping away stubborn adhesive, and meticulously preparing bare walls underneath, applying a fresh coat of paint straight onto the surface promises a much faster room transformation. However, interior design and home improvement professionals note that while the method can save significant time and effort, it is far from a universal fix and comes with several critical pitfalls that must be carefully managed to avoid a costly disaster.
Deciding whether to take the plunge depends heavily on the current condition of the walls in question. Experts stress that the very first step in any such project requires a thorough inspection of the wallpaper’s structural integrity. The paper must be in good condition, completely free from major rips, tears, and widespread surface damage. If the wallpaper is already compromised, battered, or severely worn, attempting to paint over it is rarely successful. In cases of significant deterioration, the correct course of action remains the traditional route: stripping the old material away entirely and prepping the raw plaster underneath before applying any color.
A particularly common warning sign that homeowners must look out for is peeling. Painting over wallpaper that is lifting away from the wall in multiple areas is strongly discouraged, even if the paper itself is not physically torn or ripped. When wallpaper begins to peel across various sections of a room, it typically indicates that the original adhesive paste is failing. This loss of adhesion can stem from a variety of factors, ranging from low-quality paste used during the initial installation to underlying issues with dampness and moisture in the room. Painting over a failing adhesive layer will only add weight to the paper, invariably accelerating the peeling process and ruining the new finish.
That being said, minor or localized damage is not always an automatic dealbreaker. If peeling is strictly confined to a single, isolated area, it is often possible to remedy the issue by carefully re-adhering the loose paper using standard wallpaper paste before any painting begins. Homeowners must execute this patch-up work with patience, smoothing the paper down carefully to prevent trapped air bubbles from forming underneath. Crucially, the repaired section must be allowed to dry completely before any further products are applied to the wall.

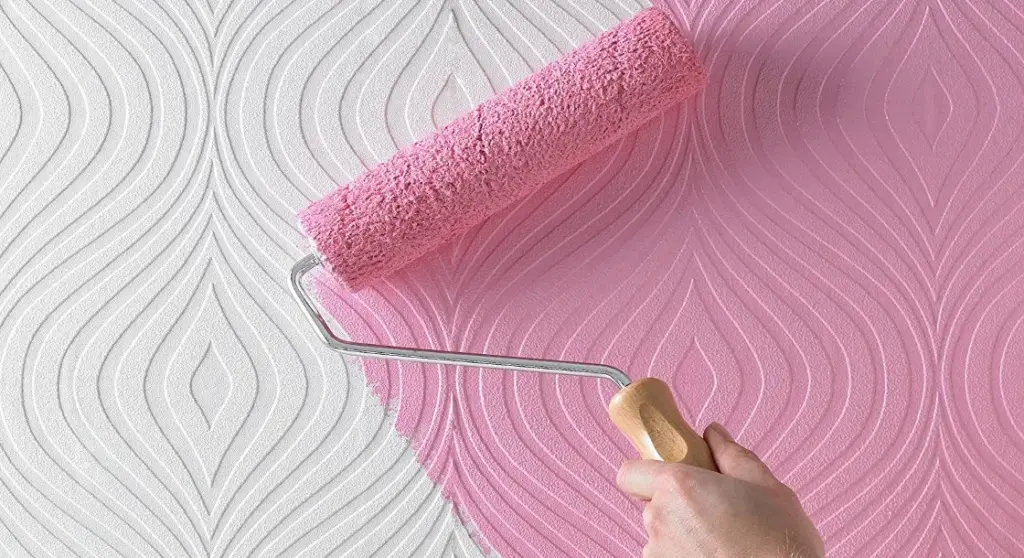
Beyond the condition of the paste and the paper, the physical texture of the wallcovering also plays a major role in the final aesthetic outcome. Plain, flat wallpaper is naturally the most suitable candidate for painting over, offering a smooth canvas that readily accepts primer and topcoats. However, it is entirely possible to paint over patterned and textured papers, provided the homeowner is comfortable with the underlying design or relief pattern remaining visible beneath the new coat of paint. For those seeking a uniform, modern look, heavy textures may still telegraph through multiple layers of paint, making expectations management a key part of the decision-making process.
Preparing Wallpaper for Painting
Assuming a thorough inspection confirms that the wallpaper is structurally sound, firmly adhered, and free of widespread damage, the preliminary preparation phase required before painting is relatively straightforward compared to a full strip-down. With the workspace properly cleared and protected, attention can turn swiftly toward getting the surfaces ready to receive liquid coatings, ensuring that the room is adequately prepped to prevent paint from bleeding onto woodwork, ceilings, or flooring.
Priming Wallpaper for Painting
Even when working with light-coloured, unpatterned, or seemingly cooperative wallpaper, interior design specialists strongly recommend applying at least one coat of primer before introducing the final color. A dedicated primer serves a dual purpose: it helps achieve a clean, professional finish once the topcoat goes on, and it creates a uniform surface that makes the underlying pattern or color much easier to cover completely.
However, homeowners must exercise caution regarding the specific type of primer they select for the job. Water-based primers can potentially introduce too much moisture into the wallpaper, causing the paper to bubble or reactivating the old paste underneath, which compromises adhesion. To circumvent this risk, professionals consistently recommend using an oil-based primer when painting over wallpaper. Products such as Zinsser all-in-one primer and sealer have become popular choices among DIYers for this exact application, offering reliable sealing properties that protect the paper substrate. Applying one or two thorough coats of primer, followed by adequate drying time, establishes a stable foundation for the rest of the project.

How to Paint Over Wallpaper
Once the primer has cured completely, homeowners can move forward with selecting their preferred topcoat paint color and finish to begin transforming the room. The actual application process mirrors standard wall painting techniques, relying on standard rollers and brushes to distribute the paint evenly across the primed surface while maintaining a wet edge to avoid lap marks and uneven textures.
Problems With Painting on Top of Wallpaper
While proper planning and meticulous preparation can yield a striking, long-lasting finish, painting directly over wallpaper does carry inherent risks that occasionally materialize after the work is done. Fortunately, most of these complications can be successfully resolved or mitigated with a modest amount of remedial effort.
One of the most frequent issues encountered during this process involves the appearance of gaps between individual strips of wallpaper. When wallpaper is originally hung, it is common for the paper to expand slightly when wet with paste. As it subsequently dries on the wall, it can contract or shrink fractionally, leaving thin seams or gaps between adjacent sheets. While this minor shifting may not be immediately obvious on patterned paper, it becomes much more noticeable once a solid, uniform coat of paint is applied over the top.
Fortunately, discovering a gap between wallpaper sheets does not mean the entire project is ruined, provided the surrounding wallpaper remains firmly affixed to the wall. Small gaps can be successfully concealed using standard decorator’s filler. Industry experts advise tackling this corrective work after the primer coats have been applied. Once the primer has fully set, any filler used to bridge the gaps should be carefully sanded back until it sits completely flush with the level of the surrounding paper. Because even slight ridges or raised areas of filler will show up prominently under a fresh coat of paint, taking the time to sand the repaired seams down smoothly is essential for achieving a professional, flawless result.