Wallpapering has long been regarded as one of those home improvement projects that can either transform a room into a masterpiece or become an exercise in extreme frustration. Industry experts consistently emphasize that with the correct preparation and a methodical approach, hanging wallpaper can be significantly easier than it first appears. By following a few fundamental rules, the entire undertaking becomes a remarkably straightforward job rather than a daunting chore.
This comprehensive guide is designed to help homeowners learn the intricacies of hanging wallpaper, encompassing everything from initial planning and surface preparation to the final application process with as little fuss as possible. Furthermore, examining the most common problems that occur during wallpapering provides valuable insight into how professionals diagnose, fix, and ultimately avoid these costly mistakes.
How Much Wallpaper Will You Need?
Accurately estimating how much wallpaper is required to finish a room involves several critical variables beyond simply measuring the basic length and width of the walls. For instance, selecting a patterned wallpaper inherently demands more rolls due to the natural waste generated when carefully matching up repeating designs across different strips.
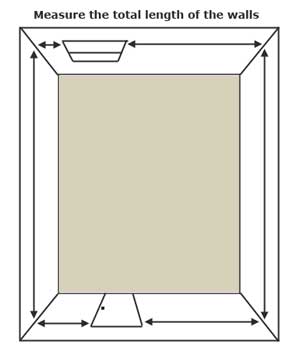
A standard roll of wallpaper typically measures 53 centimeters wide and 10 meters long. Once the physical dimensions of a room are established, calculating the required quantity becomes a mathematical exercise, though specialized calculators are also widely available for those who prefer digital assistance. The process begins by measuring the height of the walls from the skirting board to the ceiling, or to the bottom edge of the coving, and adding a generous safety margin of 100 millimeters to allow for final trimming.
Dividing the total length of a roll by this wall height reveals how many usable wall lengths can be harvested from a single roll. For example, a room with a standard height of 2.4 meters yields four wall lengths from a standard 10-meter roll. Next, the perimeter of the room is measured, subtracting the dimensions of all doors and windows to determine the total linear wall distance. Dividing this total wall measurement by the width of the chosen wallpaper establishes how many individual widths are needed to cover the entire space. Finally, dividing that resulting figure by the number of wall lengths available per roll indicates the exact number of rolls required. Professionals almost always recommend purchasing additional rolls—such as moving from 5.6 rolls up to seven—to account for inevitable human error, trimming margins, and pattern matching.
How to Choose Wallpapering Paste
Selecting the correct adhesive is vital for a successful installation, with several distinct types of wallpaper paste available on the market. The majority of products are sold in dry form, consisting of powders or flakes that must be thoroughly mixed with water according to the manufacturer’s precise instructions. Alternatively, pre-mixed wallpaper paste can be purchased off the shelf; while this option carries a higher price tag, its convenience and ready-to-use nature make it exceptionally popular among beginners and casual DIYers.
Tools You Will Need for Wallpapering
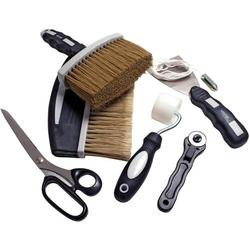
While the market offers hundreds of specialist wallpapering tools designed for every conceivable niche, a standard installation rarely requires more than a handful of basic implements. At the very minimum, decorators need a reliable pasting table, a sharp trimming knife or utility scissors, a plumb line or spirit level for ensuring straight vertical alignment, a smoothing brush or smoothing plastic, a seam roller to secure the edges, and clean damp sponges for wiping away excess adhesive. Familiarity with these core tools ensures a much smoother workflow from start to finish.
Preparation Before You Start Hanging Wallpaper
Thorough preparation sets the foundation for a flawless finish. Before touching any paste, individuals must ensure that the room’s measurements are clearly recorded and that enough material is cut to account for safety margins. For heavily patterned designs, extra allowance at the top and bottom provides a vital degree of adjustment during hanging.
The first four strips should be cut and laid face down on a clean pasting table. Simultaneously, the wall surface itself must be meticulously cleaned, ensuring it is entirely free from dust, protruding nails, lingering holes, and moisture. When hanging paper over newly plastered surfaces, tradespeople stress the absolute importance of waiting until the plaster skim coat is completely dry before introducing water-based adhesives.
How to Paste the Wallpaper
Applying wallpaper paste correctly appears deceptively simple, yet specific techniques ensure that the paper behaves properly when transferred to the wall. The adhesive must be brushed evenly across the back of the paper, working from the center outward toward the edges to guarantee complete coverage without dry spots.
Once pasted, the paper requires a designated soaking time to allow the moisture to expand the fibers evenly. To manage this efficiently without creating a mess, the pasted sheet can be folded or draped over a clean broom handle laid across the backs of two chairs, keeping it safely elevated off the floor and away from dust sheets. While the first sheet rests and absorbs the moisture, a second sheet can be pasted, establishing a seamless rhythm where one piece soaks while the previous one is hung.
Where Should You Start Wallpapering?
Determining the optimal starting point in a room depends largely on architectural features. If a room features a dominant focal point, such as a chimney breast, decoration should always begin there. By measuring the chimney breast and marking a straight vertical line down its center with a pencil or chalk, installers gain a reliable reference edge to work outwards from symmetrically.
In rooms lacking an obvious focal point, the best practice is to begin on the wall closest to the main window. This strategic placement minimizes the visibility of shadows if slight overlaps occur between adjacent strips of wallpaper. Starting in the corner involves measuring out a distance equal to the wallpaper width minus 50 millimeters, then establishing a true vertical line using a plumb line. The first strip is then hung against this line, allowing it to wrap neatly around the internal corner and overlap onto the window wall by 50 millimeters.
Hanging the First Sheet of Wallpaper
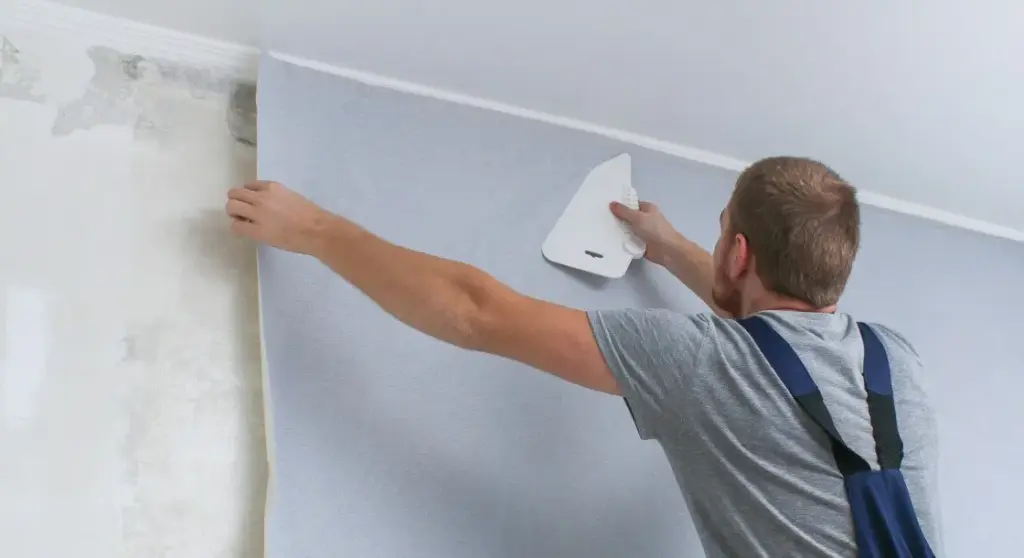
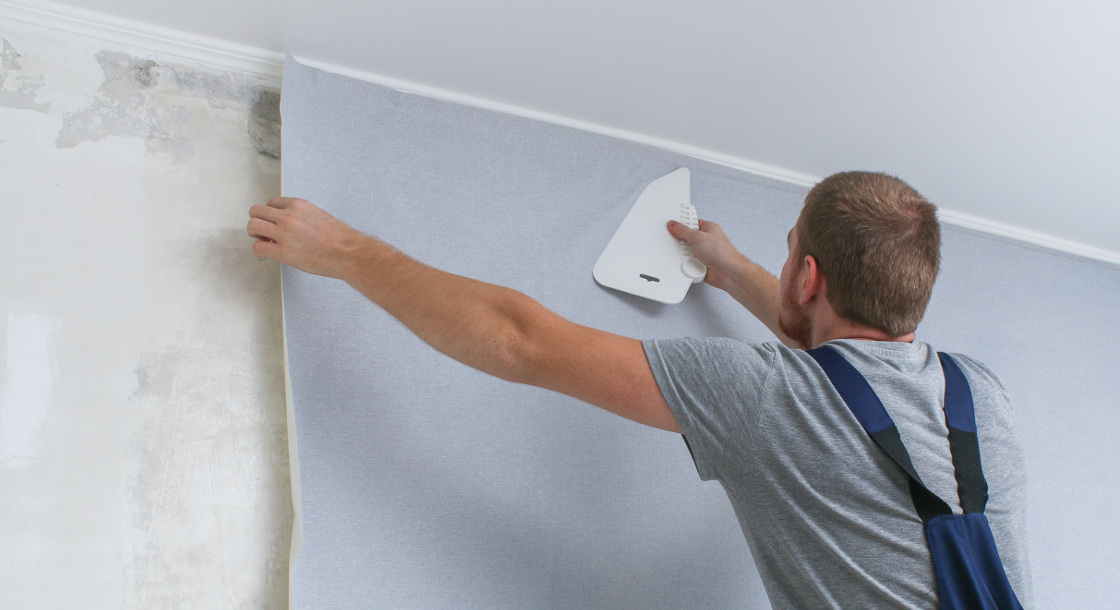
With the initial reference line established and the first sheet properly soaked and prepared, hanging can commence. The top of the paper is aligned carefully with the ceiling or coving line, leaving the necessary surplus at the top and bottom for trimming. The smoothing brush is then employed to gently press the paper against the wall, sweeping outward from the center to eliminate trapped air pockets and wrinkles. Once anchored securely, the excess paper at the ceiling and skirting board is pressed firmly into the corners and trimmed cleanly using a sharp utility knife guided by a straight edge. Subsequent strips are hung by aligning the edge directly against the previous strip, gently sliding them together to form a tight butt joint, and finishing the seams with a roller.
Wallpapering Around Corners and Openings
Internal and external corners require distinct handling techniques to prevent tearing or bunching. For internal corners, paper is wrapped slightly around the bend, and a subsequent piece is overlapped precisely into the corner to maintain pattern alignment and structural integrity. External corners are treated with similar care, ensuring the paper wraps smoothly around the protruding angle without stretching or creating tension that could cause future lifting.
When encountering architectural openings such as doorframes, the paper is pressed firmly into the angle between the wall and the wooden architrave. Using the blunt edge of a pair of scissors creates a clean crease, allowing the installer to pull the paper back slightly, trim the excess along the crease, and brush the finished edge back into place. Windows require a similar methodical approach, particularly around recesses where paper must be patched carefully into the top corners after the surrounding sides have been fully covered.
How to Avoid Wallpapering Problems
Even with careful planning, wallpapering can present unexpected challenges. Understanding common pitfalls and their respective remedies is essential for achieving a professional-grade finish. Paper tearing during application typically indicates that too much paste was applied or the adhesive mixture is overly thin; thickening the mixture and applying a lighter coat usually resolves the issue, while tearing during cutting simply signals the need for a sharper blade.
White seams becoming visible after drying are generally the result of sheets not being butted together tightly enough or natural shrinkage during the drying process. Utilizing a seam roller and pre-lining the walls with dedicated lining paper effectively mitigates this aesthetic flaw. The appearance of excessive air bubbles usually stems from uneven paste application or insufficient soaking time; minor bubbles can be addressed by carefully piercing them with a knife, releasing trapped air or excess paste, and smoothing the surface flat.
Seams or entire sheets lifting away from the wall are frequently caused by failing to apply adhesive right up to the edges of the paper, or by lingering chemical residues from old paint types such as distemper. Remediating lifting seams involves peeling the paper back slightly, applying fresh adhesive underneath with an artist’s brush, rolling the joint flat, and wiping away any residue with a damp sponge. Thorough wall preparation and proper adhesive management remain the ultimate safeguards against these recurring household decoration issues.